
Front Porch Makeover at the Rental – Porch Columns

Deb and I sat down several weeks ago and admitted to ourselves that we will be living at this rental longer than we care to admit. We both talked about what we wanted to do in order to enjoy our summer here. The outside areas are our FAVORITE. Because if you watch stories, you know that Indiana’s weather is absolutely crazy. When it’s nice enough to be outside, we are outside. Deb mentioned that she wanted to spruce up the laundry room, which we did. We both wanted to get our backyard spruced up. AND, I wanted to get our porch swing hung and the front porch looking pretty. I LOVE a good front porch session. So, between camper work and the backyard makeover, we are starting on our front porch makeover as well. Stage one on the front porch makeover was switching out the old wrought iron for wooden porch posts.
I’m not going to lie, Deb is one who just KNOWS we can do these things. I’m one who has to think about what all could happen and prepare for the worse. ???? She just hauls balls to the wall and starts. It truly was one of the quickest and EASIEST projects we’ve done in awhile. The entire porch post switcheroo project probably took 2 hours at the most. We had none of the catastrophes that I had planned for in my mind either. ????
Front Porch Makeover at the Rental – Porch Columns
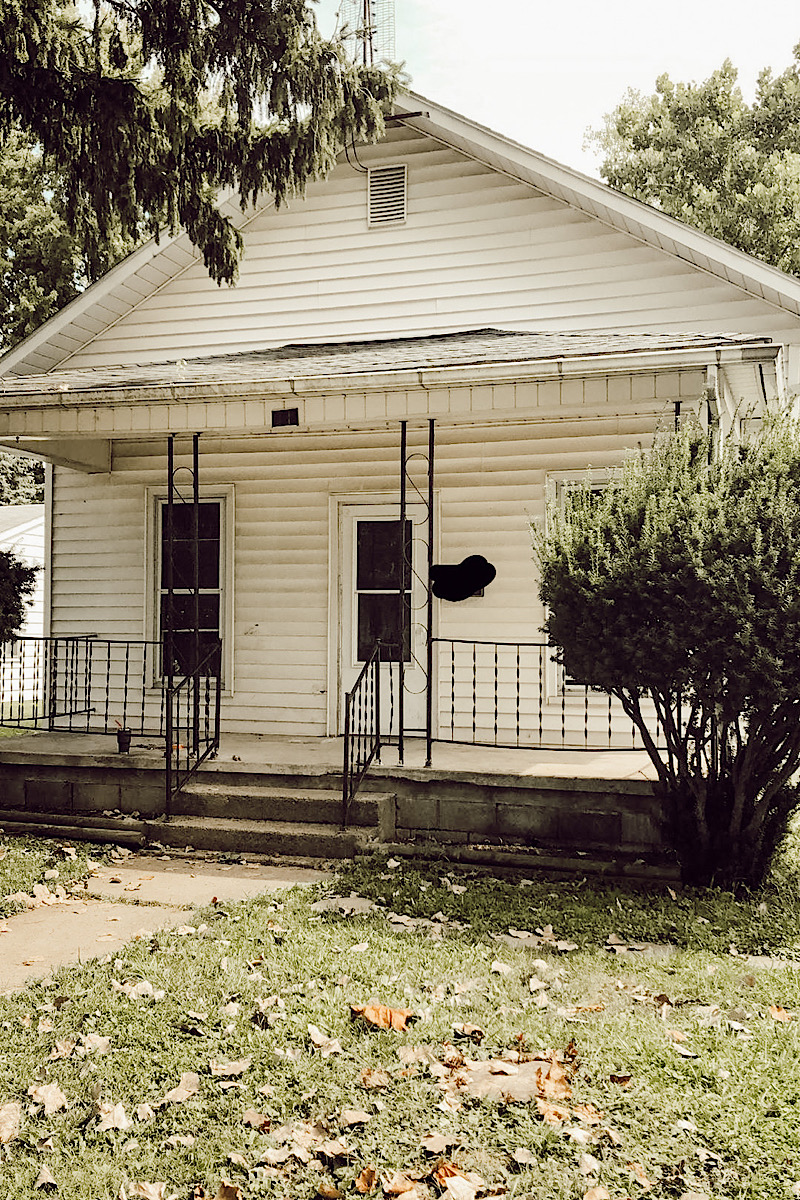
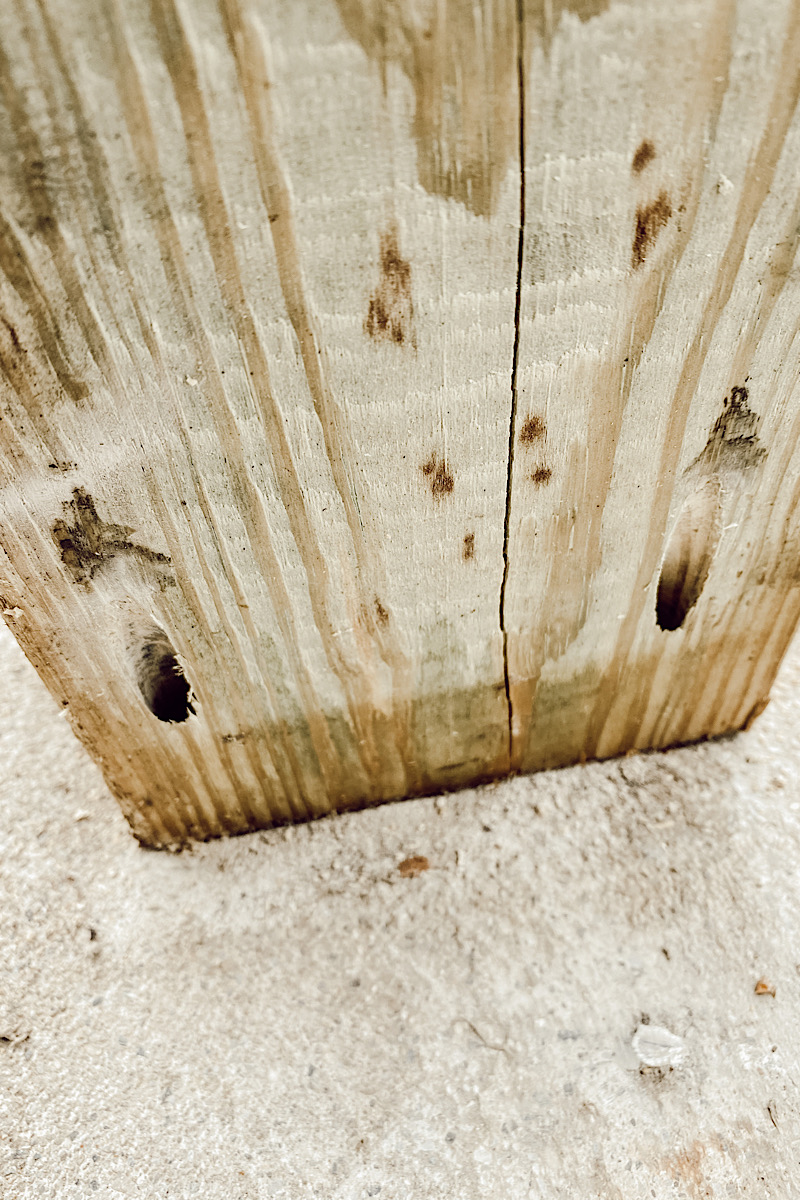
The wrought iron columns weren’t only a bit out of date, but there was one that was missing. This before picture is of when there were four. BUT, then there were three. It basically just fell off. So, the owner got these 6×6 treated posts for us to use to replace them.
We used a jack, a 2 x 4, and a 2×6. Deb attached a small piece of 2×6 onto the ends of the 2×4 to make the shape of an I. The bottom of the I was on the jack, and the top of the I was on the porch beam about a foot from the column we wanted to remove. We raised up the jack about a quarter of an inch to support that area. And then removed the old wrought iron and slid in the new column. Repeating the process on all four.

Attaching the Porch Columns
Before putting up the columns, Deb used a Kreg tool to drill holes for when she attached them, but you don’t have to do that. Using a 4′ level, and making sure they were level both ways, we attached each column with two screws on each side at the top and bottom. So each post is attached with 8 screws at the top and 8 at the bottom. We used outdoor wood screws at the top and concrete screws at the bottom since we were attaching these wood posts to concrete.
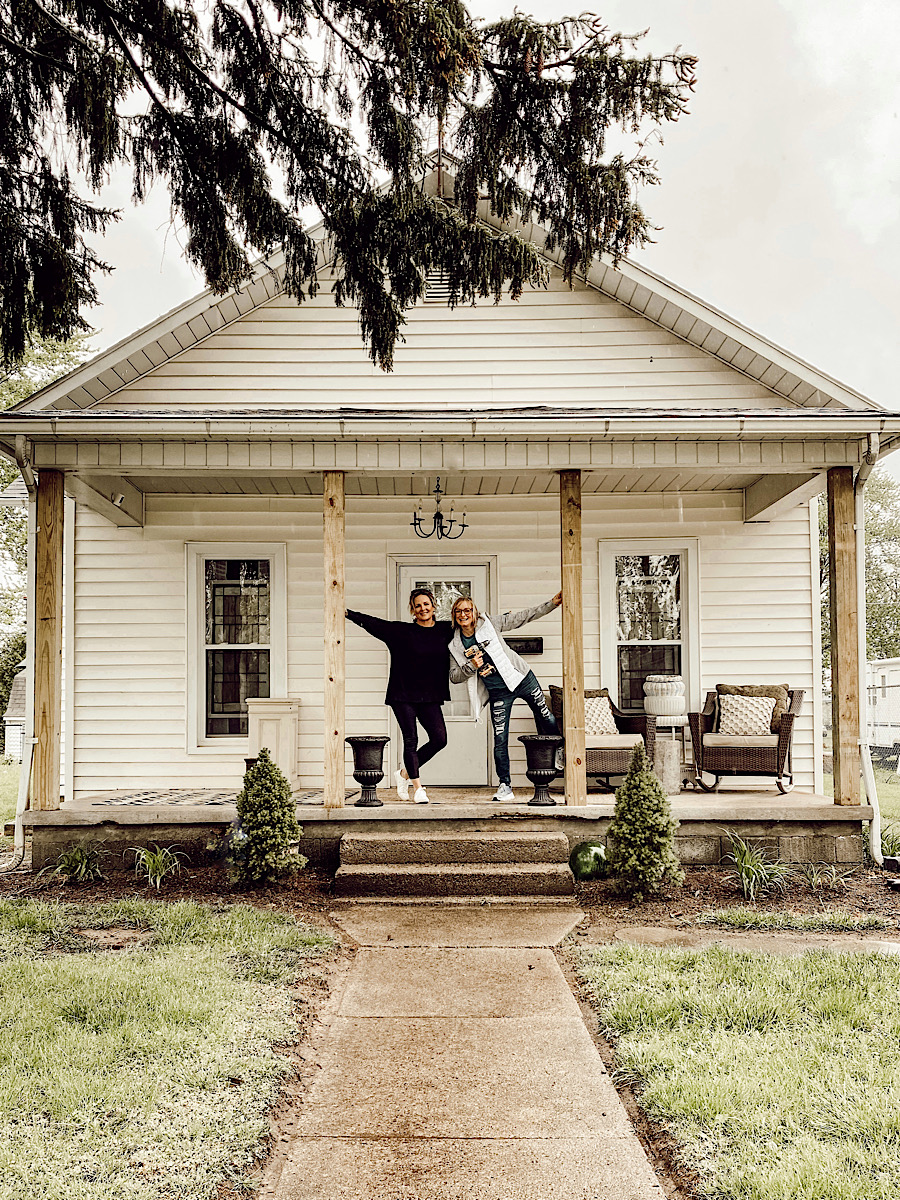
Switching out these columns were seriously so freaking simple, and it made such a huge difference. We need to fill in the screw holes with stainable putty and stain them all yet. We want wood beams as our porch columns on our new house so this will be the test if I love them after a period of time. Plus, it goes along with my woods and whites theme that I love, and they can always be painted.
Stay tuned for the rest of the front porch makeover. I’m so excited to share it with you!
What do you think? I’m LOVING the new look!
Leave a Reply


We may earn a small commission when you use one of our links to make a purchase.
about
work with us
shop our favs
blog

I absolutely love it! I will be attempting to change my porch columns, along with adding a few more, this weekend. Thanks for the inspiration. Also, thank you so much for sharing!
Awww.. good luck to you. It was so easy and made such a huge difference.
Looks so much better! Dang you two, if you ever want to live in Bloomington, IN, let me know! I rent out the house I grew up in and would love renters that like to fix things up! The renters I have now just like to do nothing and I have to keep checking on them when the neighbors complain about the trash piling up on the porch! I would love to have someone who cares live there again! You two are amazing DIY’s!
Awwww…. thank you so much. My daughter LOVED Bloomington. She lived there for 8 years.
[…] money. Or I should say LITTLE money. The backyard got an inexpensive makeover. We replaced the front porch columns for a month’s rent. And, we added a shelf above the washer and dryer in the laundry room. […]