Camper Renovation: Vinyl Plank Flooring
June 10, 2020

We are ALMOST DONE with the camper renovation. And, I cannot tell you how extremely excited it makes us. I have heard from so many of you that you will be sad when it’s over. ???? Well, don’t be. We have SO MANY FUN projects in the making. If you follow over on social media, you already know this, but we are in the midst of creating a fire pit area in the woods where we are building. We have an OLD LADY SWING SET planned next. It’s like a tiny pergola that you hang a swing on. We built one at our other house out in the country and used it all of the time. I’m excited to tell you about this camper renovation project today!
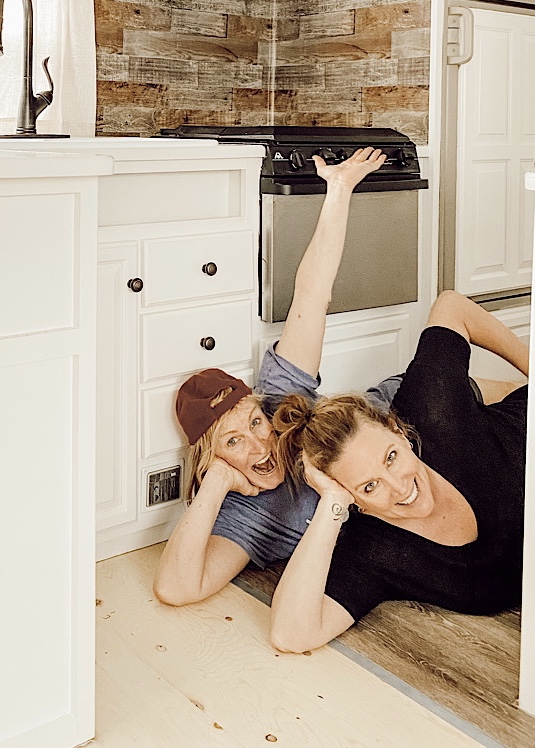
If you are new here, we bought this camper to keep on our property while we build. It will be a little shelter from rain, a place to have snacks and drinks, etc. Also, it will be a place to stay when we are working on the above projects and don’t want to come back to the rental. We did plan on fixing it up from the very beginning but didn’t think it would take this long. Part of the issue is that Deb doesn’t have a work shop. She is dragging her tools up and down from the basement at the rental. So, if the days are going to be rainy or hot and humid, that’s a big fat NOPE. Oh.. speaking of workshop. You guys wait until you see Deb in all of her glory in her new workshop in the woods. I ABSOLUTELY cannot wait to share her projects, too.

Camper Renovation: Vinyl Plank Flooring
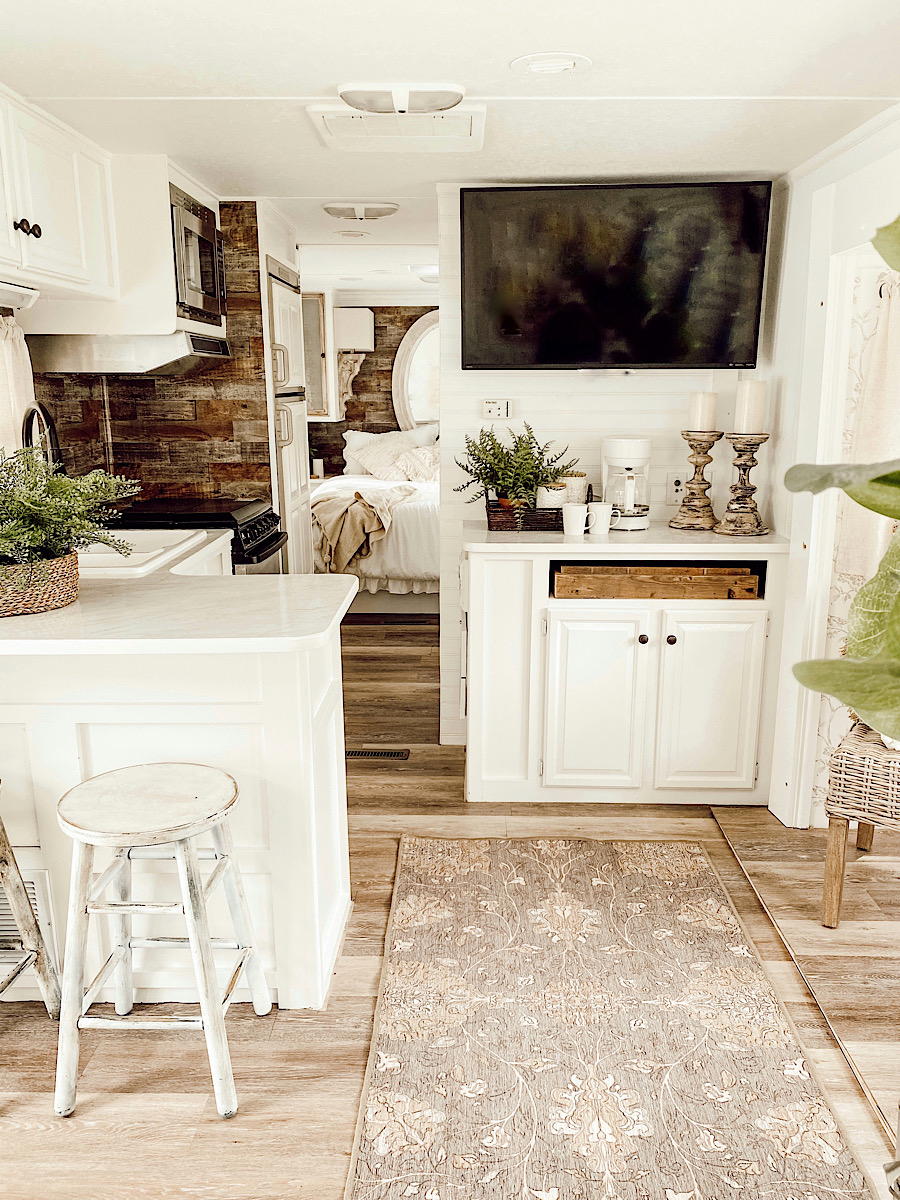
First things first. I did a Q&A about this camper project over on Instagram stories. I did save it in a highlight so it may answer any questions you have. One of the questions was about adding weight to the camper. We kept weight in mind with every decision we made. We removed several upper cabinets, the banquette table and bench seating, the wooden valance pieces above the windows, and the carpeting. So we knew we were safe with hanging wallpaper, making the dining room table, and installing this vinyl plank flooring from Home Depot.
We chose this type of vinyl plank flooring for several reasons. First, it is only 3.8mm thick, which is perfect for a camper. It is scratch resistant and water resistant. Installation is SO easy because it can be cut with a blade, and it has a grip strip to help keep the planks together. PLUS… it was only $1.89 per square foot. I believe we may have about $300 in the flooring… I would have to go back and look at the records again, so don’t quote me on that one. ????
It does come in several different colors, but I chose the Khaki Oak color. Because I wanted to stick with the same tones as the wood wallpaper that I used on the backsplash area.
Our thoughts…
We obviously don’t know the wear and tear of this vinyl plank flooring because we haven’t had it long. BUT…. I did hear from SEVERAL people over on Instagram who said they have this throughout their home and LOVE it. I heard no negative reports. It was VERY easy to install. And, like I said, we cut it with a blade…. scored and snapped. As every other project, the farther we got into it, the faster it went. We, also, came up with different ways as to not have so much waste.
So far… we give it a 5 out of 5 stars. ⭐️⭐️⭐️⭐️⭐️ So, what’s left to do?
What we have left to do….
We are down to the check list of things to do ????….. We need to finish installing the baseboard trim. Deb got a good start while I was finishing up the flooring, but didn’t get it finished. We need to install the trim around the edge of the slide-out. We have an idea in mind that we think will work for that. (Several asked how we were going to do that.) Deb and I found an old screen door on the trash which we are going to convert into a sliding bathroom door. I want to hang a curtain as a door to the bedroom for privacy and hang some blinds in the bedroom. More or less it’s just small things.

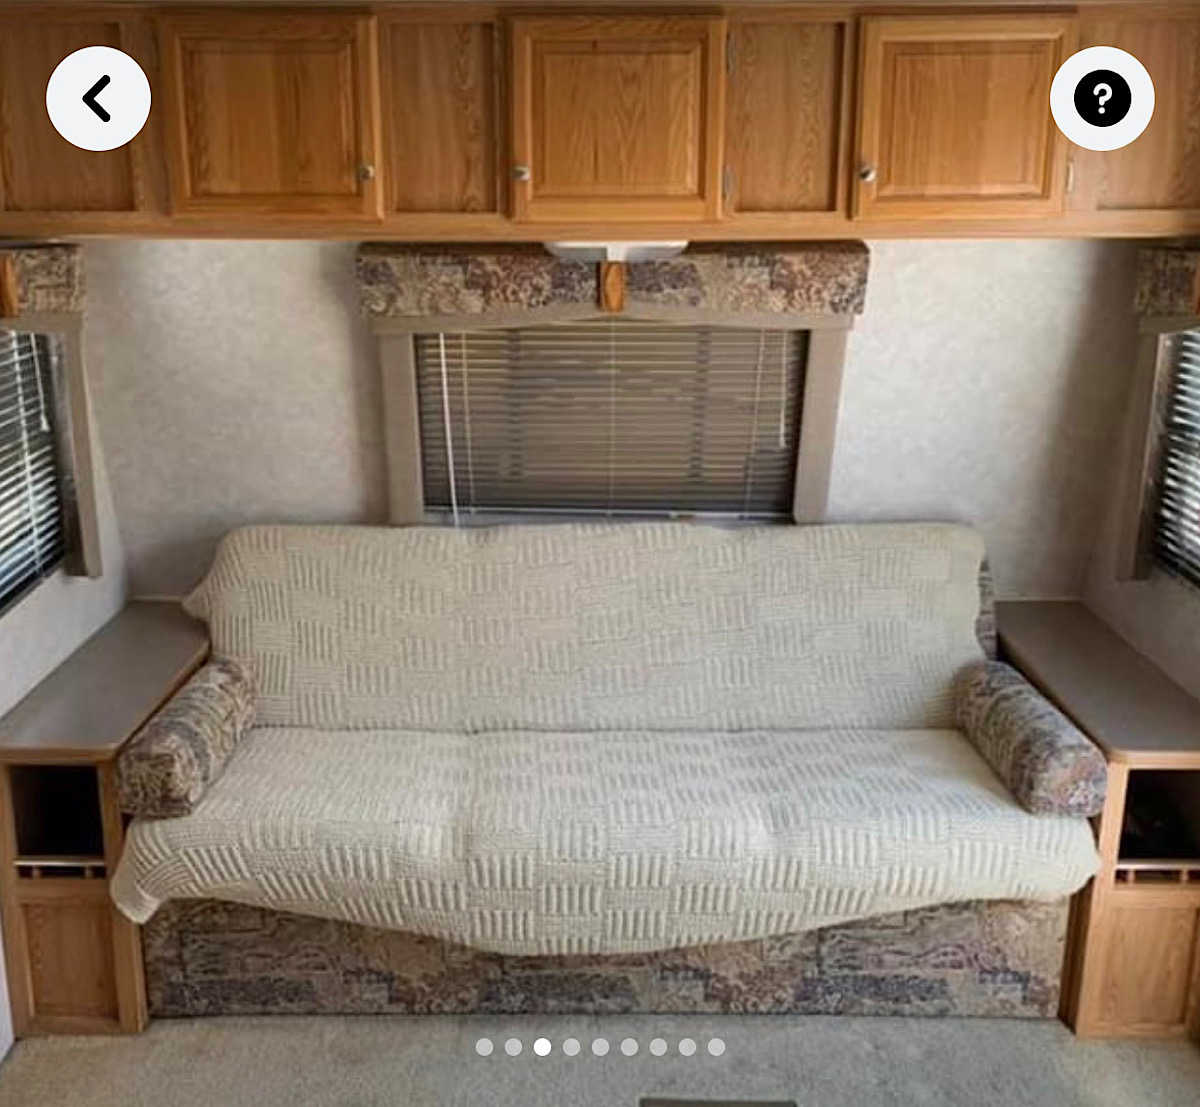
We do, however, have one more reveal coming soon. And, that will be this couch area. ???????? It’s going to be a HUGE change and I’m so excited about showing you.
So, stay tuned for that and lots of other fun projects to come.
PIN THIS FOR LATER:

Leave a Reply Cancel reply
We may earn a small commission when you use one of our links to make a purchase.
I continue to be SHOOK by this camper renovation. The flooring is amazing. I’m planning to redo our covered veranda. Any thoughts about whether it would work outdoors? Thanks!
Thank you so much! And I don’t know about that…. Maybe check with the manufacturer.
How big is the camper,did you prime the cabinets before painting?
We used a deglosser, sanded, and then primed the cabinets first due to them being laminate. You can find all the details here: https://debanddanelle.com/camper-renovation-painting-the-cabinets/