Camper Renovation Ideas – Dining Table
May 21, 2020

You guys know we are in full-fledged camper renovation mode over here. We bought the camper to renovate and pull into our woods while we build. It will give us shelter, some place to sit while the contractors are there, etc. And, it’s coming together quite nicely. We are in the fun stage of putting our own twist on it and putting it all back together. I have posted about it so many times. You can find everything I’ve ever written about the camper in the PROJECTS tab. There is one labeled camper, so you can see several other before pictures. Speaking of before pictures….
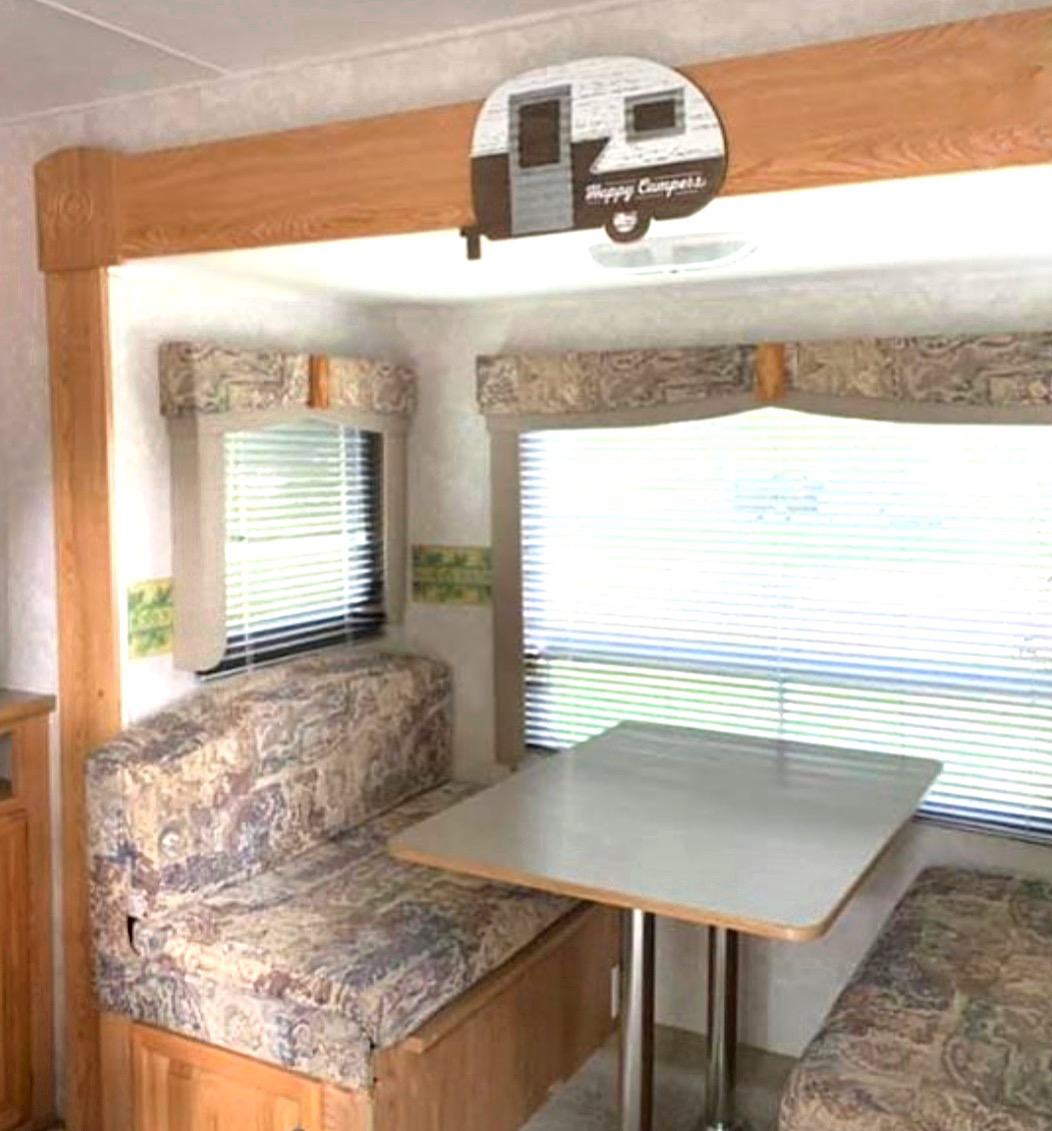
One of the first things we did, on demo day one, was rip out the dinette set. It looked so clunky to me and took up so much space. I knew that I wanted to turn this camper into a little house on wheels. So I originally thought I wanted a round dining table with a few chairs. But, after we started putting it all back together, I changed my mind. I wanted a simple floating shelf-like table in front of the windows with two chairs. That’s it. We ended up making it almost like we made our laundry room countertop.
I snapped several photos to show you how we did it, because I always think photos are easier to follow along.
Camper Renovation Ideas – Dining Table
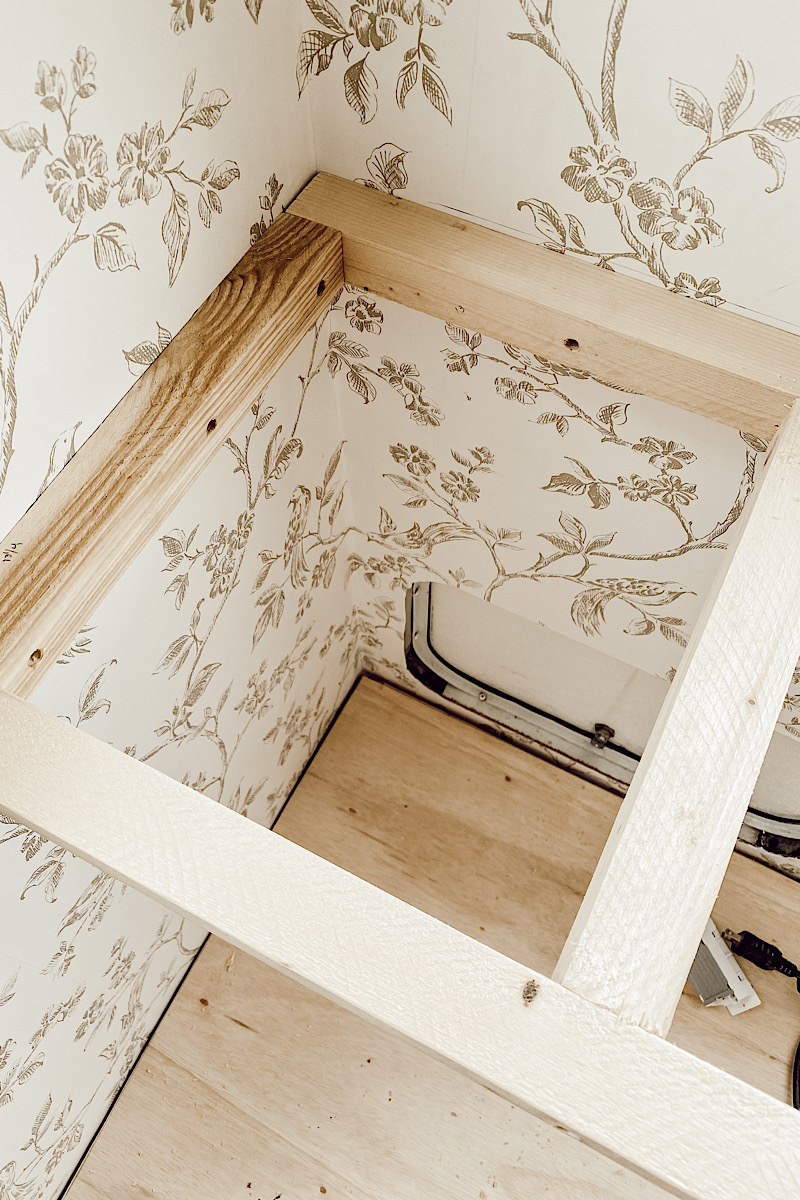
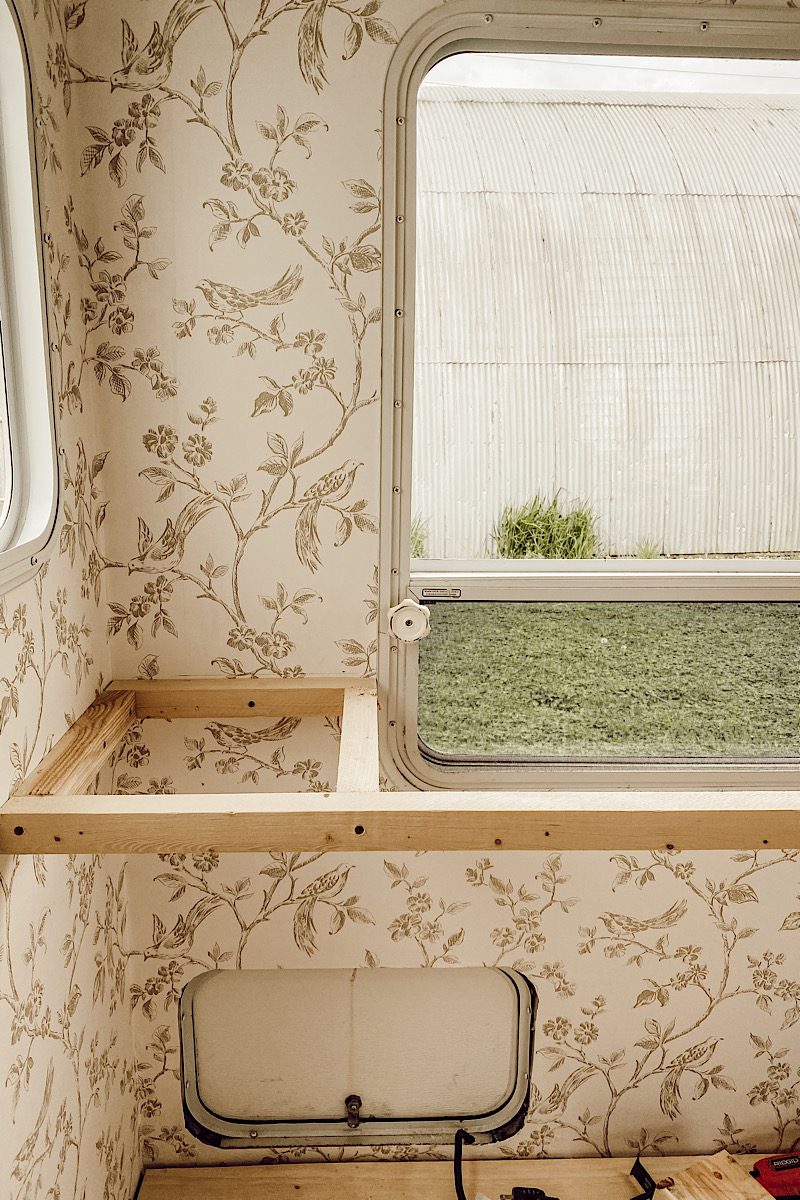
We first determined how big we wanted our dining table. I knew we wanted it to go all the way across the dining slide out. We determined we wanted to depth to be just big enough to hold a lap top or our plates. Because we wanted walking room rather than table space with just the two of us. So, we decided on using a 2×10 and a 2×8.
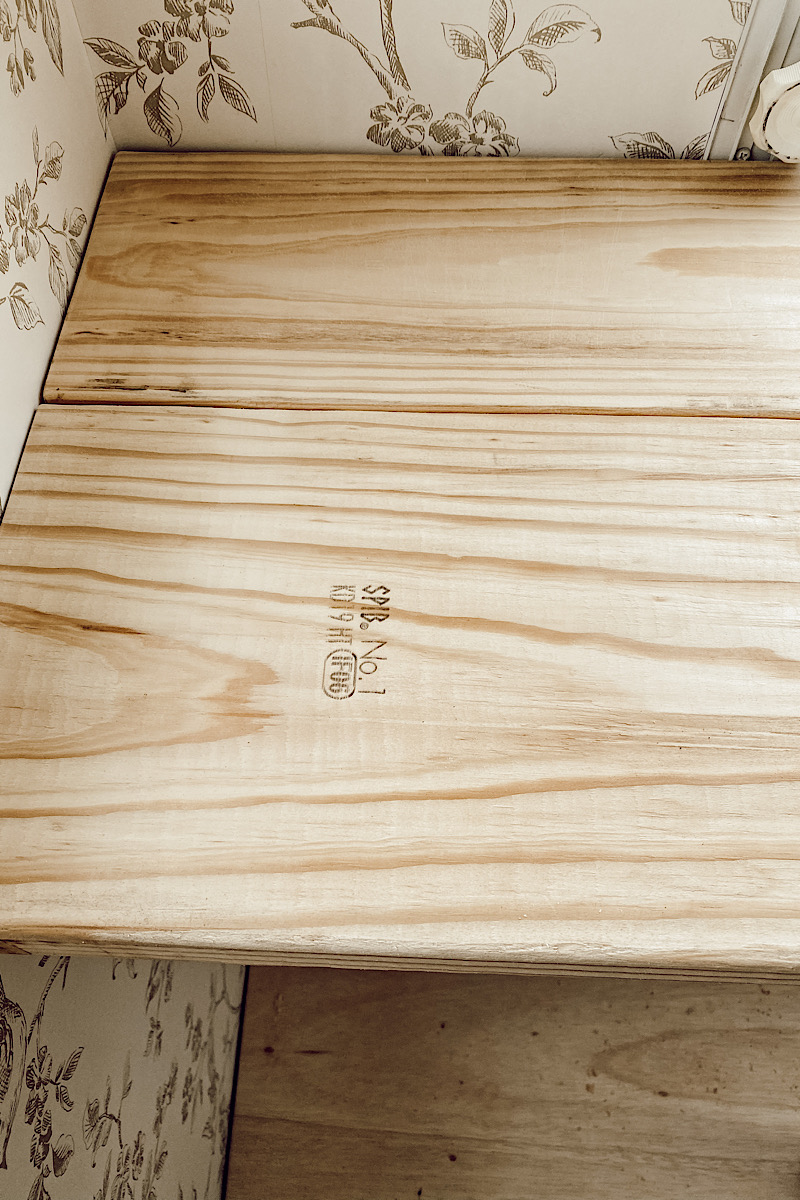
Deb attached a 2×2 all the way around with screws making sure they were all level. She added that little extra piece for support around the windows and then attached the 2×8 and 2×10 to the top. She is very EXTRA so she used a lot of screws. BUT… mine would be janky and fall off the wall the first time I used it. ???? Hers won’t, so that’s the difference. Attach it well.
The Finish Work
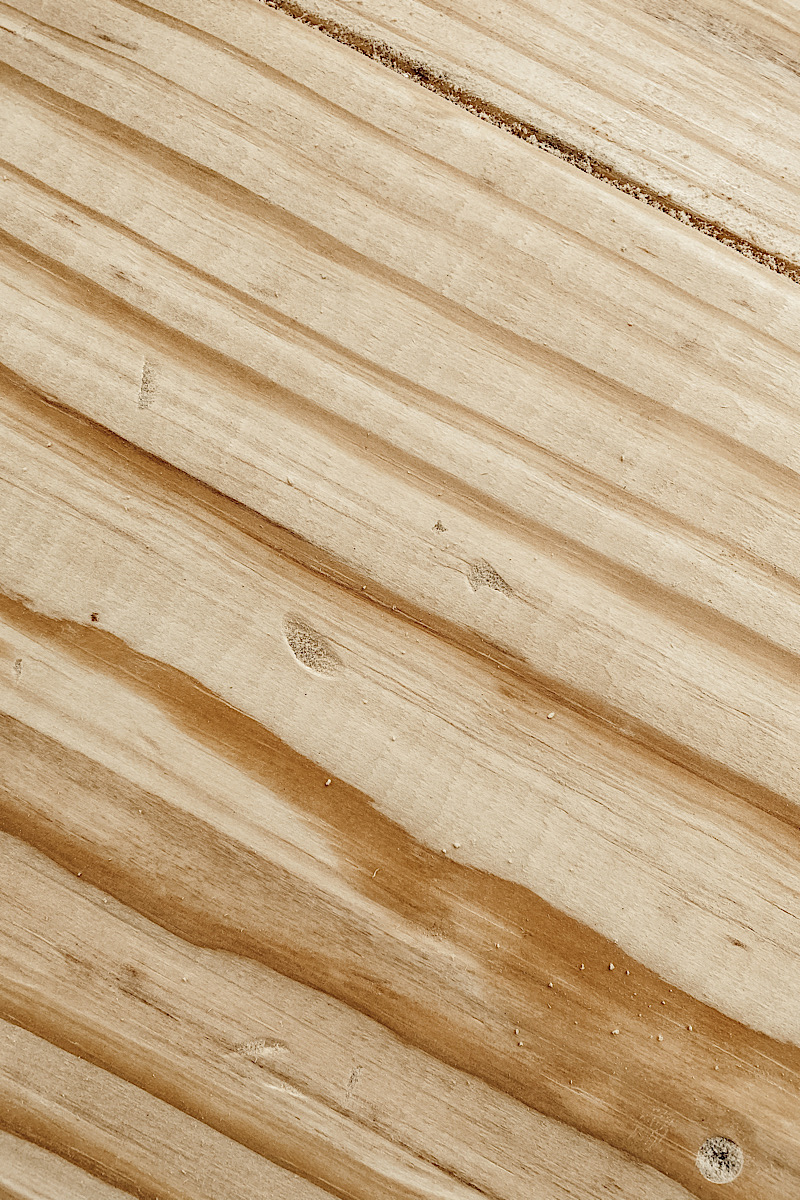
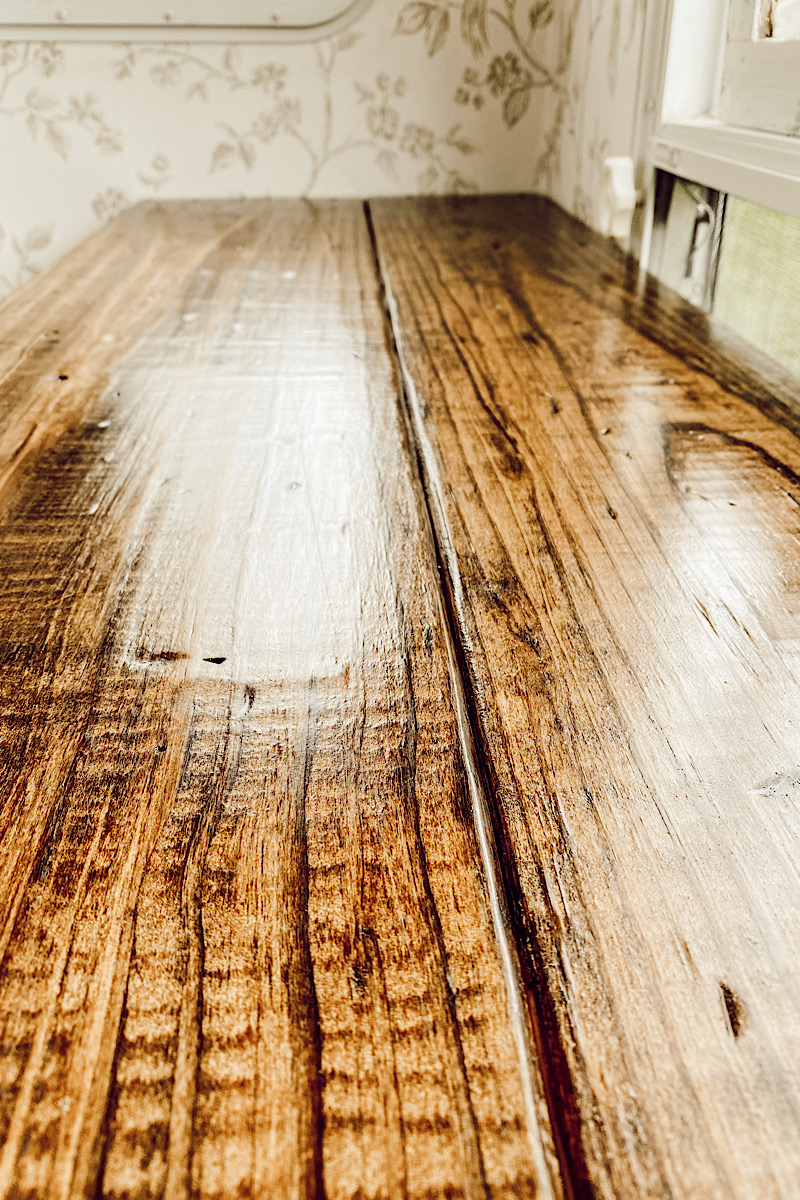
I wanted it to look older so after sanding off the stamp from the lumber yard, I used a hammer and screwdrivers to beat it up. I literally just hit it with anything I had on hand out in the camper…. chain, hammer, wrenches… just to make it look worn. It’s what we did with our pine wood floors when we installed them. We are installing them in our new build, by the way.
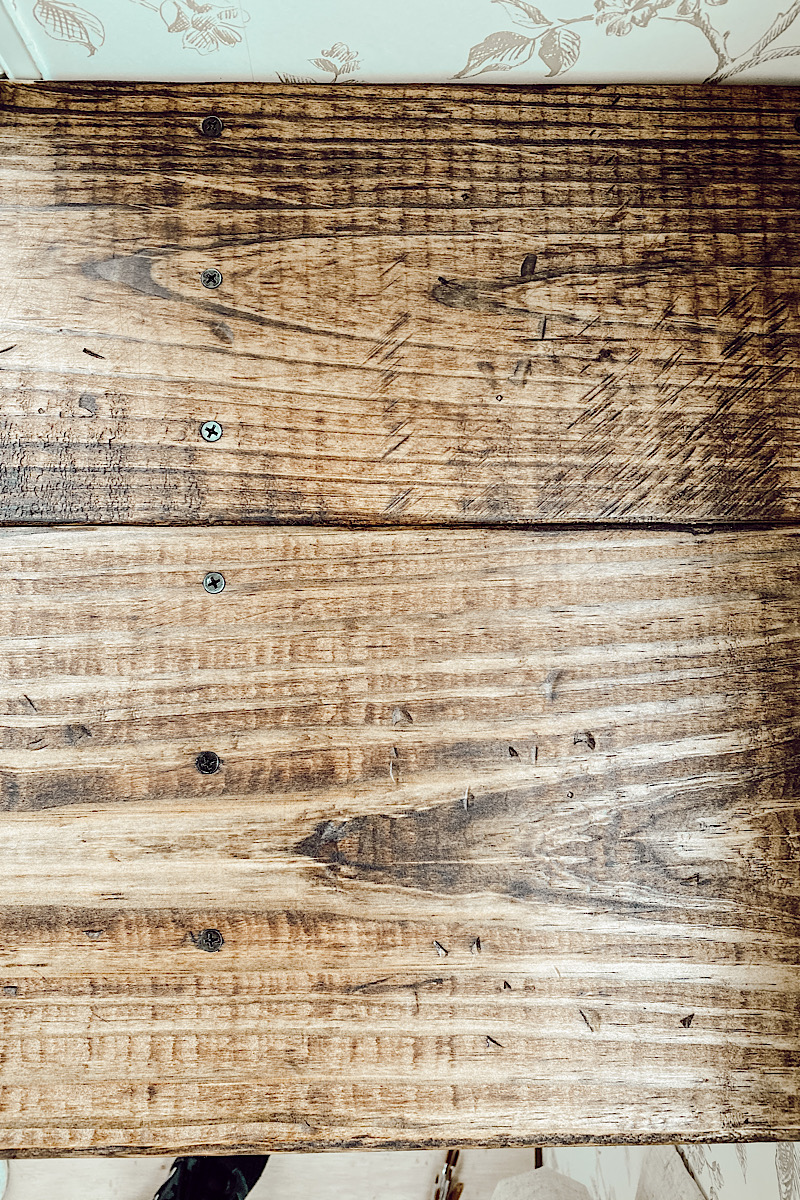
I ended up staining the boards with Minwax stain in the color Provincial and then adding two coats of floor poly to protect it. Floor poly holds up so well. We use it on all wood floors and wooden countertops, etc, when we are turning furniture into bathroom vanities.

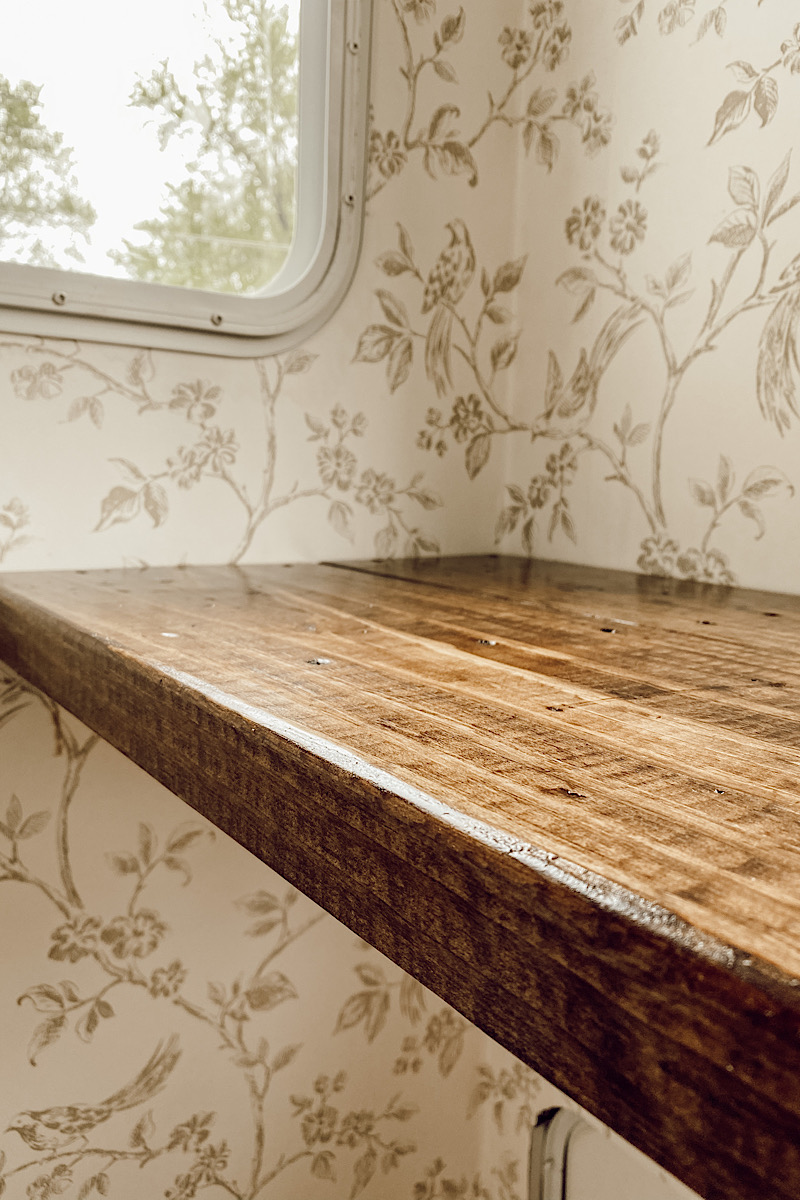
I love how it turned out. I will be revealing this entire dining space next week… decor and all. And I absolutely cannot wait. I think you will love it. So stay tuned. ????
Leave a Reply Cancel reply
We may earn a small commission when you use one of our links to make a purchase.
Danelle,
Ed wants to know if your camper has a metal structure or 2 X 4 boards? If metal, how did Deb secure the framework for the dining table?
Our camper has metal beams all around the top and bottom and what runs up and down through the walls are 2x2s. She attached the table to those.
[…] removed the typical dinette set in the slide out and replaced it with a floating shelf type table. Which was THE SIMPLEST project ever. One of the things that made THE BIGGEST […]
[…] (slide out). We replaced the banquette type table that most campers have and replaced it with a floating shelf table. We painted all of the cabinets and then gave the countertops a fresh look with peel and stick […]