Camper Renovation: Kitchen Countertops
April 5, 2020

You guys know we’ve been working hard on this camper renovation. We have done so much work to it. Which includes the dining room wallpaper, bedroom wallpaper, painted cabinets, kitchen backsplash, and recently the kitchen countertops. I have seen this vinyl self-adhesive peel and stick countertop paper before and thought we would give it a try. It would be very pricey to replace all of the countertops in the camper because they are so small and would have to be a special order. Since we are trying to keep the cost down so we can save for our house, this was the next best option.
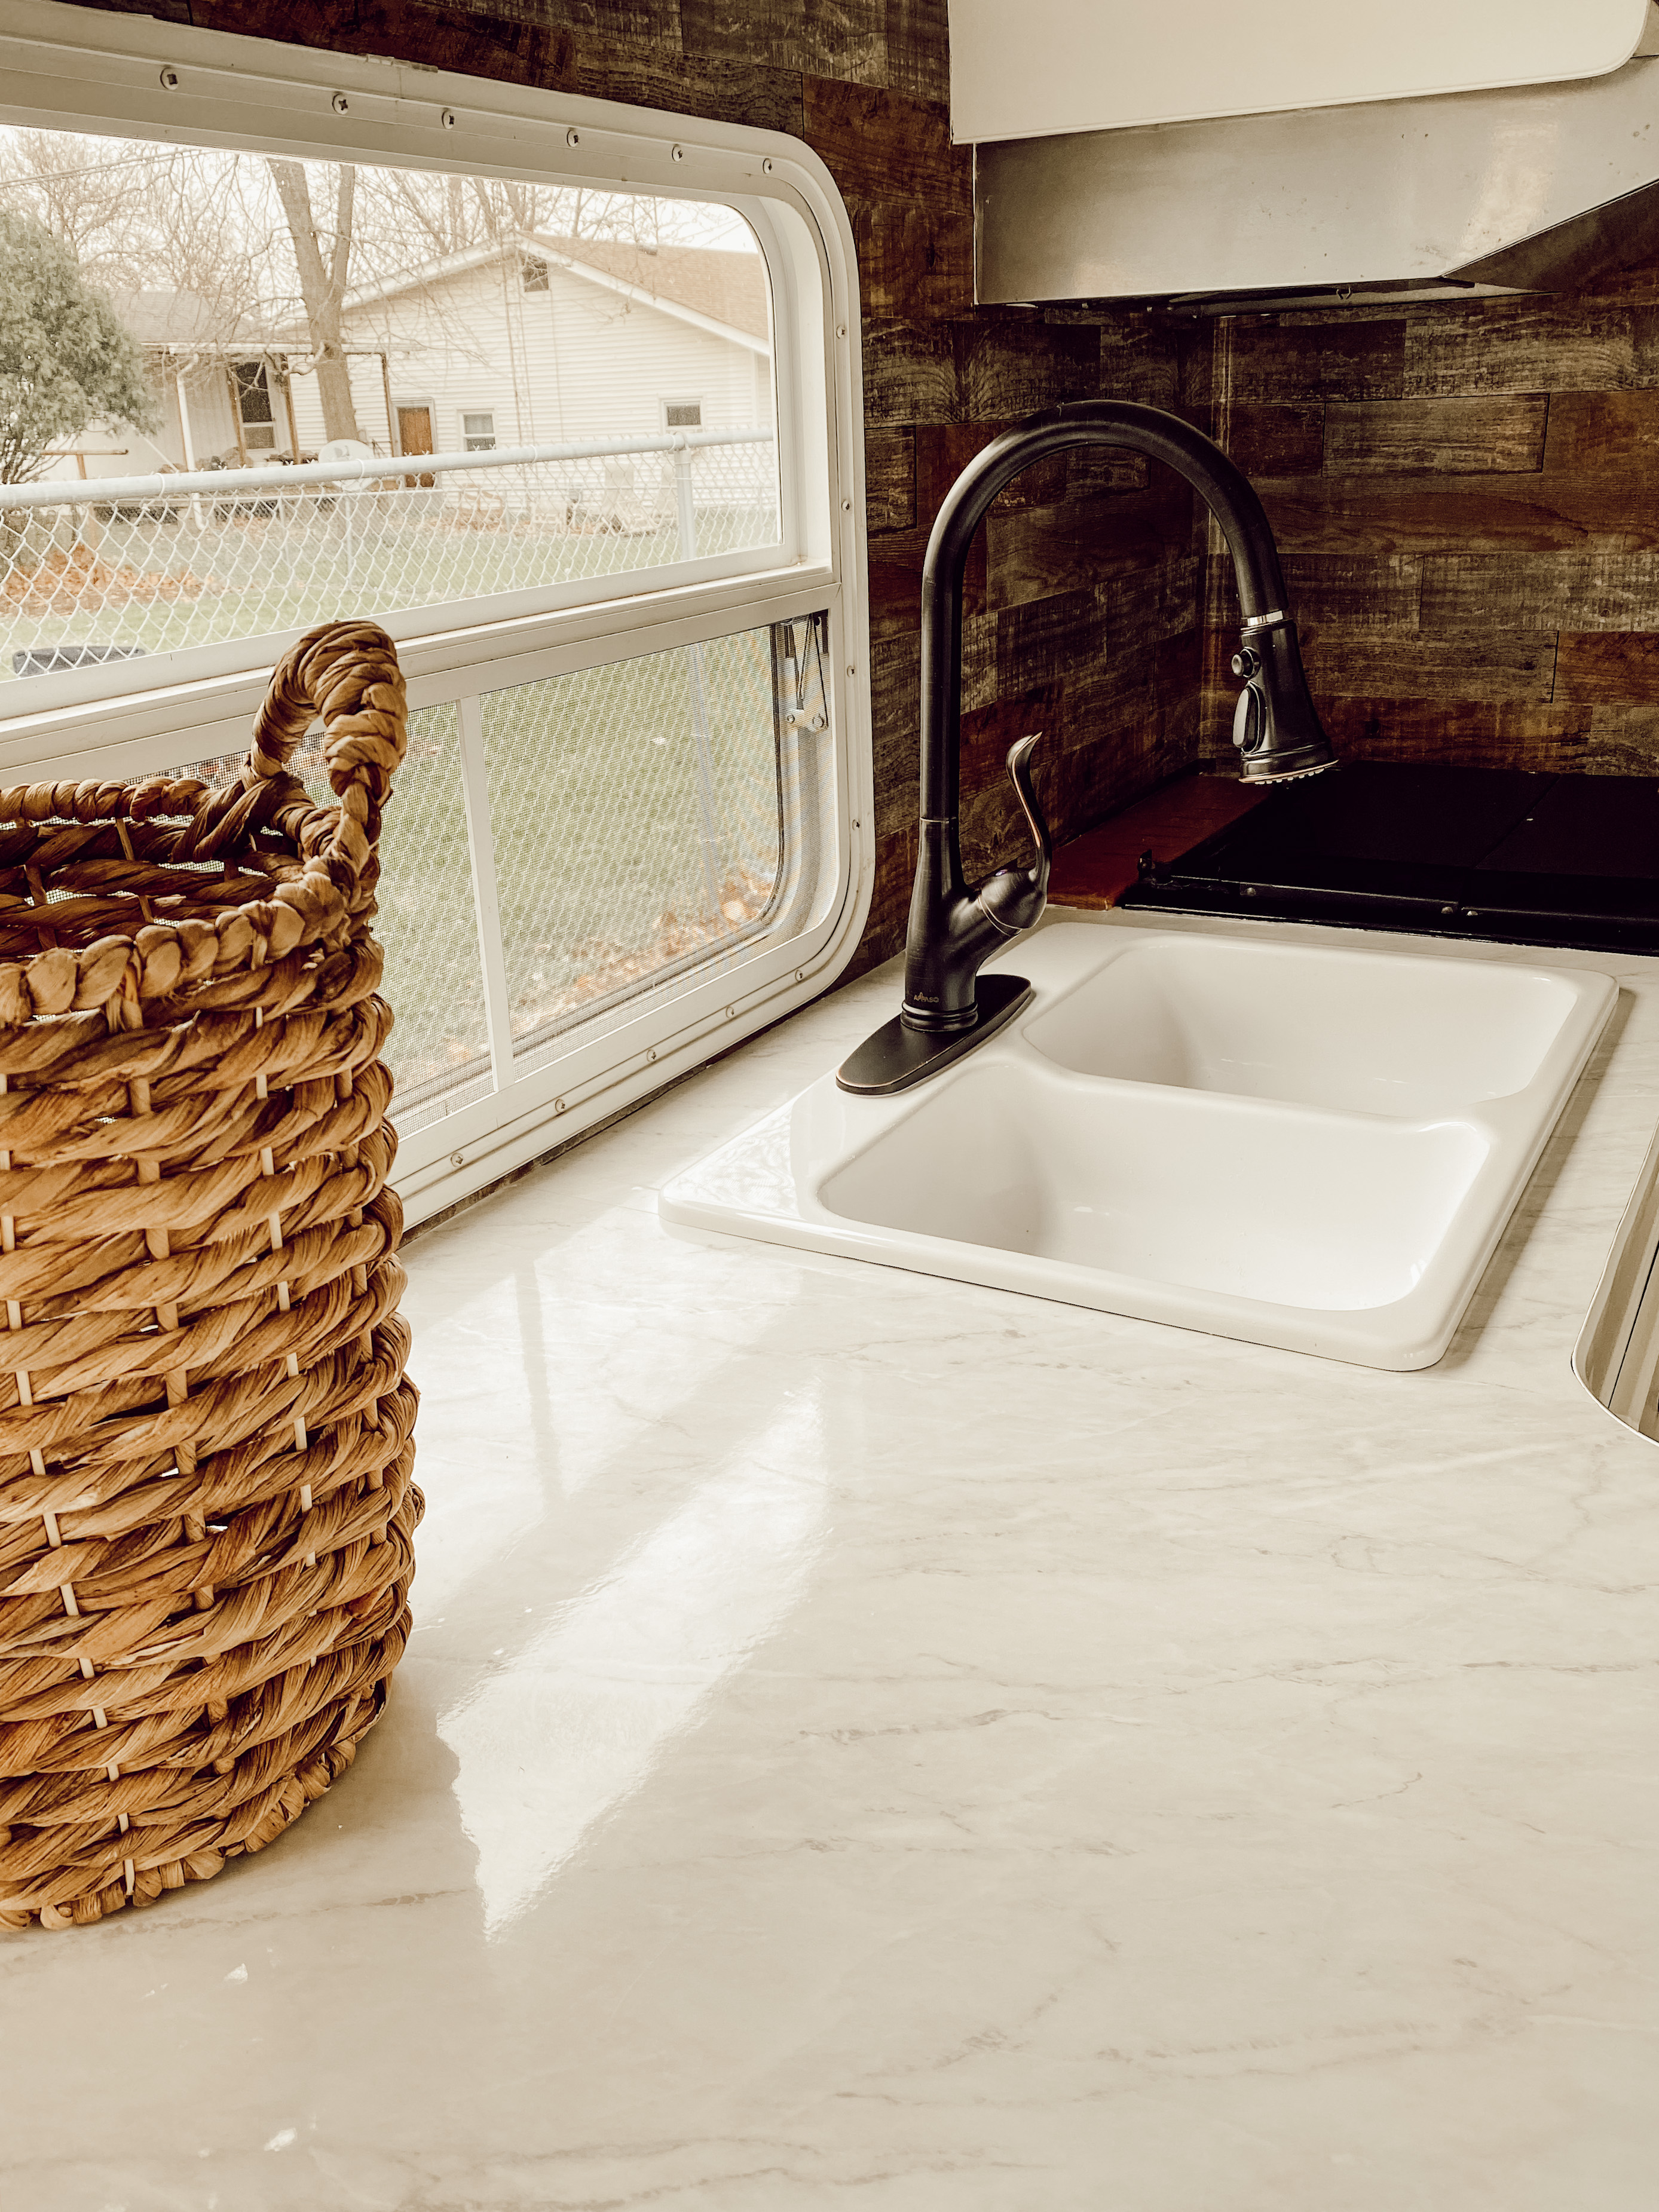
I wanted to lighten them up a bit and stick to my woods and whites theme. So I chose this marble pattern. They do come in different tones, but I liked the marble look.
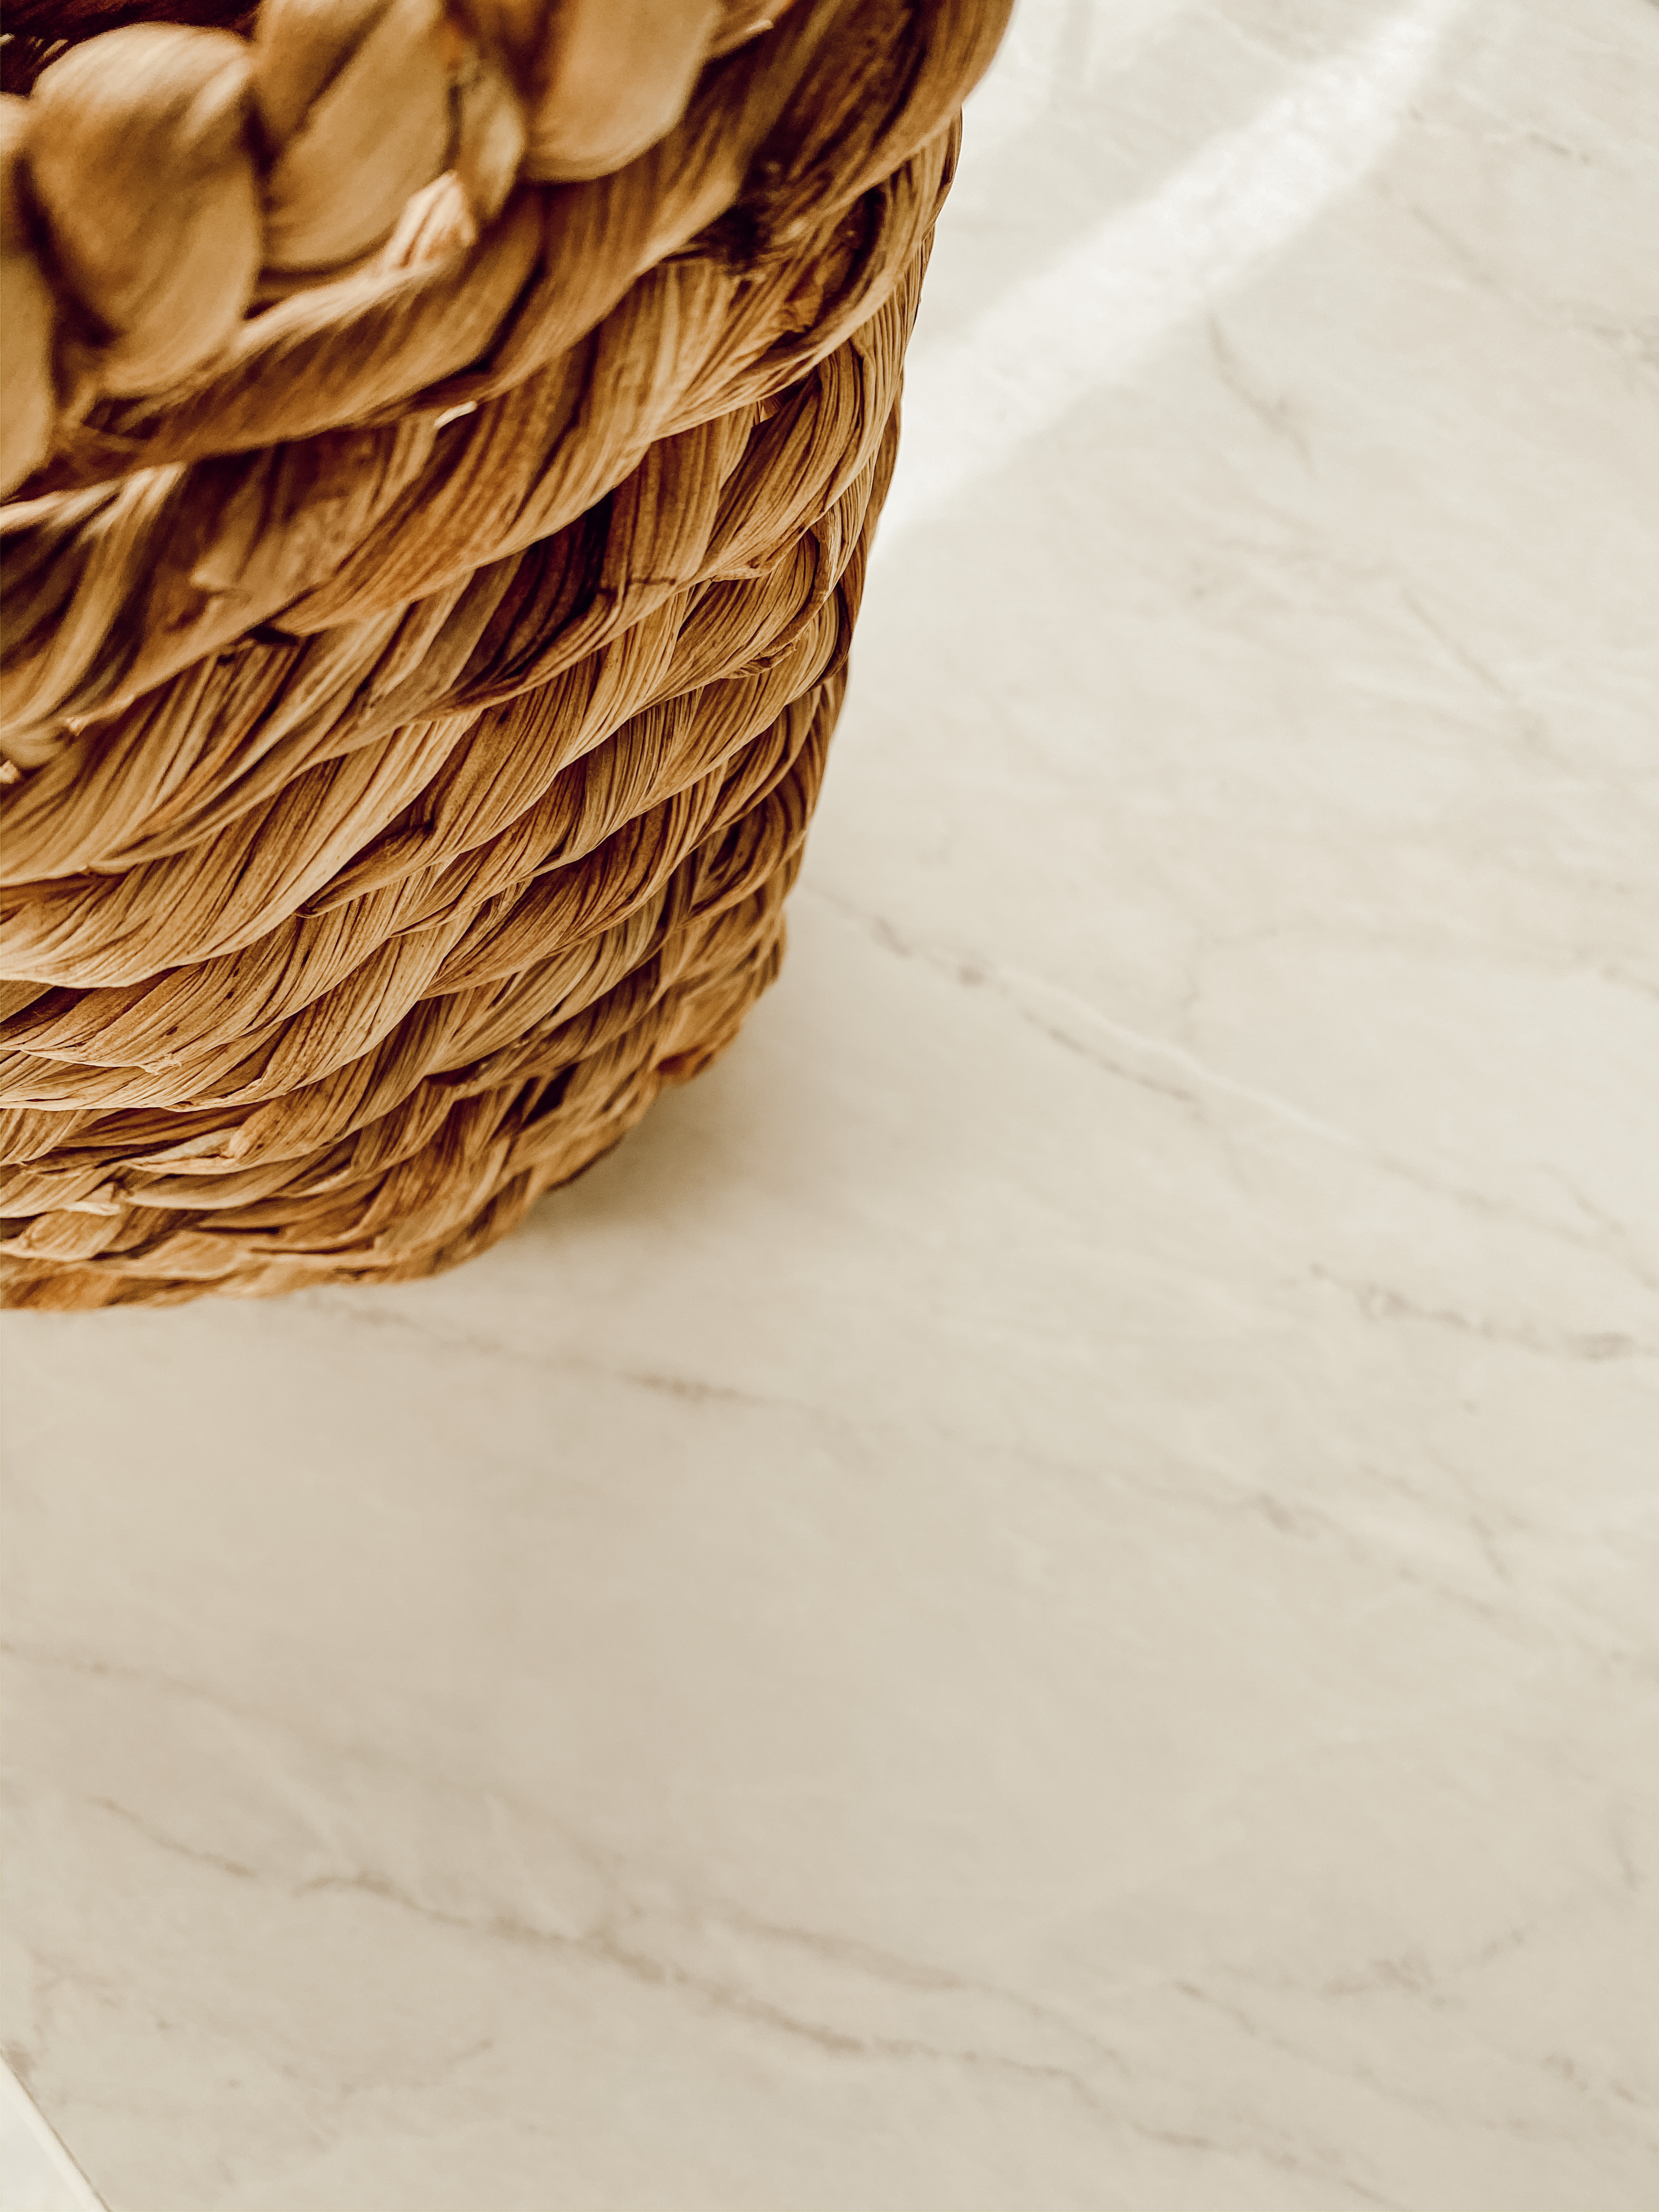
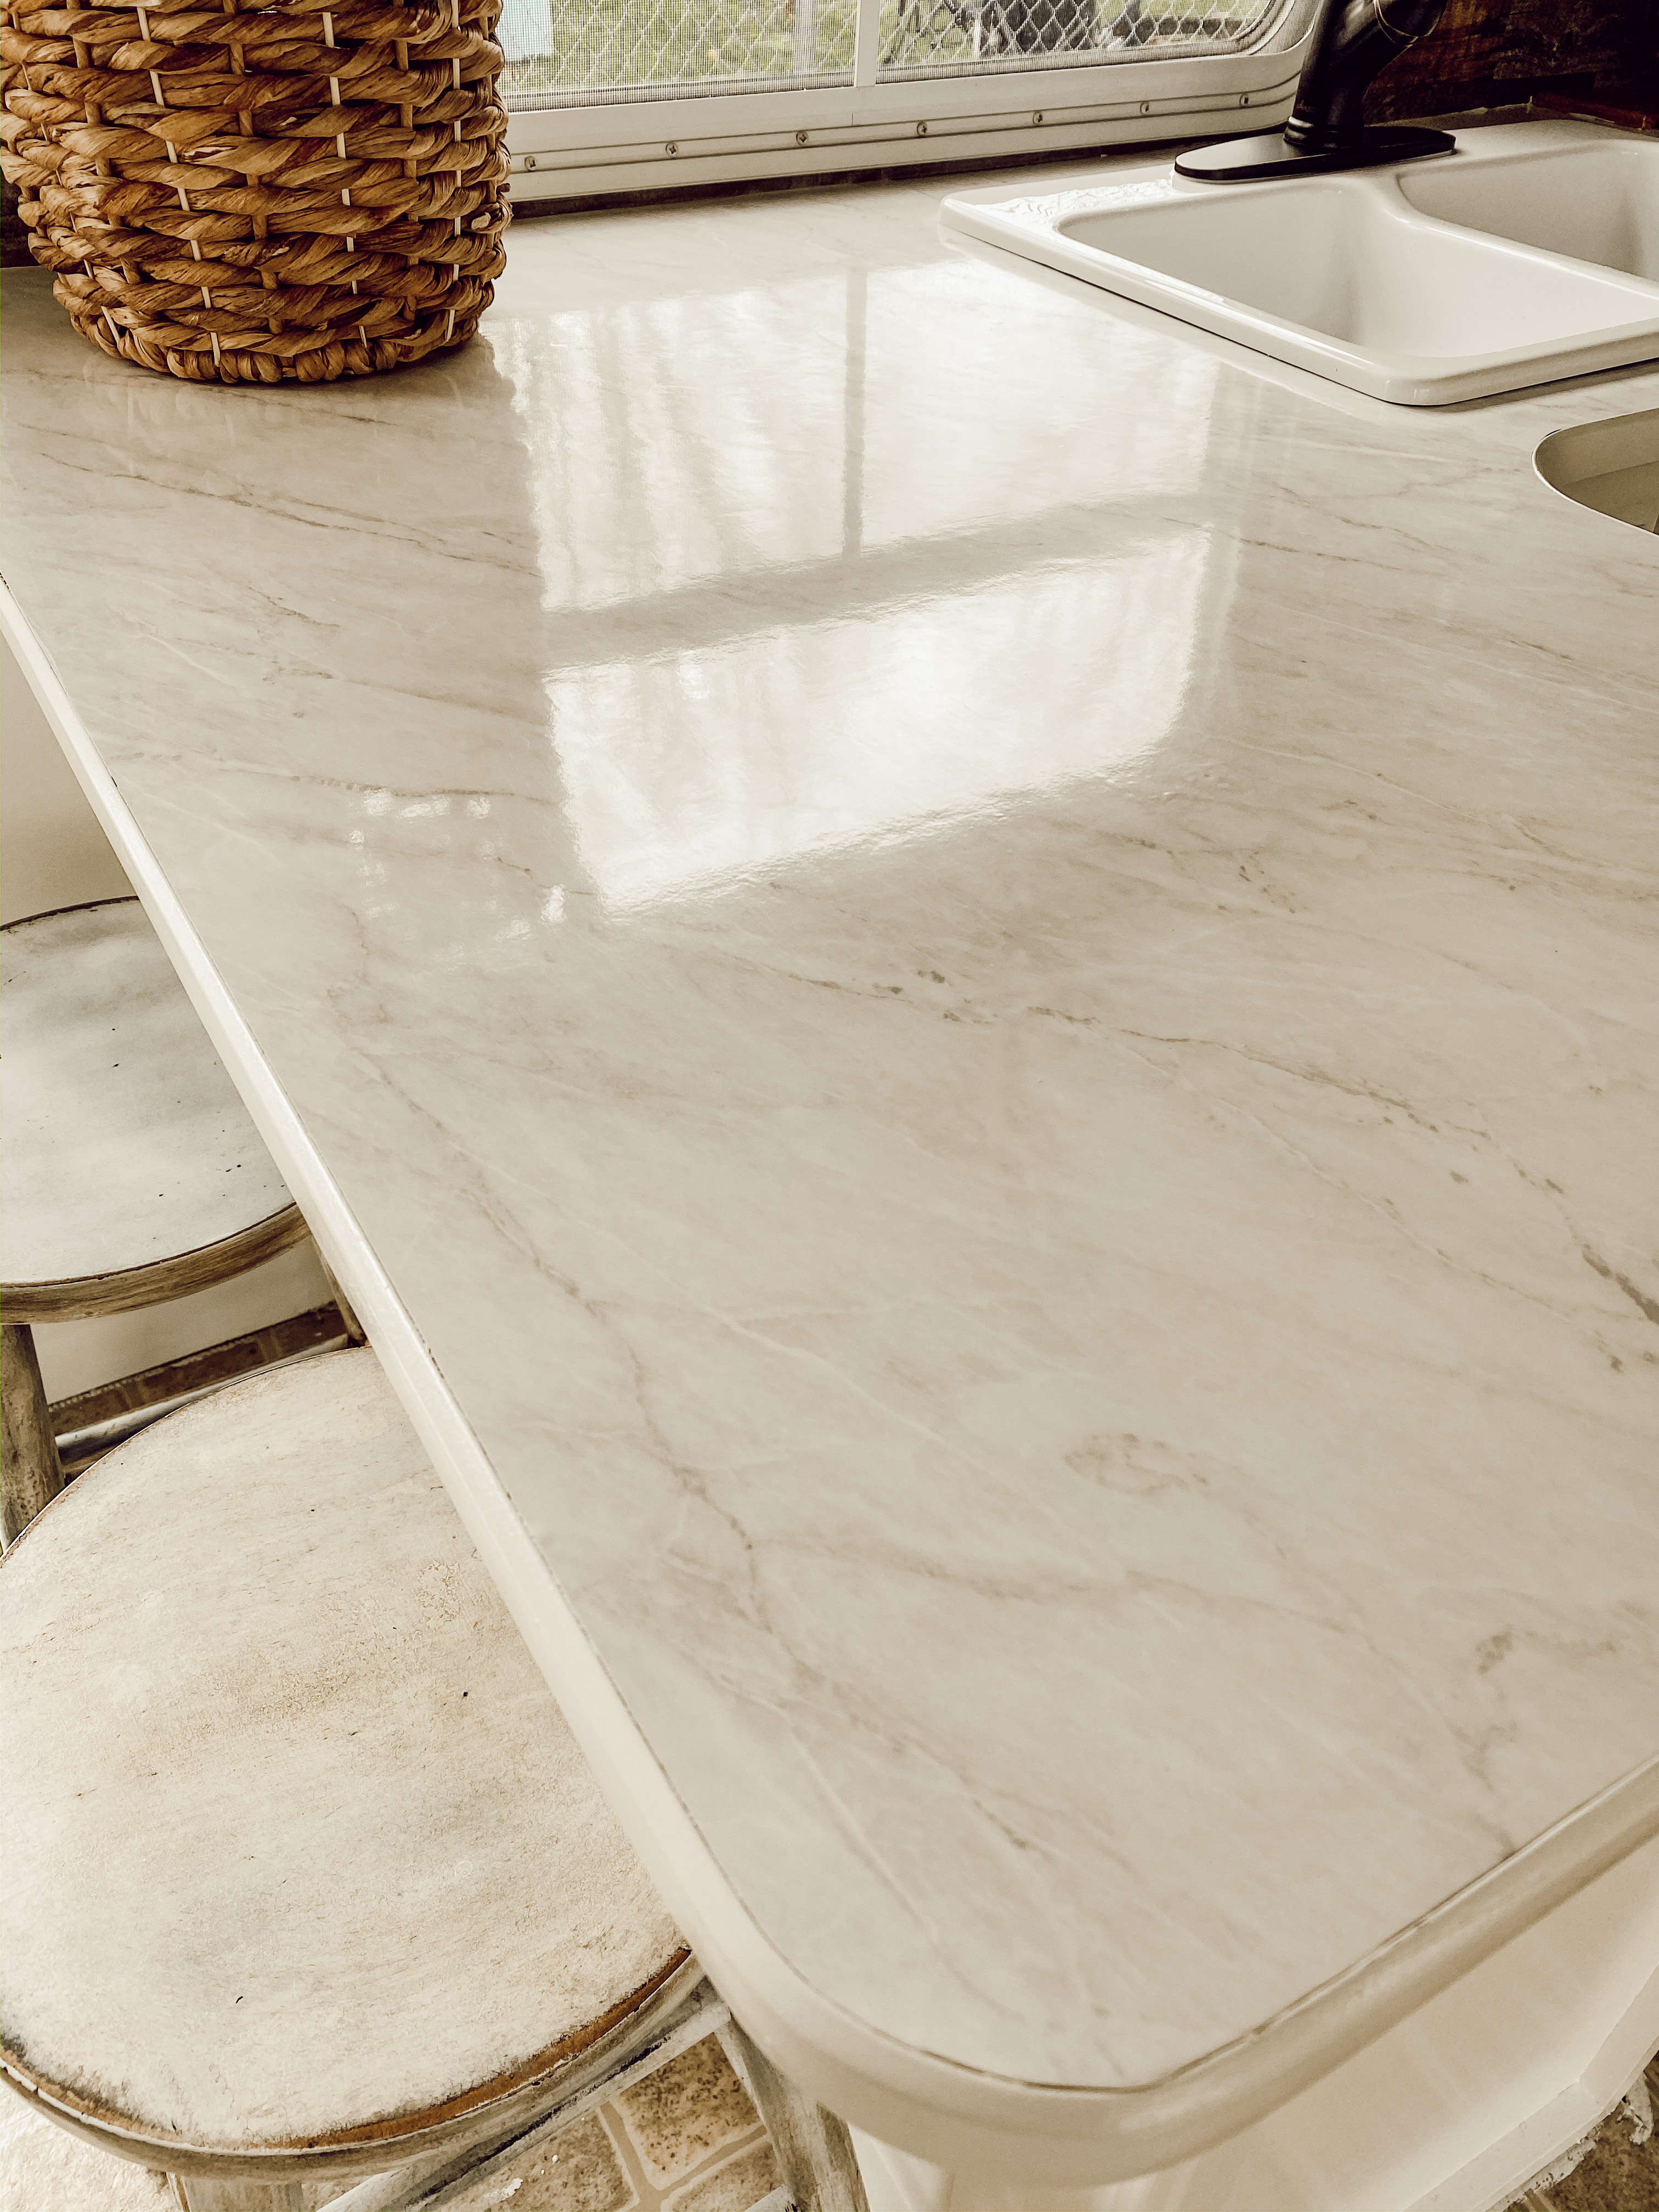
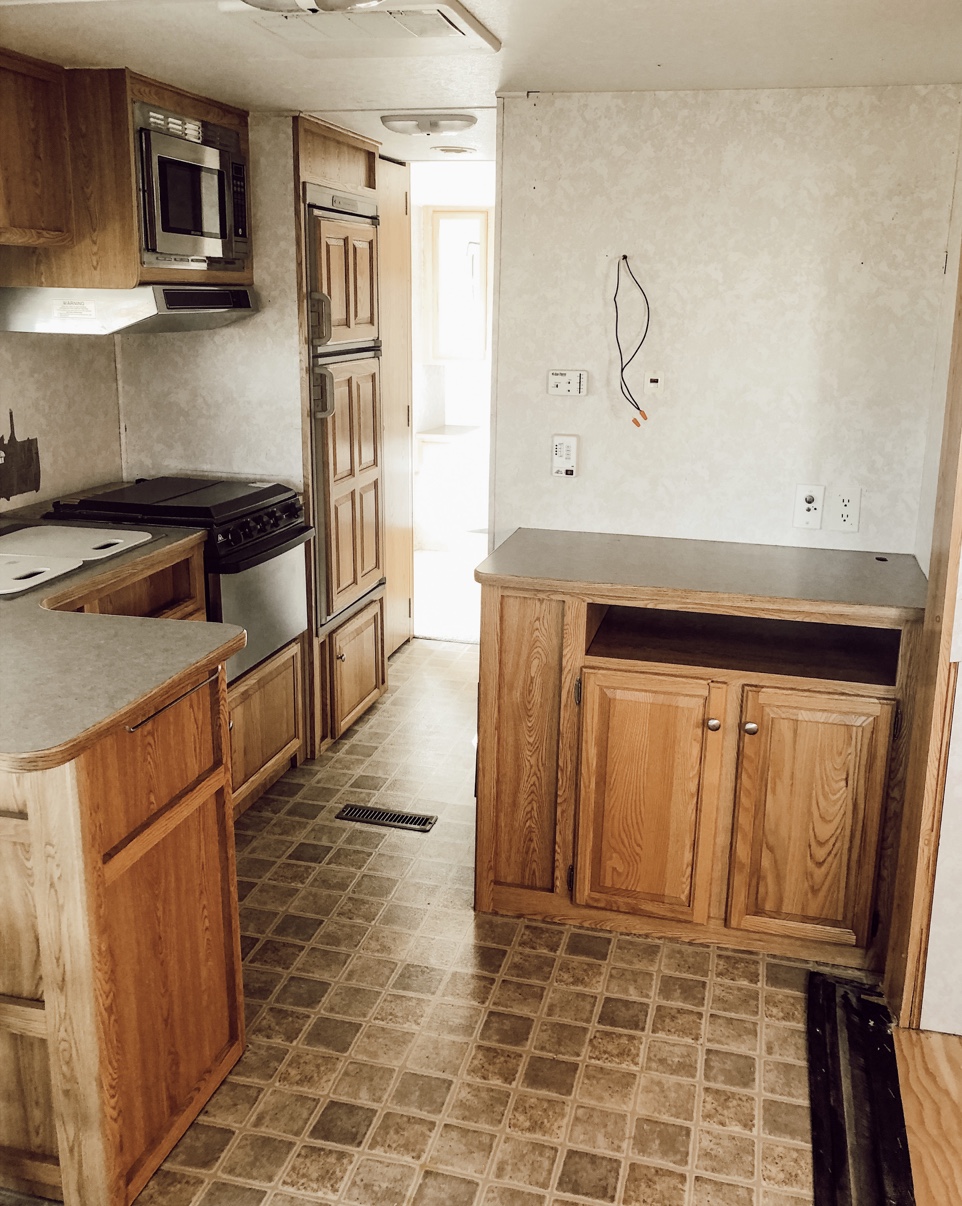
Camper Renovation: Kitchen Countertop
If you notice in the before photo, the edges of the countertops in the camper are trimmed out with a wood-toned plastic piece. We painted that edge white when we painted our cabinets. So the only thing we needed to cover with the vinyl countertop paper was the TOP surfaces. I believe I saw when I ordered it that you can roll the edges around to the bottom, but we didn’t.
I installed the smaller pieces myself but really needed Deb’s hands to help hold up the larger pieces. It is very sticky but it does come off if you start off crooked and re-sticks as promised. We had to remove one piece several times because we kept finding new bubbles. But we finally got the hang of it.
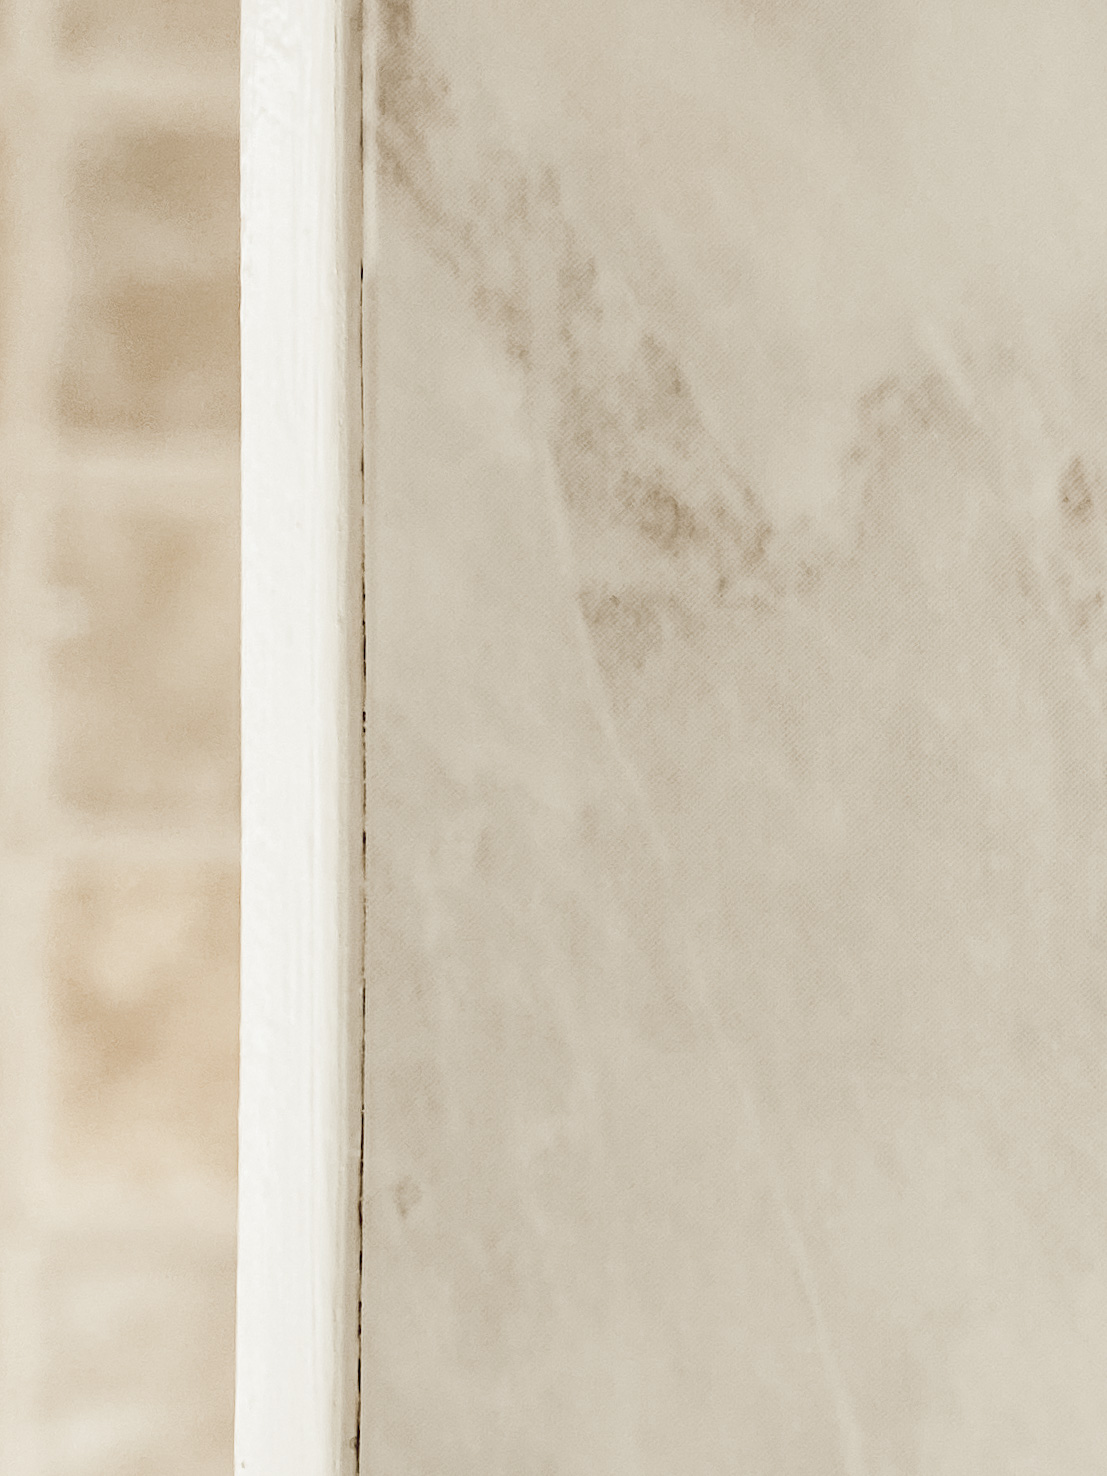
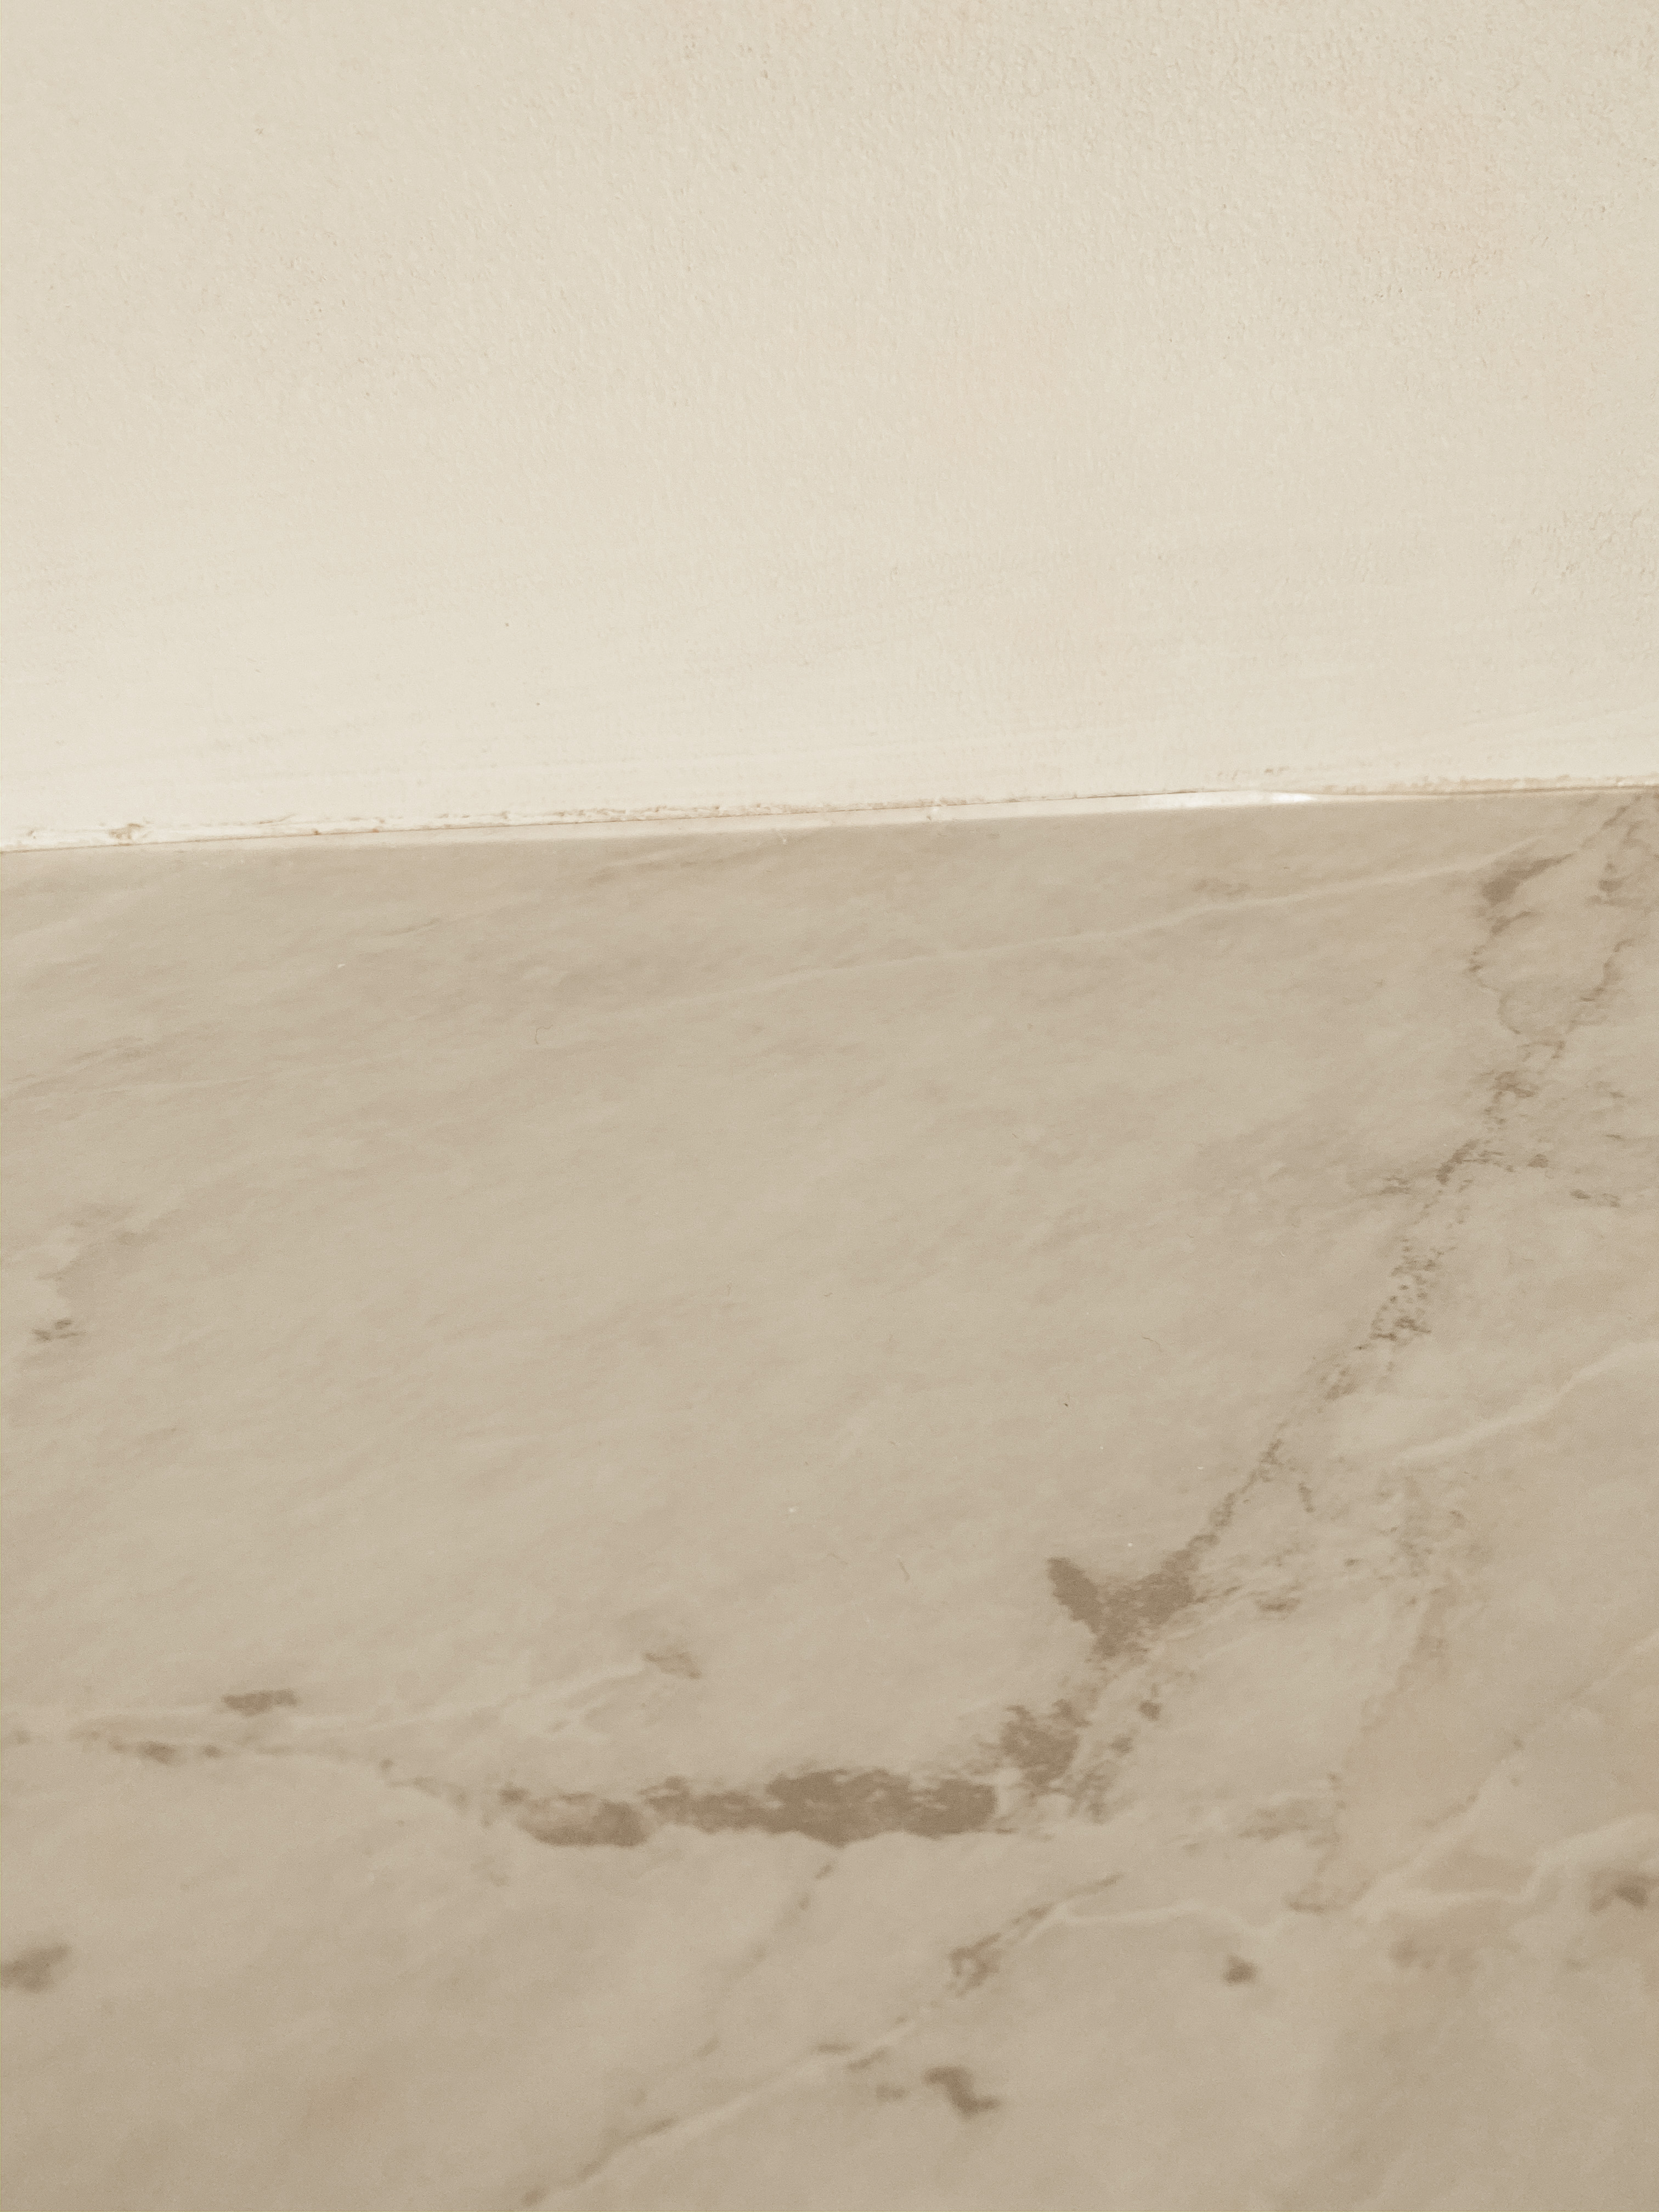
We will be adding a small bead of caulk around those plastic edges … and around the back of the countertop by the walls. (See photos ????????)
Tips that We Figured out Along the Way
We cleaned the countertops really well and used the same DeGlosser that we used when we painted the cabinets. The directions didn’t say to use that but we thought it may stick better.
We rolled down the backing of about 6″ to begin with and started against the wall. Using something flat, like a ruler or even a credit card, we pushed the air bubbles out before we removed the next 6″ of backing.
We cut the pieces 4″ larger than needed to give us enough wiggle room. Rather than trying to attach the first part of the vinyl to the countertop completely straight against the wall, it was easier to have a larger piece and trim it. If it started out crooked, we had extra to cut off. We will be using caulk about the edges to finish it off.
When we butted two pieces together, we did it in an inconspicuous place. Ours happened to be behind the kitchen sink.
Note
We won’t be able to set hot dishes on this countertop, which we never have done that inside our homes, so we won’t here. And, obviously, we haven’t actually camped with this so I can’t tell you what will happen in the future, but I think it looks fabulous. It does have 4 1/2 stars and almost 600 reviews, but I will for sure keep you posted on how it lasts.
I am very happy with how it turned out and it wasn’t as hard as I was afraid it would be. What do you think? Let me know in the comments or over on Instagram.
SHOP THE POST
Leave a Reply Cancel reply
We may earn a small commission when you use one of our links to make a purchase.
It looks great as always!
Thanks so much! We are having so much fun with this. Now I can’t wait to take it camping.
Absolutely love it!! A+! I get so many ideas from you ladies!
Had to look twice. Didn’t realize it was a sticky paper. It really looks authentic in the pictures. Hope it holds up!! Nice job!!
Awesome! Looks amazing
Thank you so much!
I absolutely love it! It looks fantastic! ????♥️
Thank you so much!
You make me want to renovate a camper, but I’d have to dump my husband and find a Deb (or Danelle) because he isn’t into that ????
hahahahahah It’s a fun project!
Wow! What a difference, it looks great. Such a cost effective way to improve the appearance. Great job! Maybe I’ll get brave enough to give this a try once I can get someone over to give me a hand.
Thank you! It’s been a fun project.
Your work is impeccable as always! You have such a good eye!
Looks absolutely amazing!!!
Thank you! We are having fun!
It looks amazing! Love the changes to the camper! We have a 2004 Class A motorhome. When I showed my husband your pictures, he said it looked great, but don’t get any ideas ???? ???? ????
???????????????????? hahahaha We both just busted out laughing.
Brilliant!! Absolutely brilliant!! Because these ugly camper interiors have been the bane for so many years, I really appreciate your vision & execution!!! You gals are simply the BEST @ whatever you tackle ????????❤????????
Thanks so much! We are having a blast working on it. (Whether Deb says she isn’t or not.. she is. LOL)
Well I think it turned out beautiful & so stinkin cozy! Who wouldn’t want to camp in this?
I think once you start on your home you will be so comfortable in this during the time you spend in it & actually enjoy it.
I’m so excited to be able to use it.
AMAZING!!! Great job!!! Makes me want to buy a camper(almost ????)
hahahaha thank you!
I love it!! It looks just beautiful!! I’ve been thinking of doing this to my janky rental countertops, bur was nervous about how complicated it might be. This really helped!! Thank you!!
No problem. It takes a little practice, but it looks so nice.
I can’t believe that’s paper!!!
Yep…. It sure is.
How did you do the curved part of the counter(the edges)
We used a razor blade to cut the edges and curve off.
It looks like quartz! Very impressive!!!! I don’t put hot stuff on my counters either. Great job!
What’s next with the camper? I’ll be anxious to see what you do with the cushions in the dining area. Or did I miss that post????? The cushions are the worst part of a camper I’ve redone them once but would love to see what your doing with yours.
It looks just lovely! I was wondering how thick the vinyl is.
Great job!!!
It looks amazing…love the wood & white. If you get a chance check out on IG troopnashville to see what they have done with re-do’s on campers. We went and looked at one that they did & it’s beautiful. Just out of our price range.. I wish I had you guys talent!!
Fabulous!! So neat to see you girls tackle jobs I would be terrified to try. Maybe the more I watch you the more challenged I get!!
hahaha Awww.. thank you!
You gals are amazing – I cannot believe the before and after pictures – it looks AMAZING!!!!!! Great Job
It’s gorgeous. I absolutely love it and it is perfect for the camper.
Thank you… we are having fun with this project.
I love it! It looks amazing! If you need a buyer when you’re done with it, hit me up!
The buyer is me…Greta ????
hahahahahahaha ????
Oh my gosh this looks so fab!!!!! Ty for always sharing!
Oh thank you…. ????
Countertop looks fab! So did you start with the backsplash then fold right into the countertop? I would love to see a pic after caulking.
Im most interested in the trimming process. When it came to trimming off the excess on the rounded corners and front edges was it difficult? Thank you!
It looks fantastic!! Very smart in not rolling over the edges of the counters, ask me how I know this. haha! I love the contrast you have created with the wood walls. What type of window treatments are you going with? You may have said in one of your posts 🙂
We bought contact paper to put on the counters… would that work?
I have never used regular contact paper so I cannot answer that question. This paper is very thick and looks like vinyl.
Love the marble look vinyl on the counter! Looks much better than before pics. I know about the peel and stick thing, it is so hard to smooth it down. I have several glittery and other vinyls(thin) I use for greeting cards, etc. and also stick them on glass jars for tealight candle(using empty pickle jars or canning jars), sometimes they get crooked and I have to restick them in a proper position the way I need them to do(like sports logo, they need to be straight like the logos!). The tealight candles, I do sell them at deaf events. But I can make for some other people who wants to buy them from me. I do love to see camper renovations too, I have seen other websites about renovations in campers, what to not do and what to dos, lots of tips from owners, all interesting. I so want a camper but money issues is the pits!