Installation Day of the Porch Railing
April 13, 2017
Hello, friends!
It’s time to RE-LIVE…..installation day of the porch railing.
Oh, how exciting!
In case you haven’t noticed by now, I LOVE lists. I love seeing the tasks that I need to accomplish before me, as it stops my mind from swirling. And, I love checking items off of my lists, because I get a sense of accomplishment when they are complete. The wifey HATES lists with a passion, because her mind doesn’t swirl. I don’t get it.
We’ve come to the “critical” part of attaching the railings and posts all together. I’m using the word “critical” sarcastically. You can see why in a previous post.
Deb was so stressed out about installing this railing: “How am I going to attach this all together so that it’s strong enough to hold anyone who leans on it?”
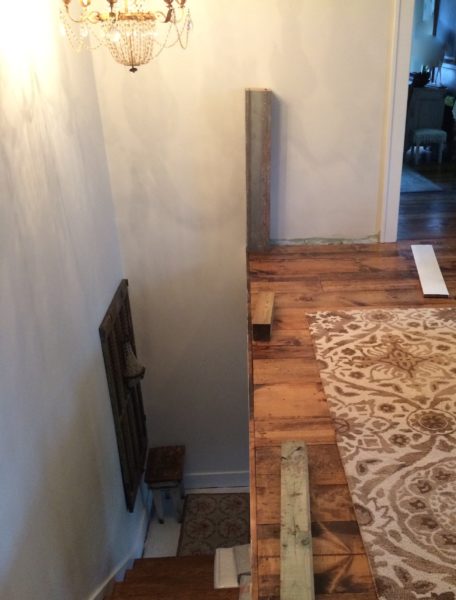
I was in the midst of my own projects, but I snapped this picture at the start.

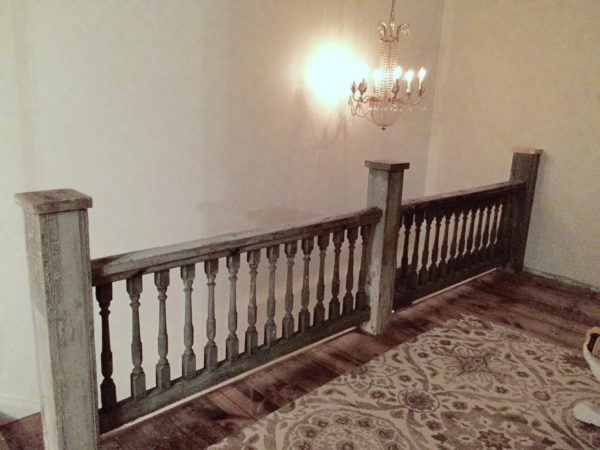
She started with the first post against the wall and was going to work her way down. There are 3 posts and 2 sections of railing to install. The placement of these posts was truly important because of the space between the spindles. We wanted the spacing of the spindles to be equal beside each post and didn’t want to end up with a half spindle scenario.
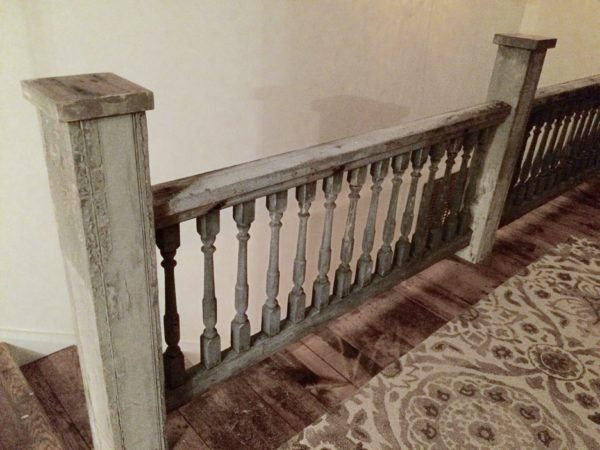
Two hours later, she accomplished this…

And, here is six hours into this project…

The Nervous Breakdown
Installation day wasn’t going as planned. I swear to you, I am not even exaggerating. I heard so many curse words, that I think she even made up a few of her own. There were even a few tears shed. It took the wifey 6 hours to figure the length and cut each post, level and attach the first post to the wall. Old home renovation problem number 4,632 is to make something somewhat level. And, let’s not even talk about attaching this post to our plaster (aka concrete) wall.
After regrouping over General Hospital and a beer, we decided to tackle this project together. We knew the general vicinity of the last post location (#3), so we divided the space between the first and third post in half. We did a little shimmying of everything, and finally got the measurements figured out. After cutting the porch railing to the correct length, we installed the second post with screws that, I swear, were 3 feet long, and then, attached the railing between post number 1 and 2. And then, did the same thing for the next section. We used a million screws that were 3 feet long… That baby is going NO WHERE.
Together, it took us 2 hours to finish this project. Yay!!!


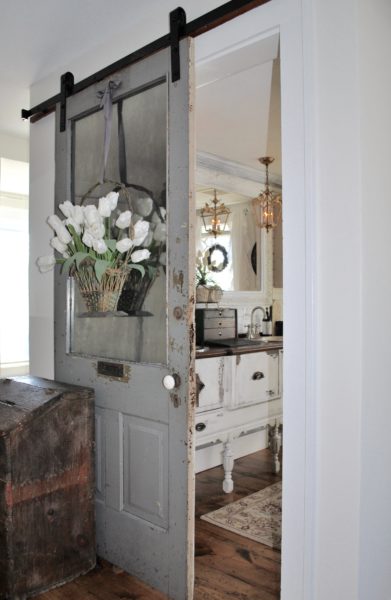
A great friend had the perfect addition for this project to make it EXTRA gaudy. I absolutely cannot wait to show you the final result tomorrow. You will see it all decorated and styled, too. But, I will leave you with this teeny, tiny preview.

Thank you so much!
You have no idea how much I appreciate you stopping by every day. Let me know what you think about this project by commenting on this post. You can always see additional pictures on Instagram and Facebook.
Buh Bye now, said in a really loud old lady’s voice, because how else could you say Buh Bye now.
Leave a Reply Cancel reply
We may earn a small commission when you use one of our links to make a purchase.
In order to achieve perfection, sometimes you gotta shed a few tears. Annnnnnd, you guys nailed it. *ahem…cough* It is perfect.
Thanks, Kim… We’ve shed quite a few tears during this reno!
Wow! Love that!
Happy to have found your blog with your wonderful ideas ????
Thank you so much! I love new followers!
The beauty of your home is nothing short of amazing! What you’ve done with an 80’s mauvey, outdated, had great bones, cottage is a miracle and should be in a magazine!
Not sure if Deb (she’s a pretty smart cookie!) has tried this one? I have better luck when trying to hang things on a plaster wall using graduated sizes of drill bits until I get to the size of the wall anchor. Starting with small nail size working up. It keeps the plaster from “chunking” out, leaving large holes to be patched. Hope this helps in the future.
Oh my gosh.. .thanks so much. And, I will pass on this tip to her.
That stairway rail is stunning!