Camper Renovation: Adding Trim around the Doors
May 10, 2020
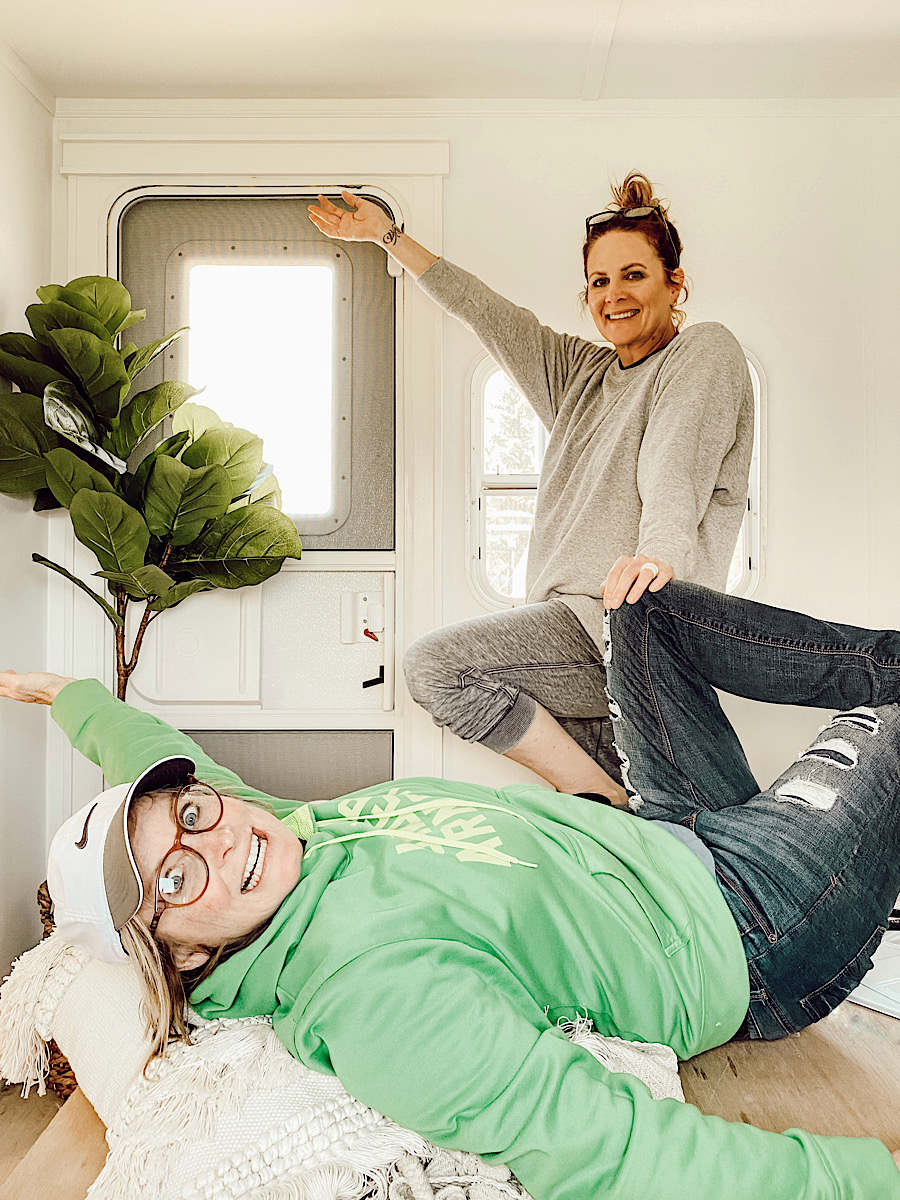
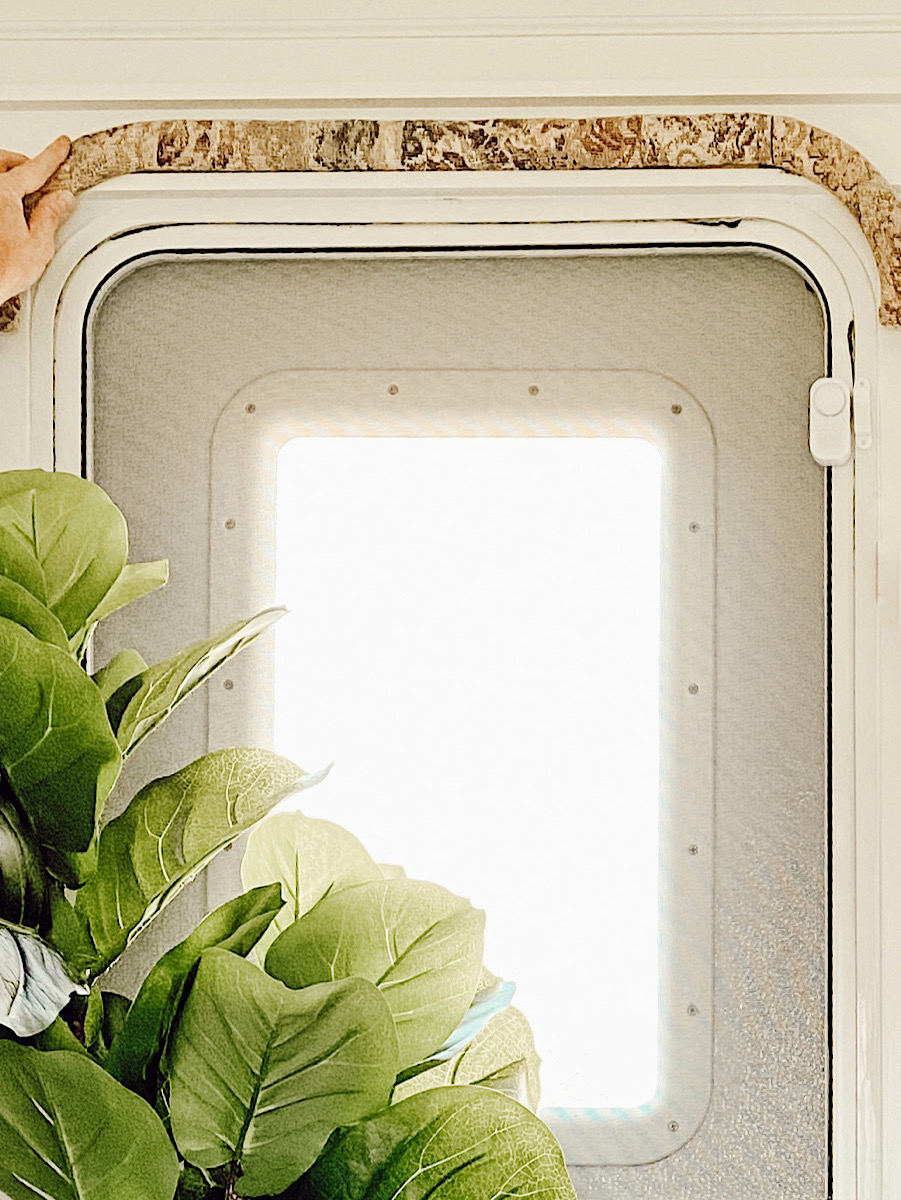
I have no clue why they make campers so freaking UGLY. Honestly. The one thing I couldn’t wait to do was pluck off the ugly valances above the windows and doors. The ones above the door were SO ugly, that I didn’t even take the time to get a proper photo. What is the point of adding an ugly piece of fabric? It would look completely better WITHOUT it!
From day one, we knew we wanted to dress up the doors with some trim. The lack of trim around the windows will be hidden with curtains and blinds in the bedroom, so we weren’t worried about those. But we wanted the doors to make a bigger statement. I picked out the curtains so they should be delivered this week. So, I left the trim around the doors to Deb. This is HER FAVORITE thing to do.
FACT:
At the House on Winchester, Deb was in the middle of trimming out our front porch columns. The nail gun misfired and shot a 2 1/2″ nail through the tip of her finger. I was up on the dormer roof painting and I heard, “Deed… (she never calls me that)… should I pull this out?” And, held up her finger. My face… ????
A 2 1/2″ nail went directly through her index finger. I will spare you the photo.
Me: “Is it through the bone? Does it wiggle?”
Deb: (while trying to pull out the nail) “It’s not budging.”
Off the the ER we went. It was through the tip of her index finger bone. The doctor ended up numbing it up, holding it down on the table, with the help of his nurse, AND DEB… and pulling the nail out. She came back home and trimmed out the rest of the columns. That’s how obsessed she is with this part of the renovation projects. ????
Camper Renovation: Adding Trim around the Doors
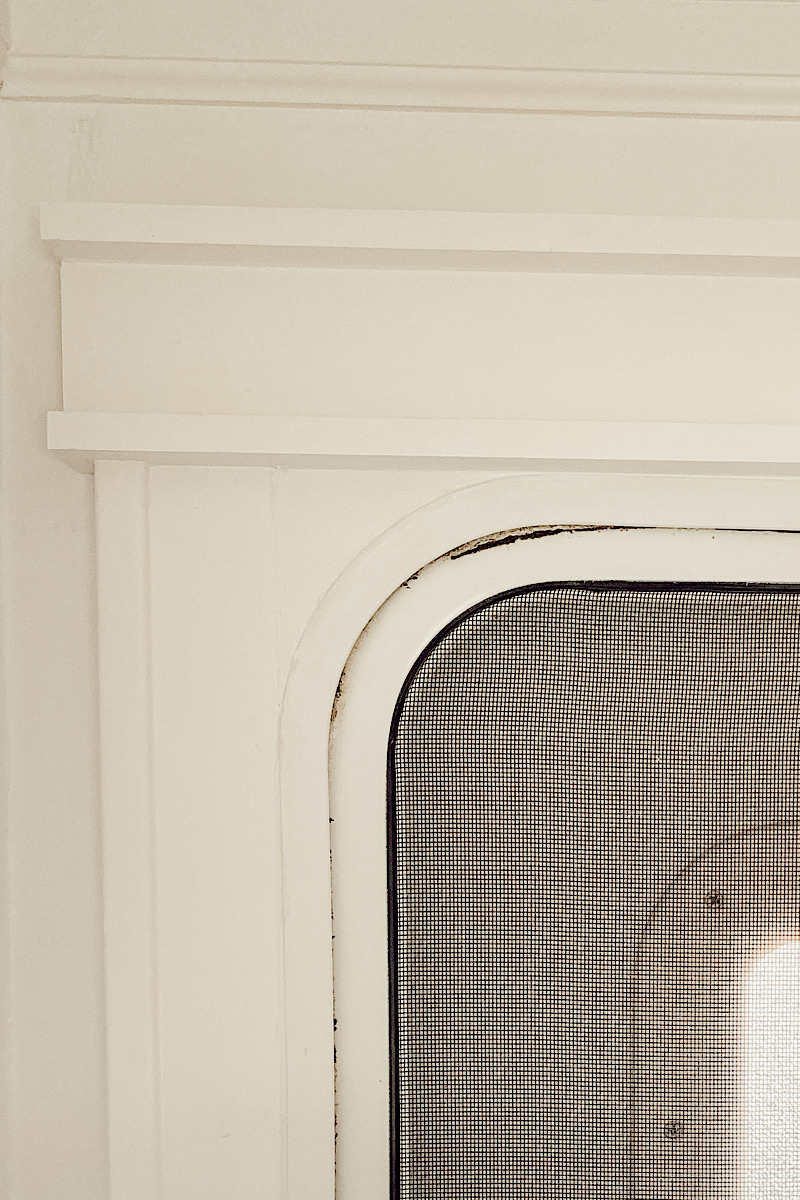
We obviously removed the “snake like” piece of fabric valance that was above the arched camper doors. Deb treated them as though they were regular square doors. See pics. I think the pics explain things a bit better than how I can explain in words.
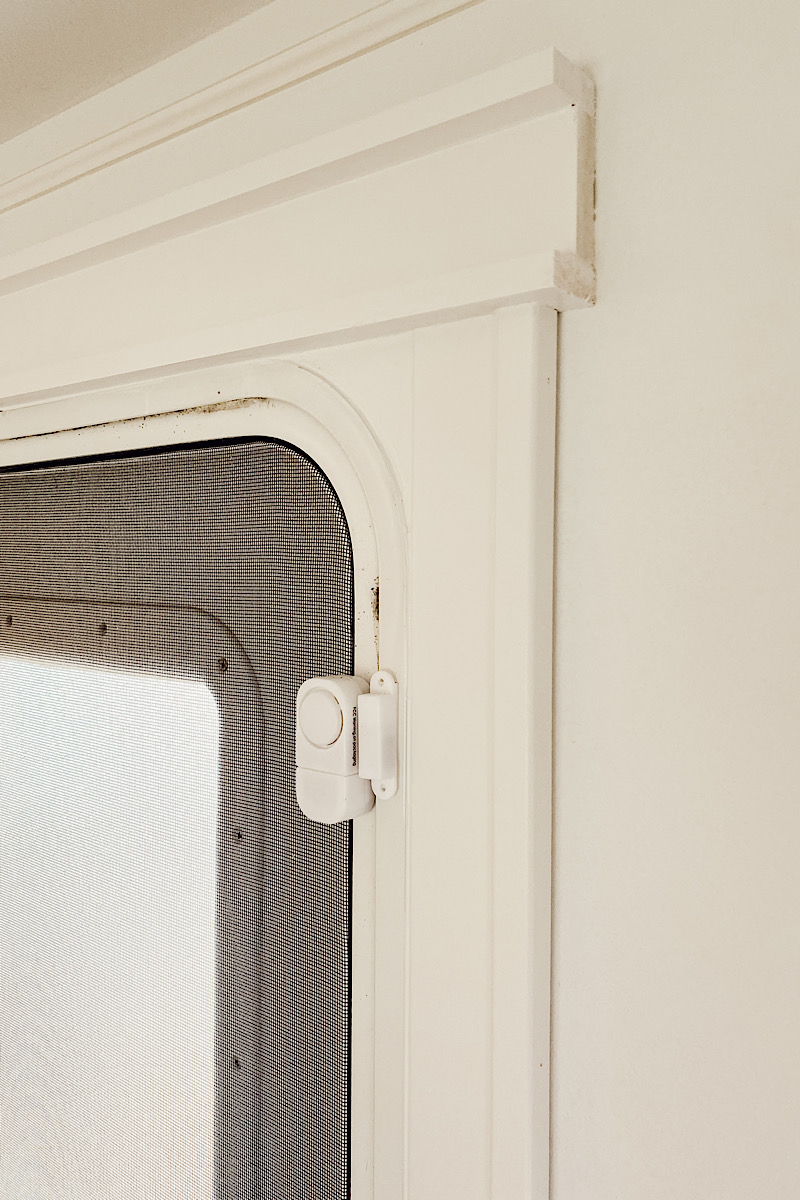
She said she saw this design someplace and thought it was really cool. So she wanted to recreate it.
It has really given me some ideas for our new house. You guys probably don’t remember but the old house (House on Winchester) had an extra trim piece around the windows and doors. I LOVED it. I love the extras!
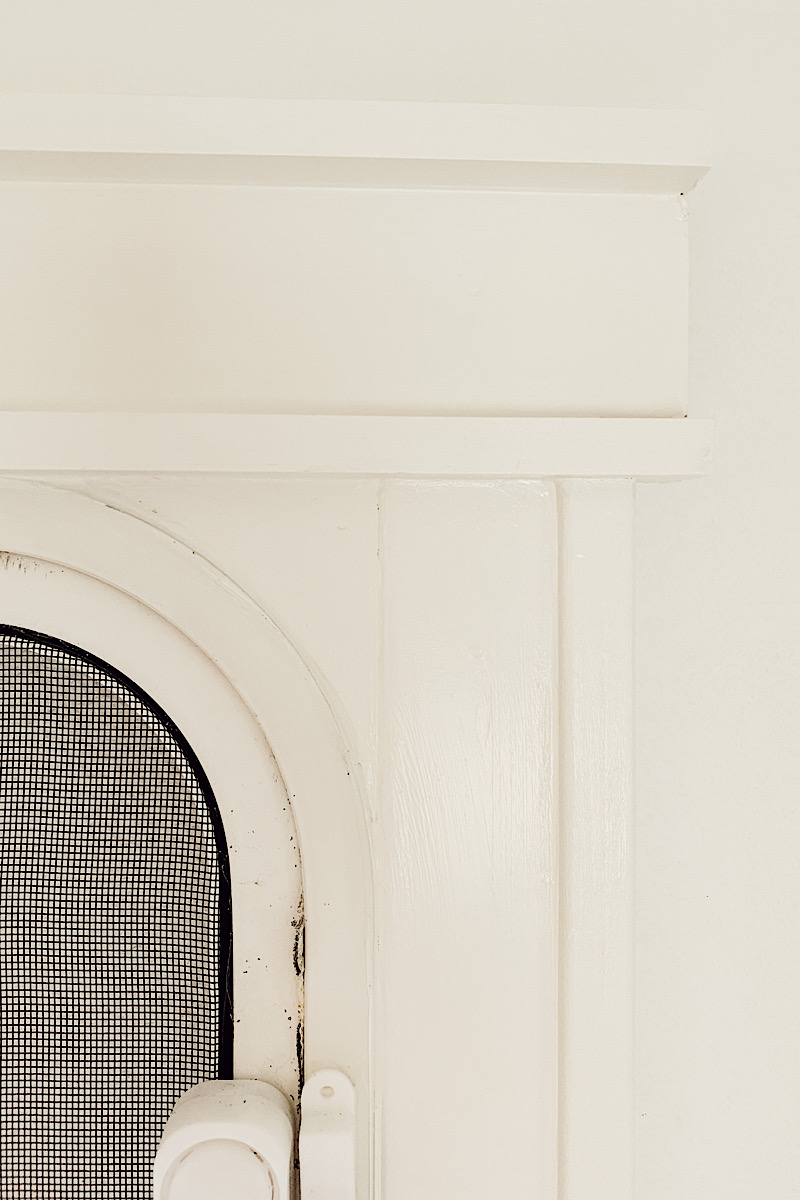
We want to recreate something like this on our doorways in the new build.
I’m serious.. you have NO CLUE now many projects we have in our minds for the new build… yard, house, basically everything. We are hoping to meet driveway boy in the next couple of weeks and get the camper to the property soon. THEN.. the yard projects will start. STAY TUNED.
Leave a Reply Cancel reply
We may earn a small commission when you use one of our links to make a purchase.
You both have given me motivation to fix our camper up! Did Deb just glue on the trim pieces? I’ve never done a camper before so ???? but I can’t make it any worse than the 1994 green velvet valences and soft brush stroke pastel wallpaper that is already in it ????
hahahahaha I can exactly see your camper in my head. And she used adhesive and used a small nailer in a few places where she knew there was no wiring, etc.
I wish this had more details about what was actually done. Amateur instructions. Like what wood/trim you used etc.
It you show lumberyard boy a photo, they would certainly be able to help you. We used 1 x 3 x 1/2″… and the top board was a 1 x 2 x 3/4″ …. But truly… Lumberyard boy will be able to get you set up. Deb actually saw this somewhere and recreated it.