DIY Evergreen Planter Idea for the Winter
November 22, 2021

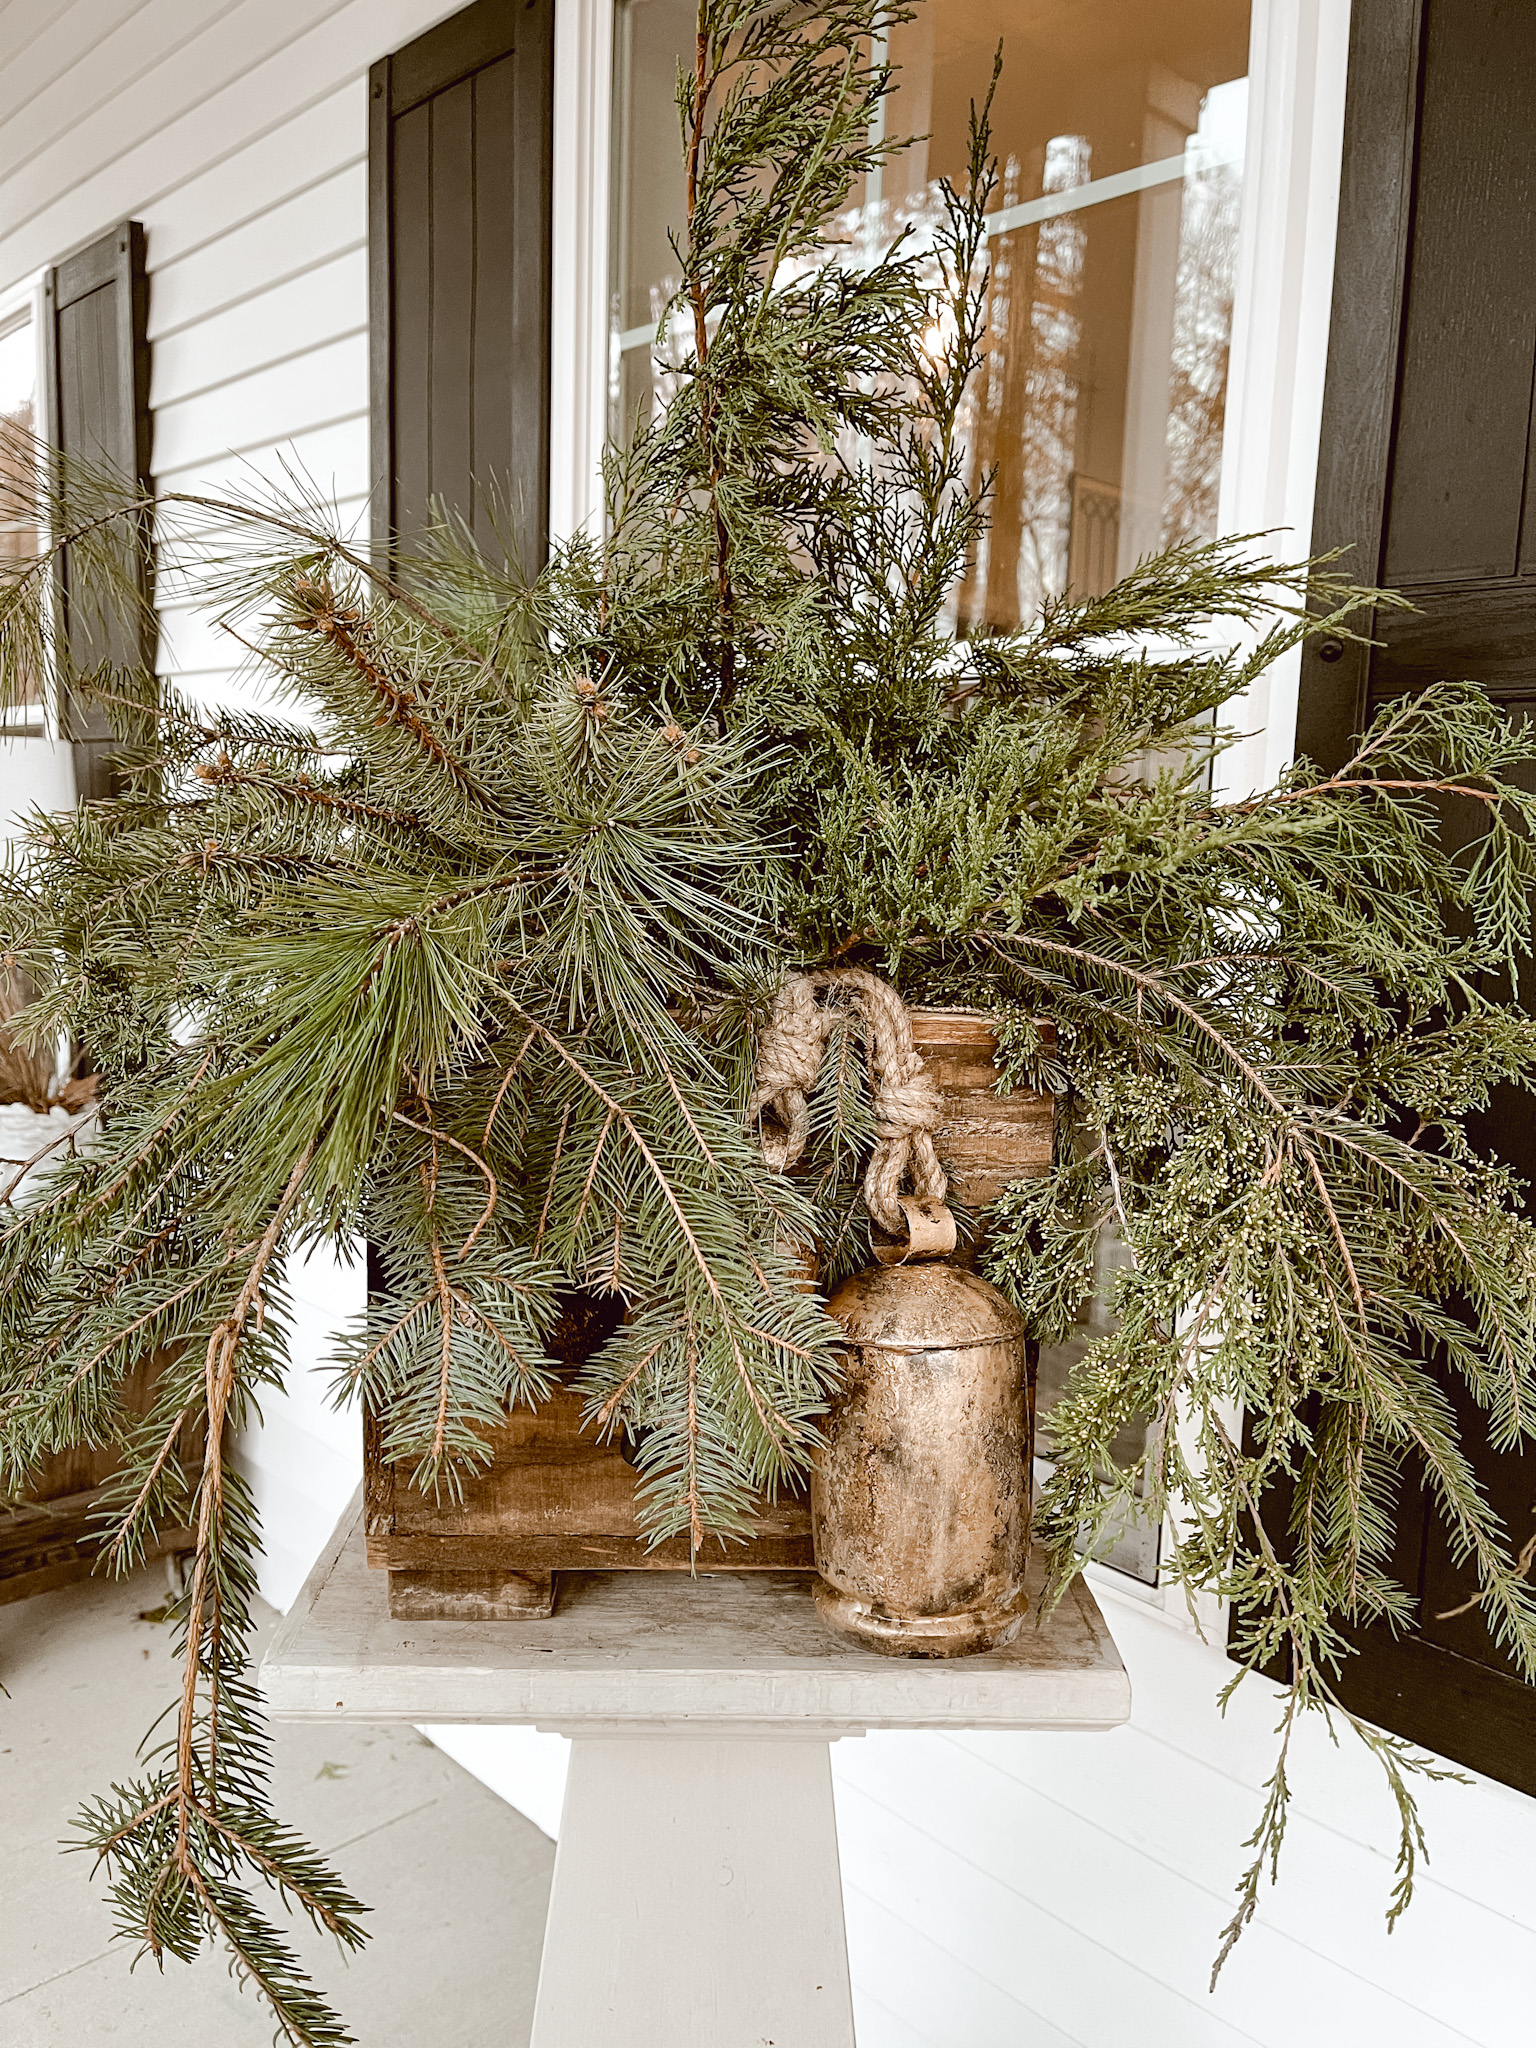
I shared this DIY evergreen planter idea over on social media stories, and I even made a reel about it. If you missed it, check it out. I have been making these evergreen planters for years. They really help with my winter sourness. ???? I shared how I feel during the winter months in a post several years ago. ???? Everything here in Ohio is SO GLOOMY over the winter months. So we not only have really short days, but lots and lots of clouds. We usually have ferns and flowers all over the front porch beginning in the spring through the summer. Then the porch is packed with pumpkins and mums for fall. I always feel so sad (literally) when all of the green is gone. One year, I made these planters from a bunch of evergreen I found at the compost site in our town. And, I have made them ever since.
They are so simple to make and they make a huge statement for free. I have a tip to getting them to last all winter. We usually remove all of the evergreens from our porch planters around March. But, that is just about time to start planning for Spring flowers. So I am good with that.
Here is how I make our winter evergreen planters.

DIY Evergreen Planter Idea for the Winter
You can make these as big or as small as you wish. It will all depend on how long your evergreen branches are that you find. Also.. these are pictured in the planters that we made last year from pallets.

You will need:
Snippers for the evergreens
Screw driver
Step 1:
Pull all of your summer plants from your pots. You will actually want to leave all of the dirt because you will use that. I usually cut off all of the ferns in the hanging pots and use the root ball for these winter planters.
Step 2:
Gather several different types of evergreen. We usually cut some sprigs off of Deb’s parent’s evergreen trees and scope out the local compost site. I like a wide variety.
Step 3:
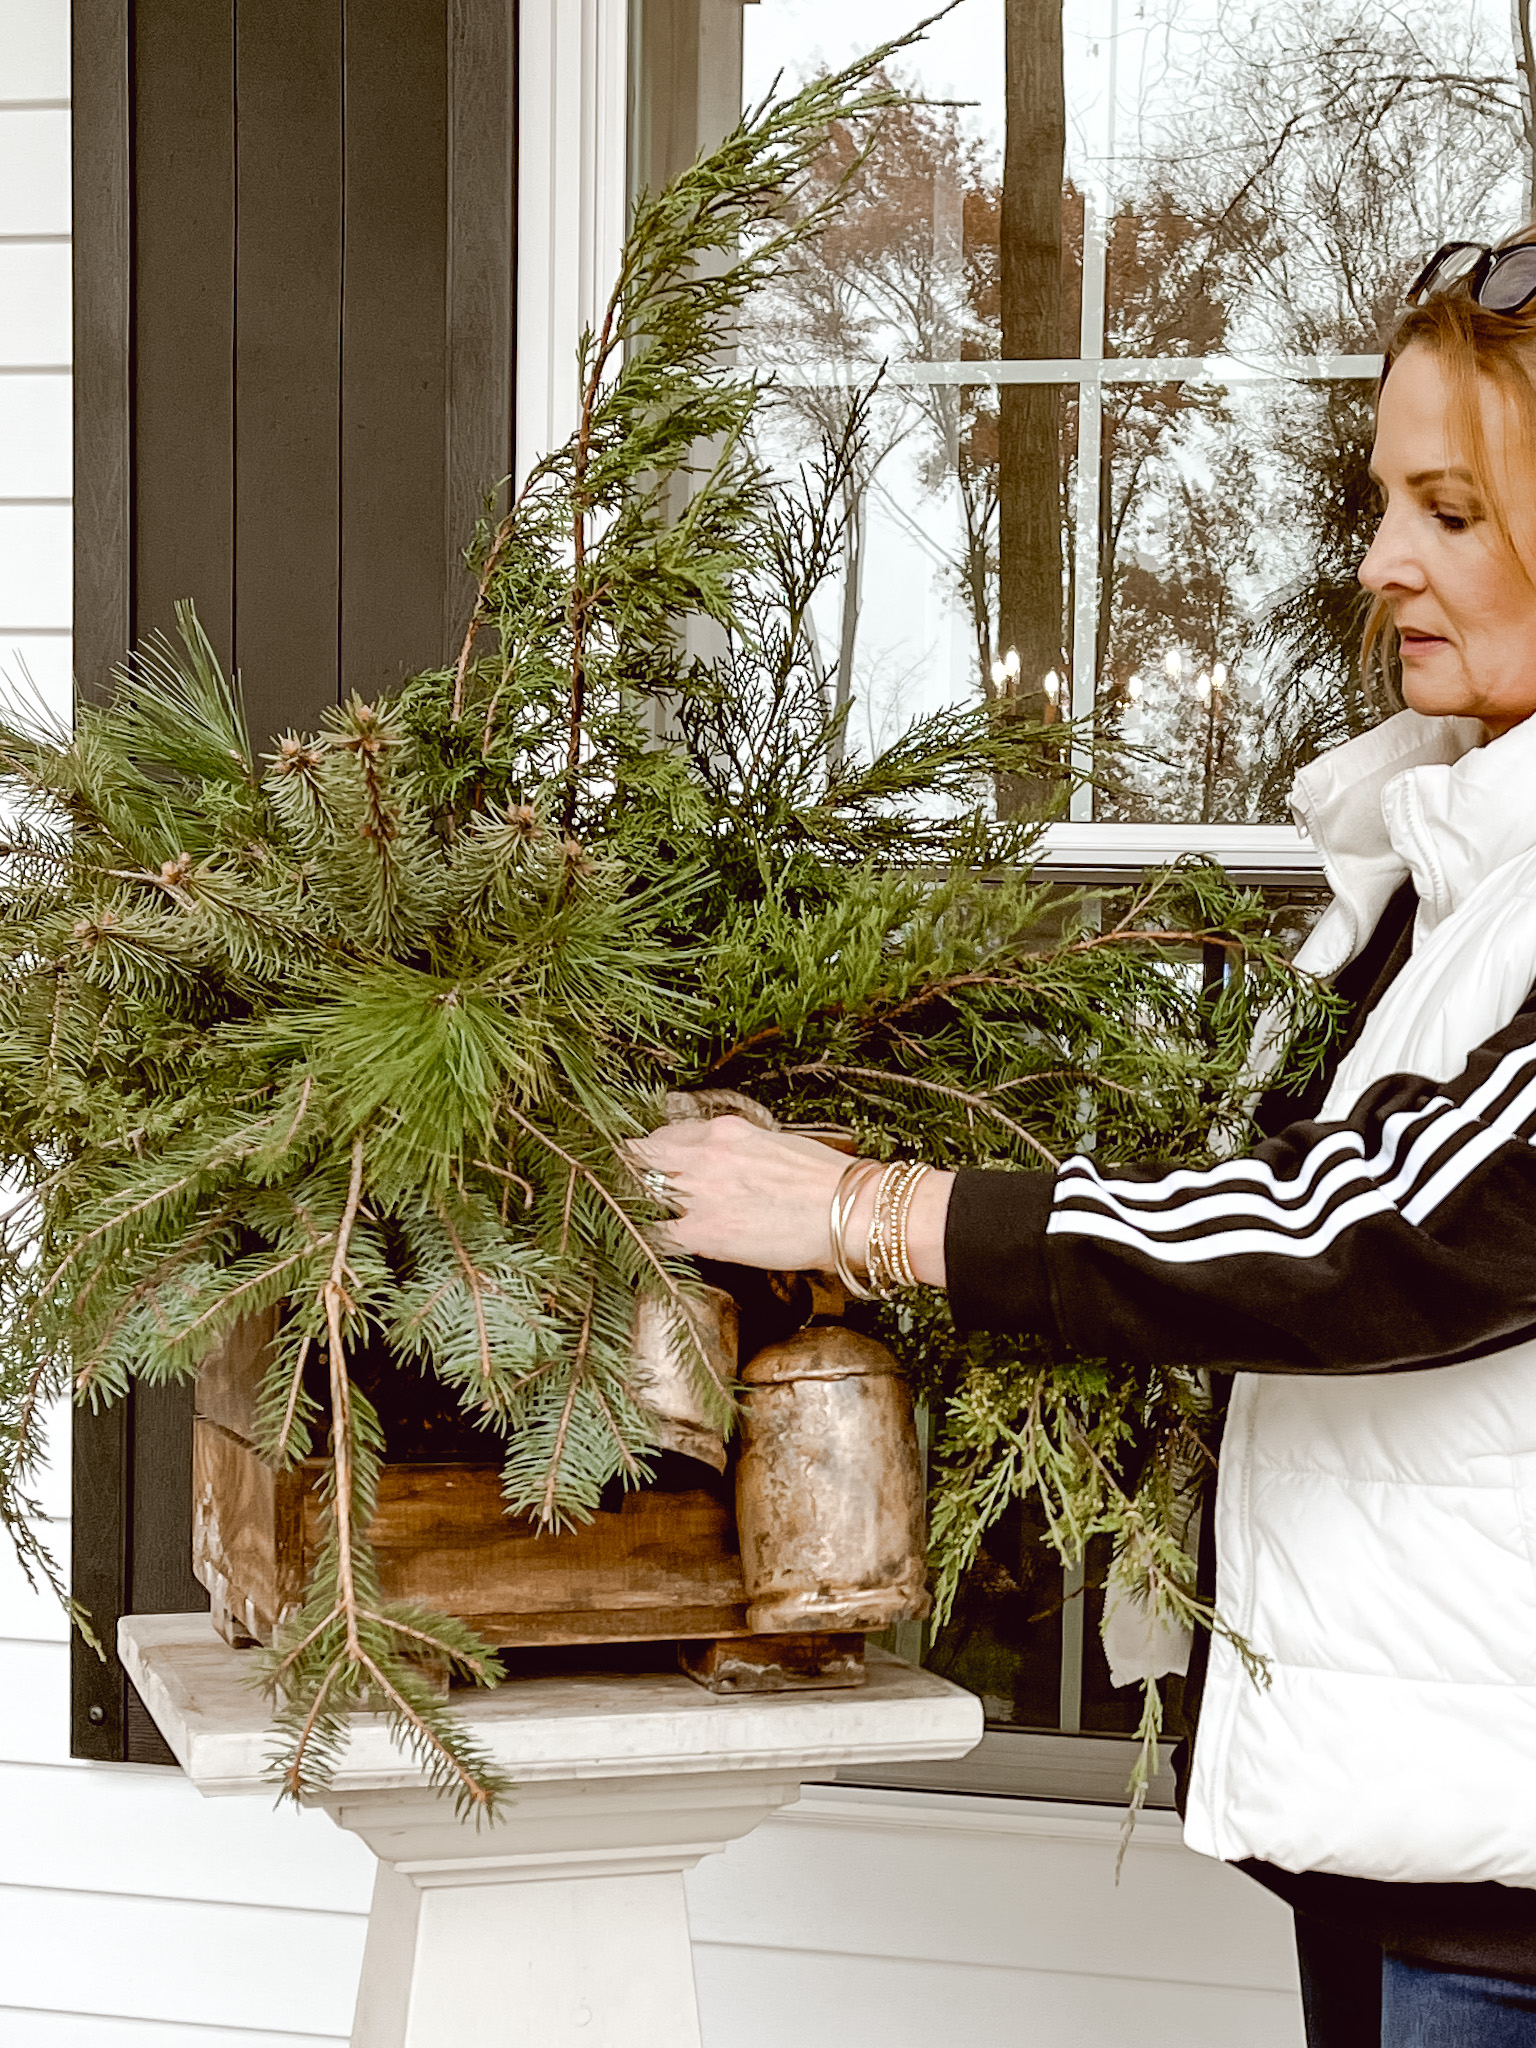
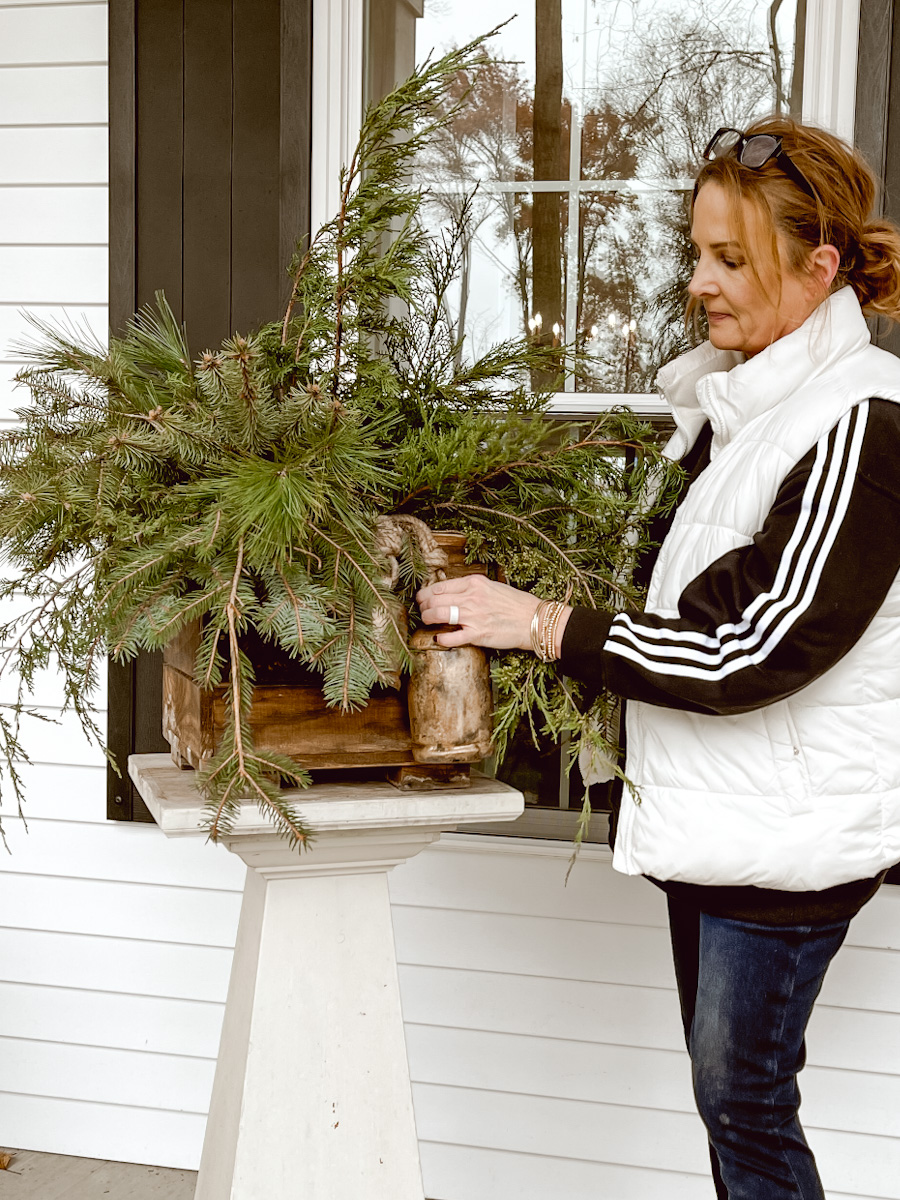
Start adding droopy evergreens around the entire outside of the planter directly into the dirt. I usually clean off the end about 4-5″ so I can push it deep down in… because it gets windy here in the winter. If you need, use the screwdriver to make a hole in the root ball so make it easier.
Step 4:
Once you have the entire rim of the planter filled with evergreens, add a few directly in the middle sticking straight up. You can use all different kinds or all of the same. I prefer all different varieties.
Step 5:
Now fill the gap between both layers with more evergreen. And fill any holes that you see as well.
Step 6 (optional):
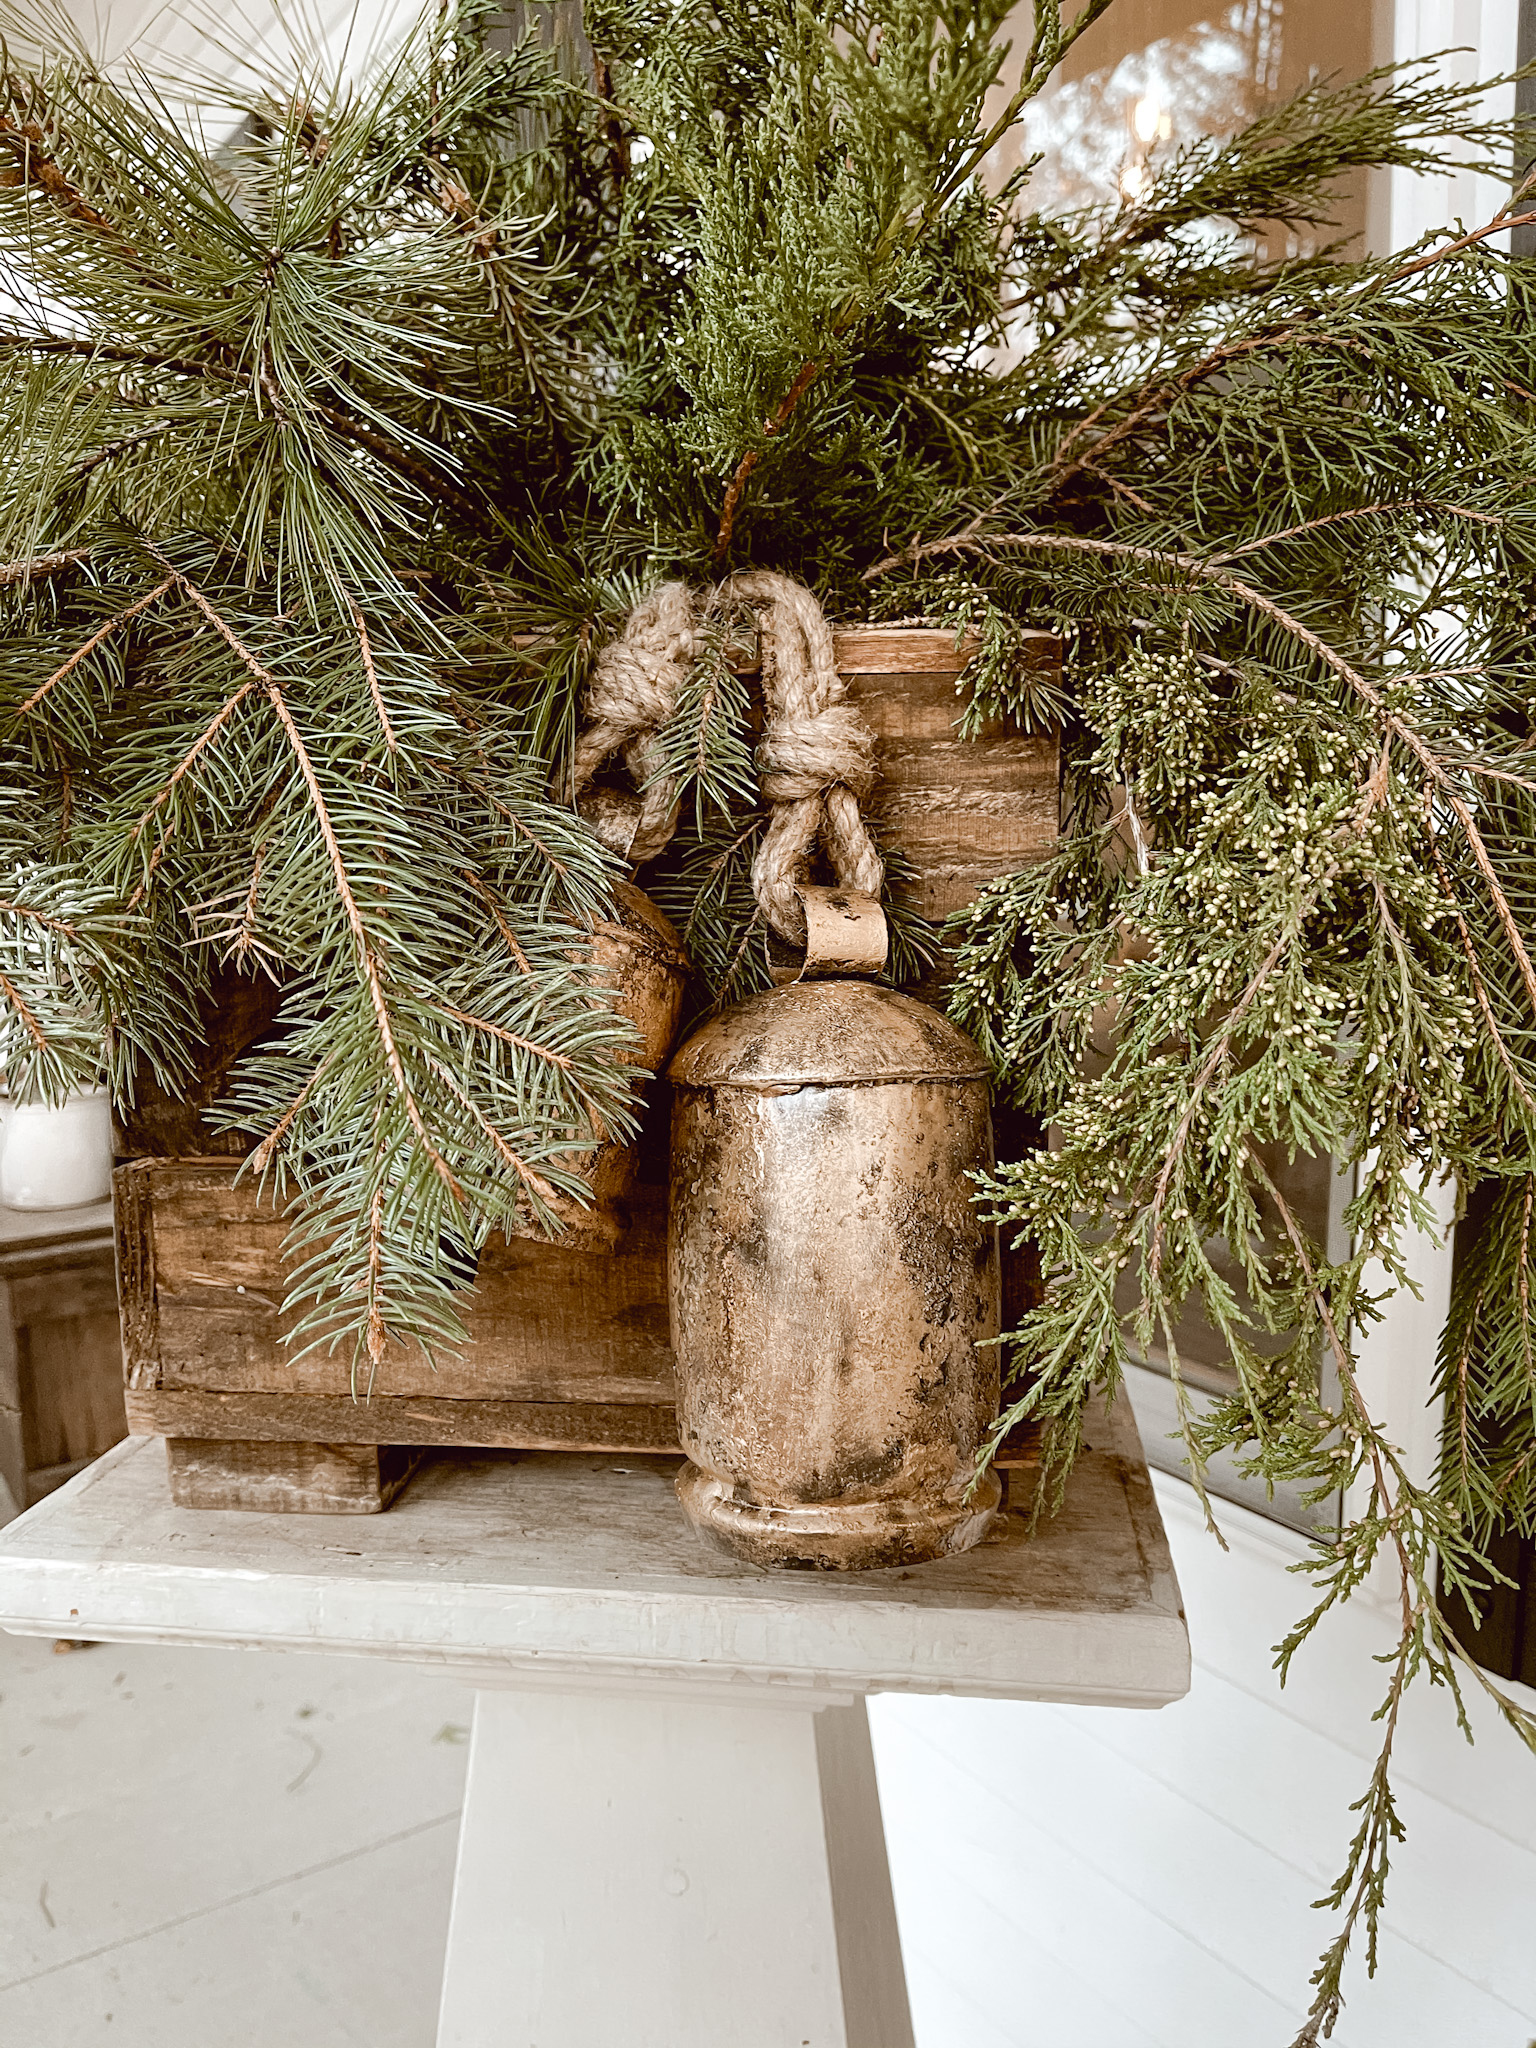
You can leave your evergreen planters as is. Or, you can add some extras, such as bells, berry twigs, tall branches, ornaments, ribbon, garland, etc.
Step 7:
WATER your planter. This is the tip that will keep your planters over the winter. Not only will it give your fresh branches water since they were cut. But, they will also freeze the dirt, therefore freezing the branches into place for the winter.


And there you have it. That is how I make my free DIY evergreen planters for the winter. You can always see if one of the big box stores have thrown away real trees, too. I have heard of people doing that as well. Be sure to check us out on Facebook and Instagram AND let me know if you make these. I love to hear from you.
Source for the bells:
I bought these from Pottery Barn and they have been out of stock for a long time. I found these that look so similar. The size may be a bit different, but I wouldn’t hesitate to grab them for my own decor. And, the price is great.
Leave a Reply Cancel reply
We may earn a small commission when you use one of our links to make a purchase.
Looks great!
Thank you so much.
[…] have been dying to get this porch here at the cottage decorated for winter. A few weeks ago, I shared my DIY evergreen pots with you, but the porch was at a stand still. I wasn’t inspired because the set of […]