How to Make New Wood Look Old using Paint and Stain
October 3, 2017
Trying to get new wood to look old sometimes feels overwhelming. Theres nothing like original patina when it comes to both painted and stained projects. But I have a really easy way of accomplishing this task. I mean….REALLY easy. ????
We recently repurposed an old gun rack into a little cubby. I told all about how we did it in a previous post. Deb did her thing and added some new wood to the project along with the old and, obviously, I wanted it to all look uniform in color.
Here is the little cubby that Deb made from a gun rack before I started painting.
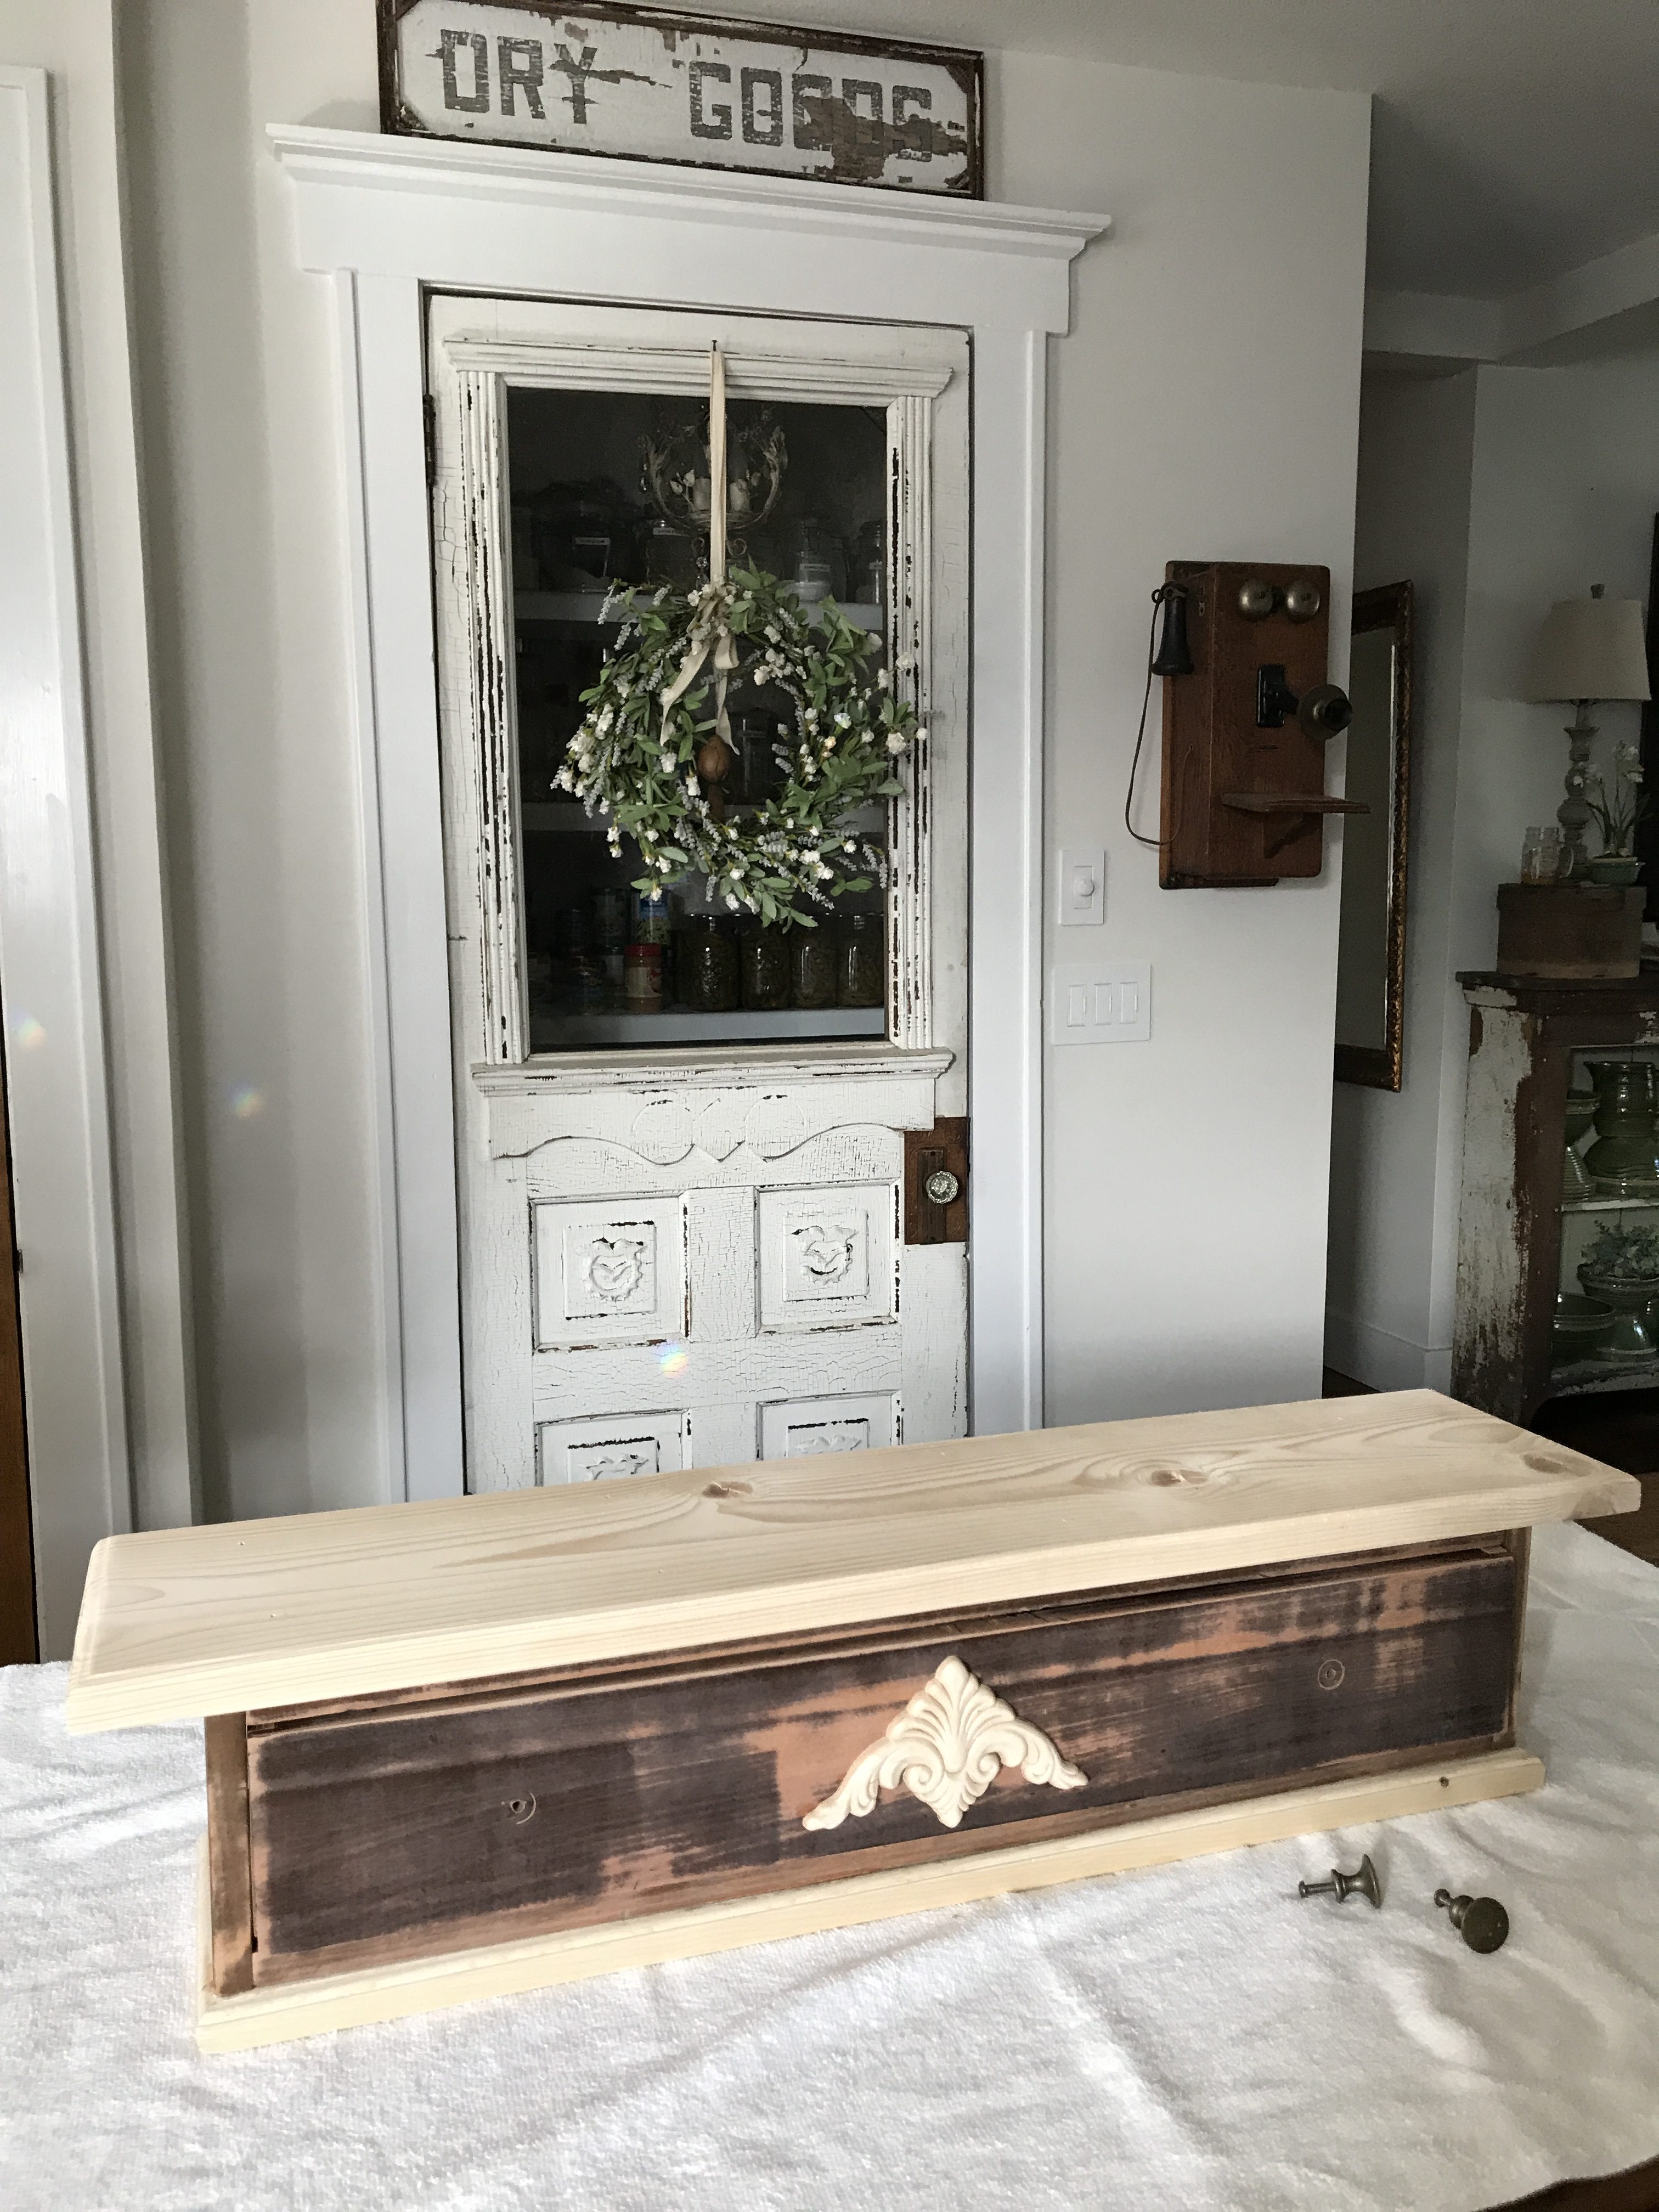
The top and bottom are new, raw wood, as well as the appliqué.
Making New Wood Look Old
I used stain that I had on hand that was close to the same color as the original wood of the gun rack and some white paint that I had on hand.
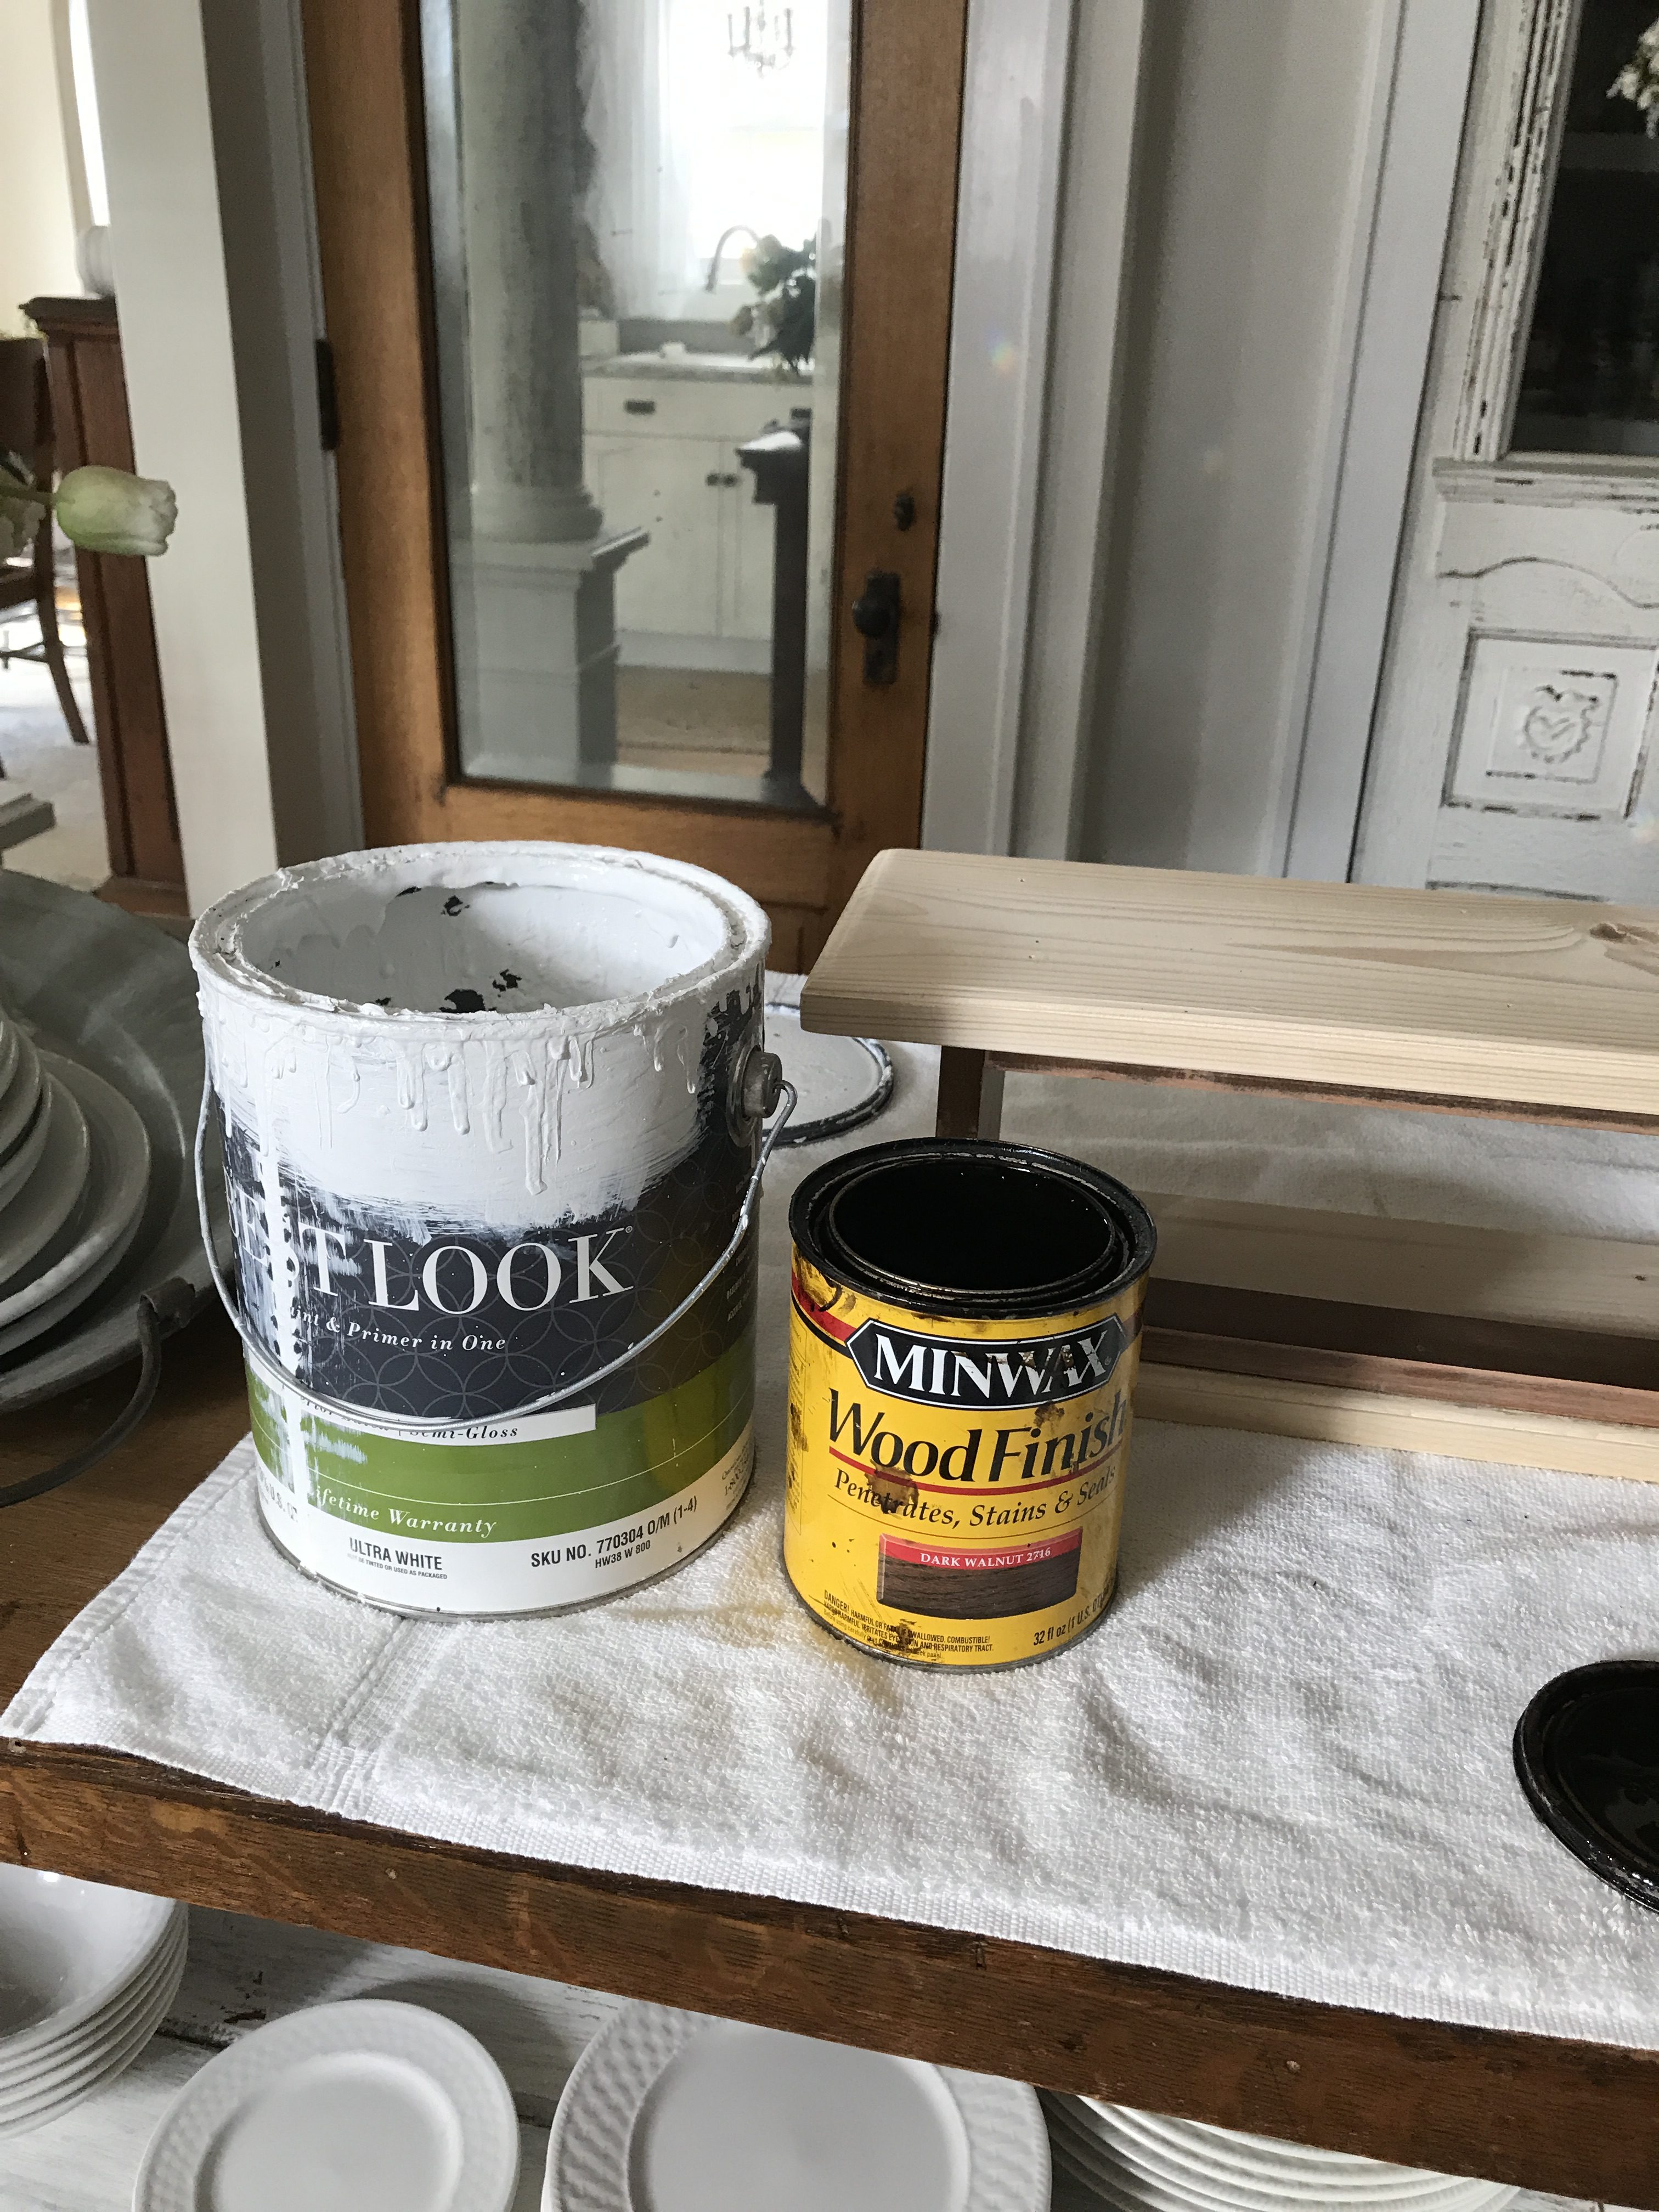
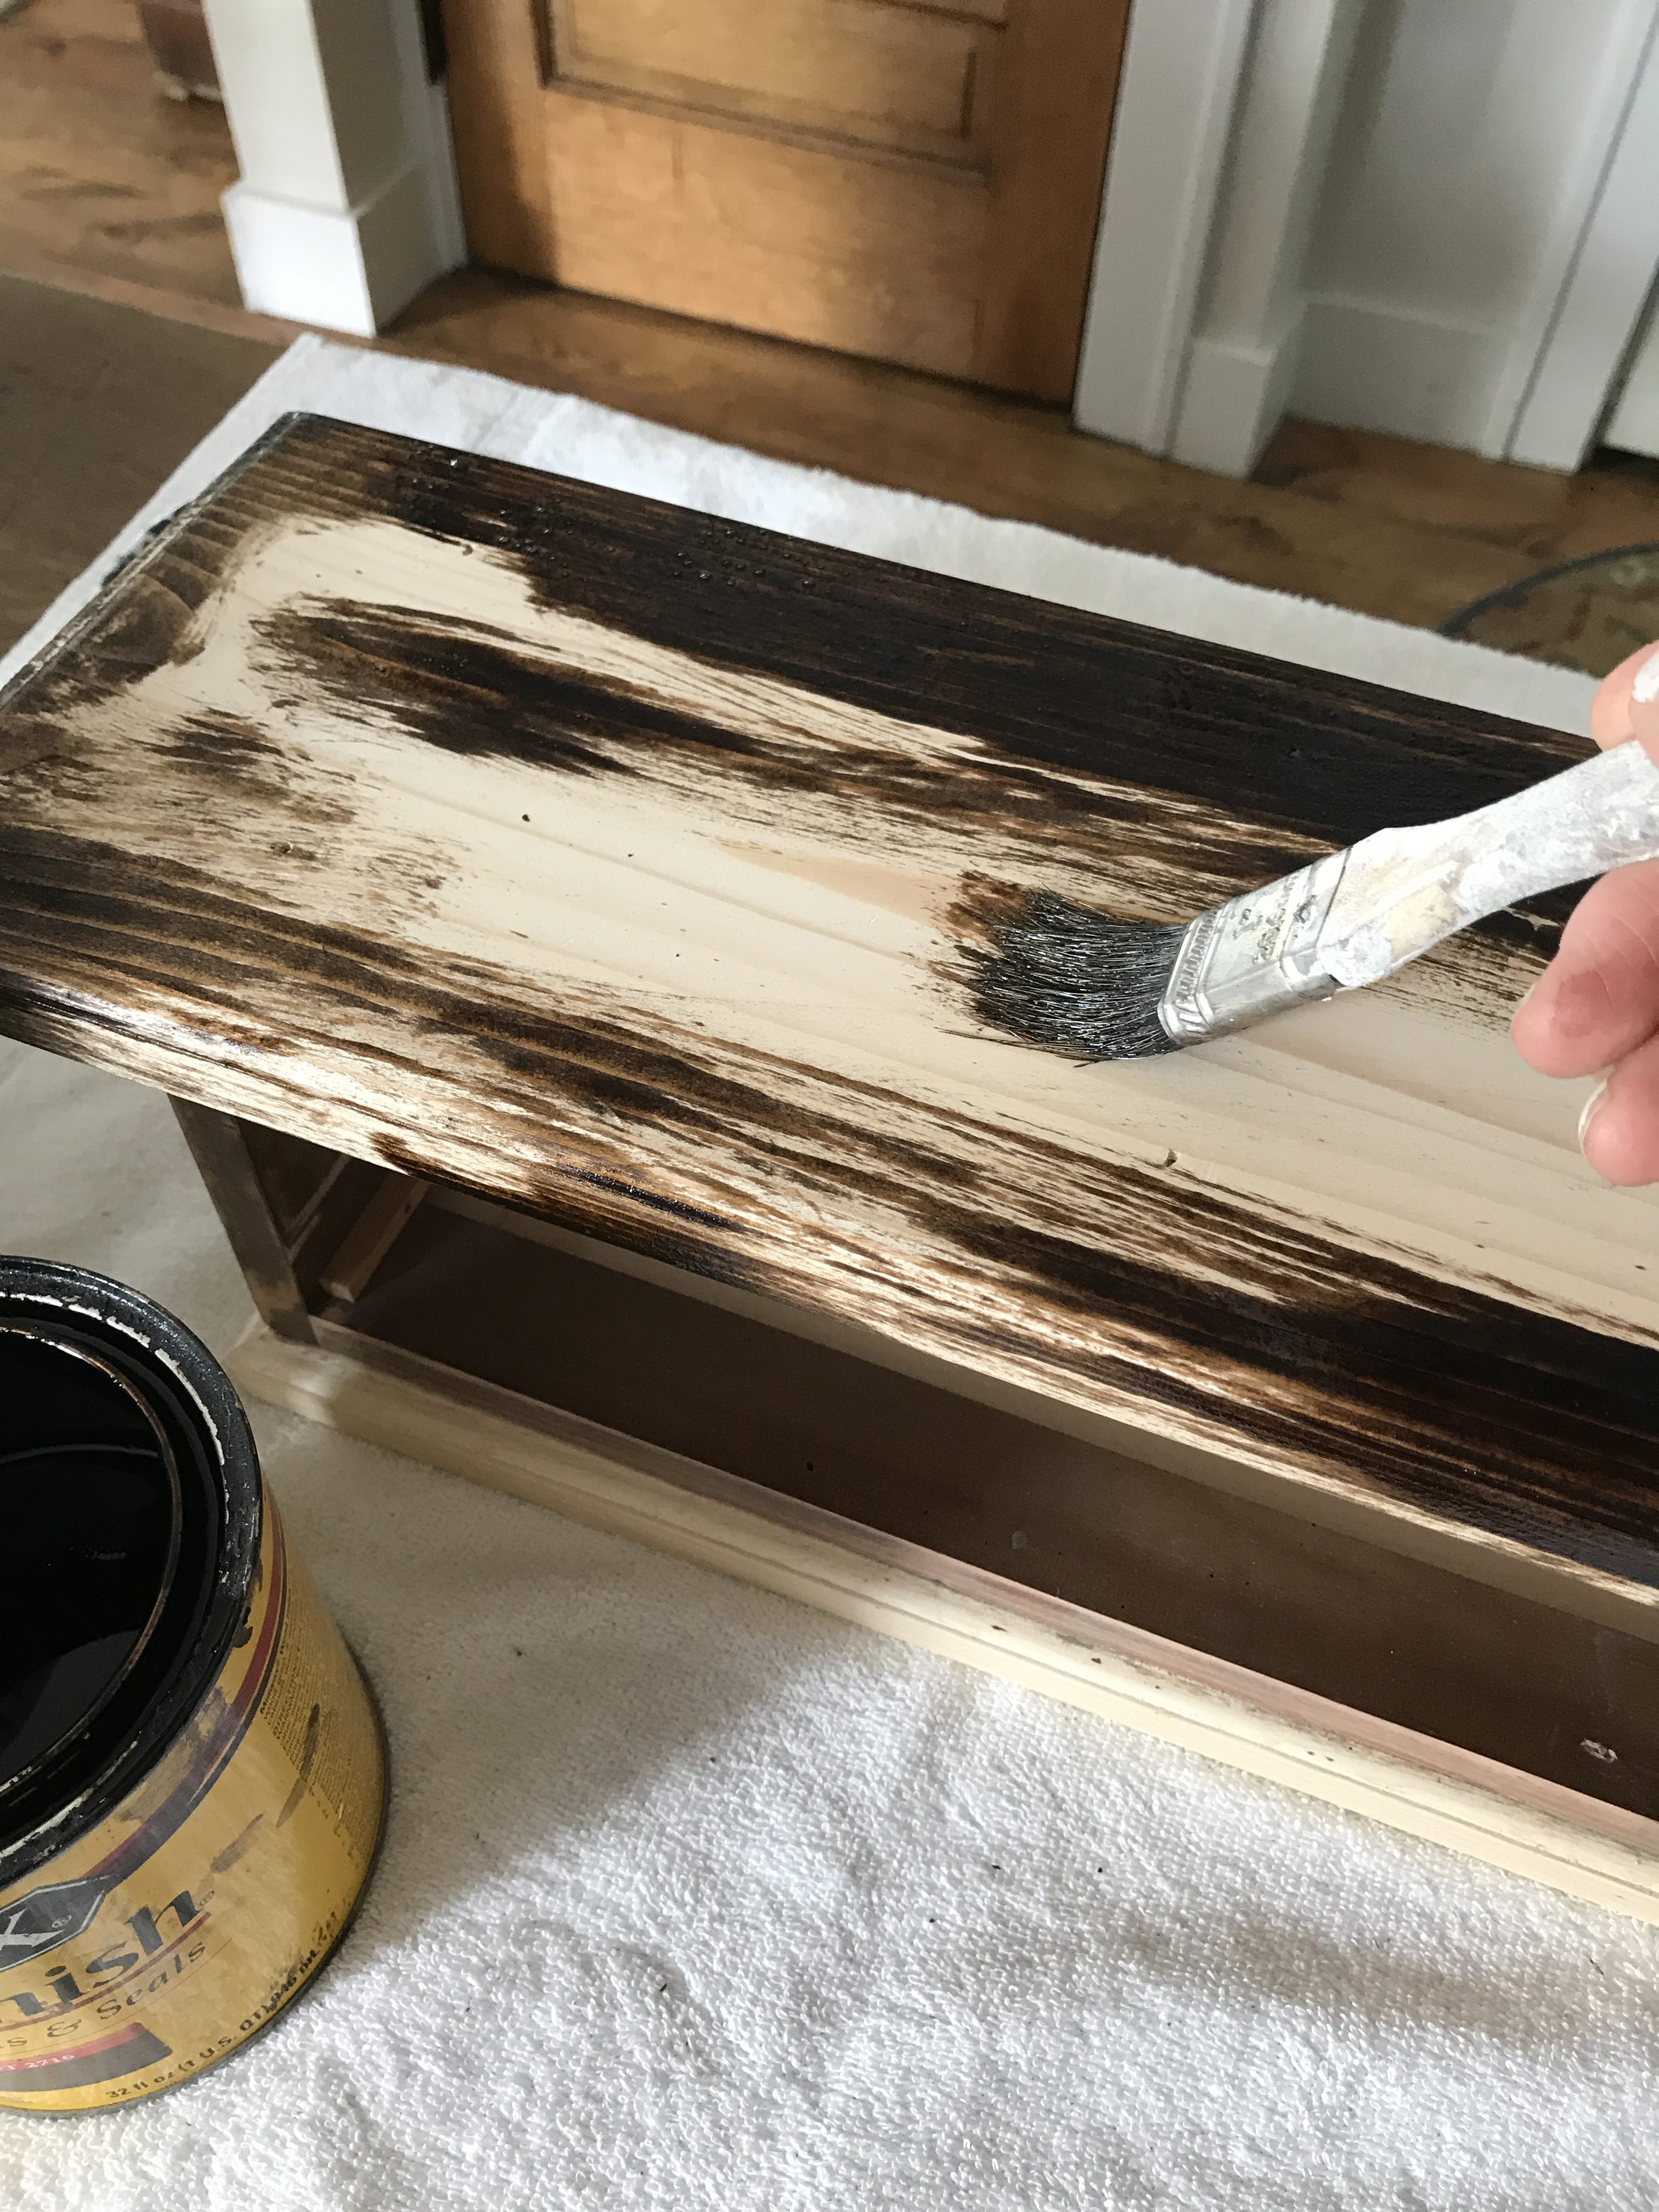
I use a little chip brush or sponge brush to stain all of the raw wood. Then I wipe it all off with a paper towel.
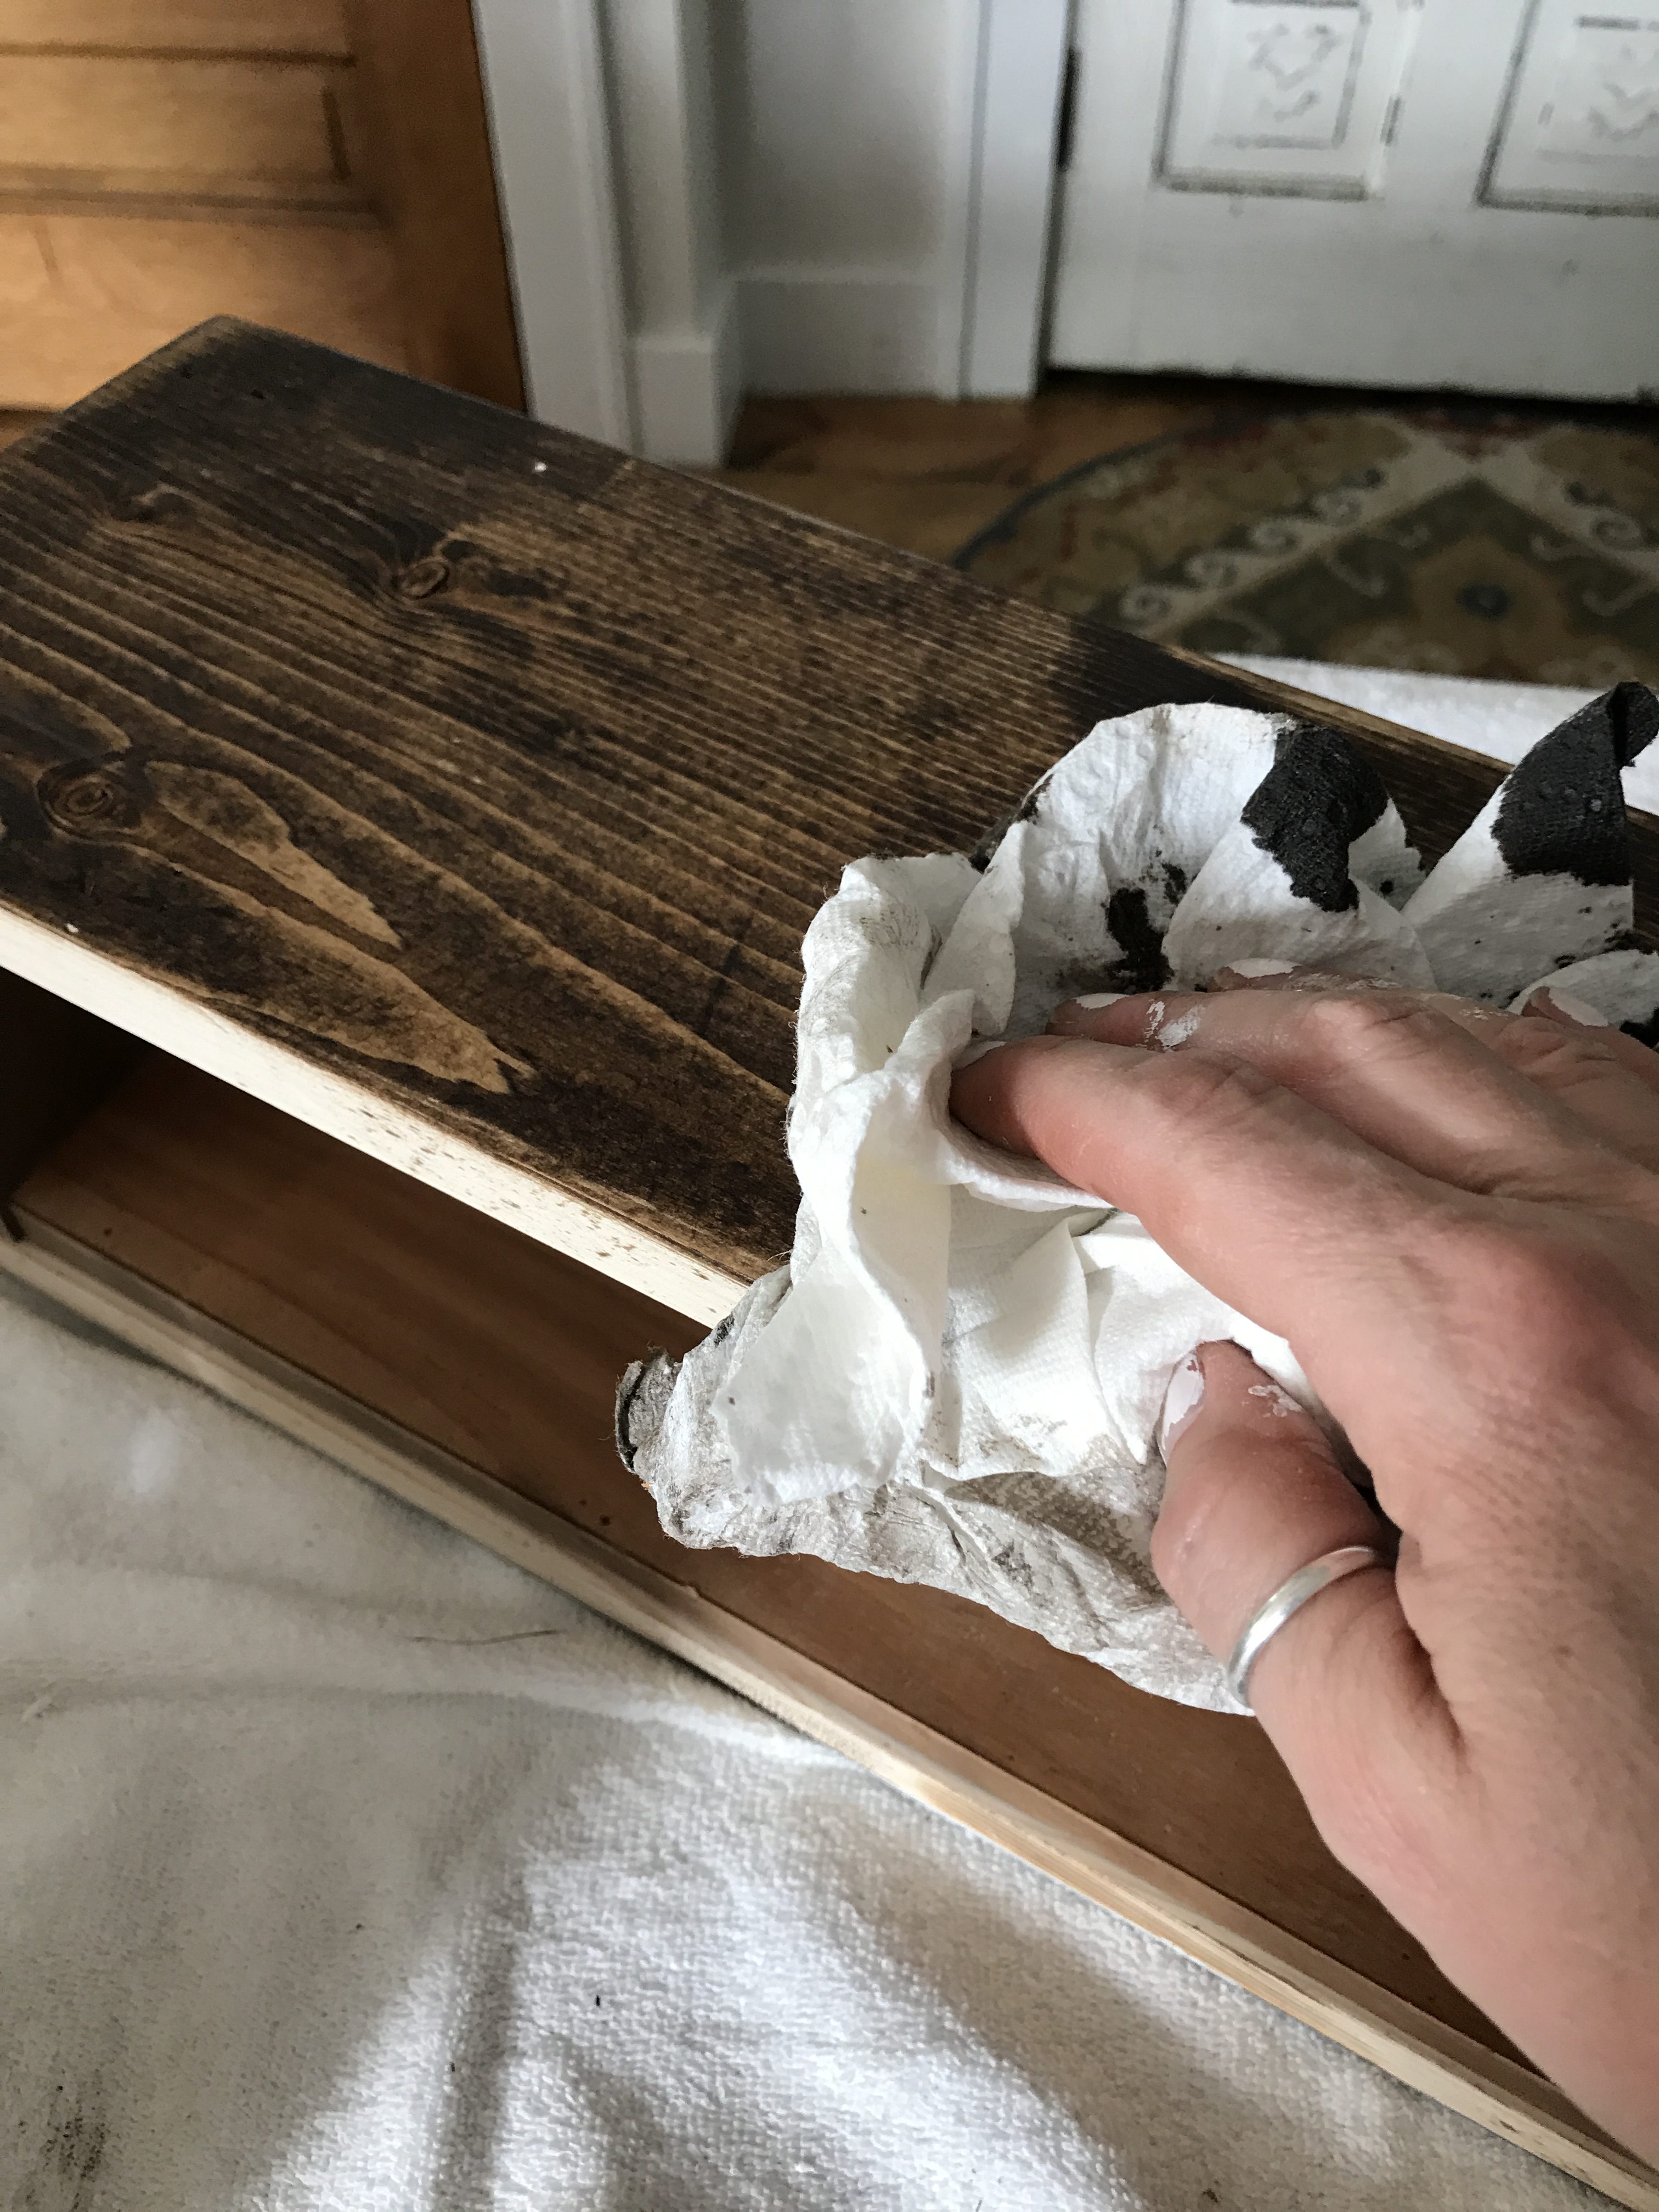
Immediately after wiping the stain from the raw wood, I drag a semi-dry brush with paint over the surface.
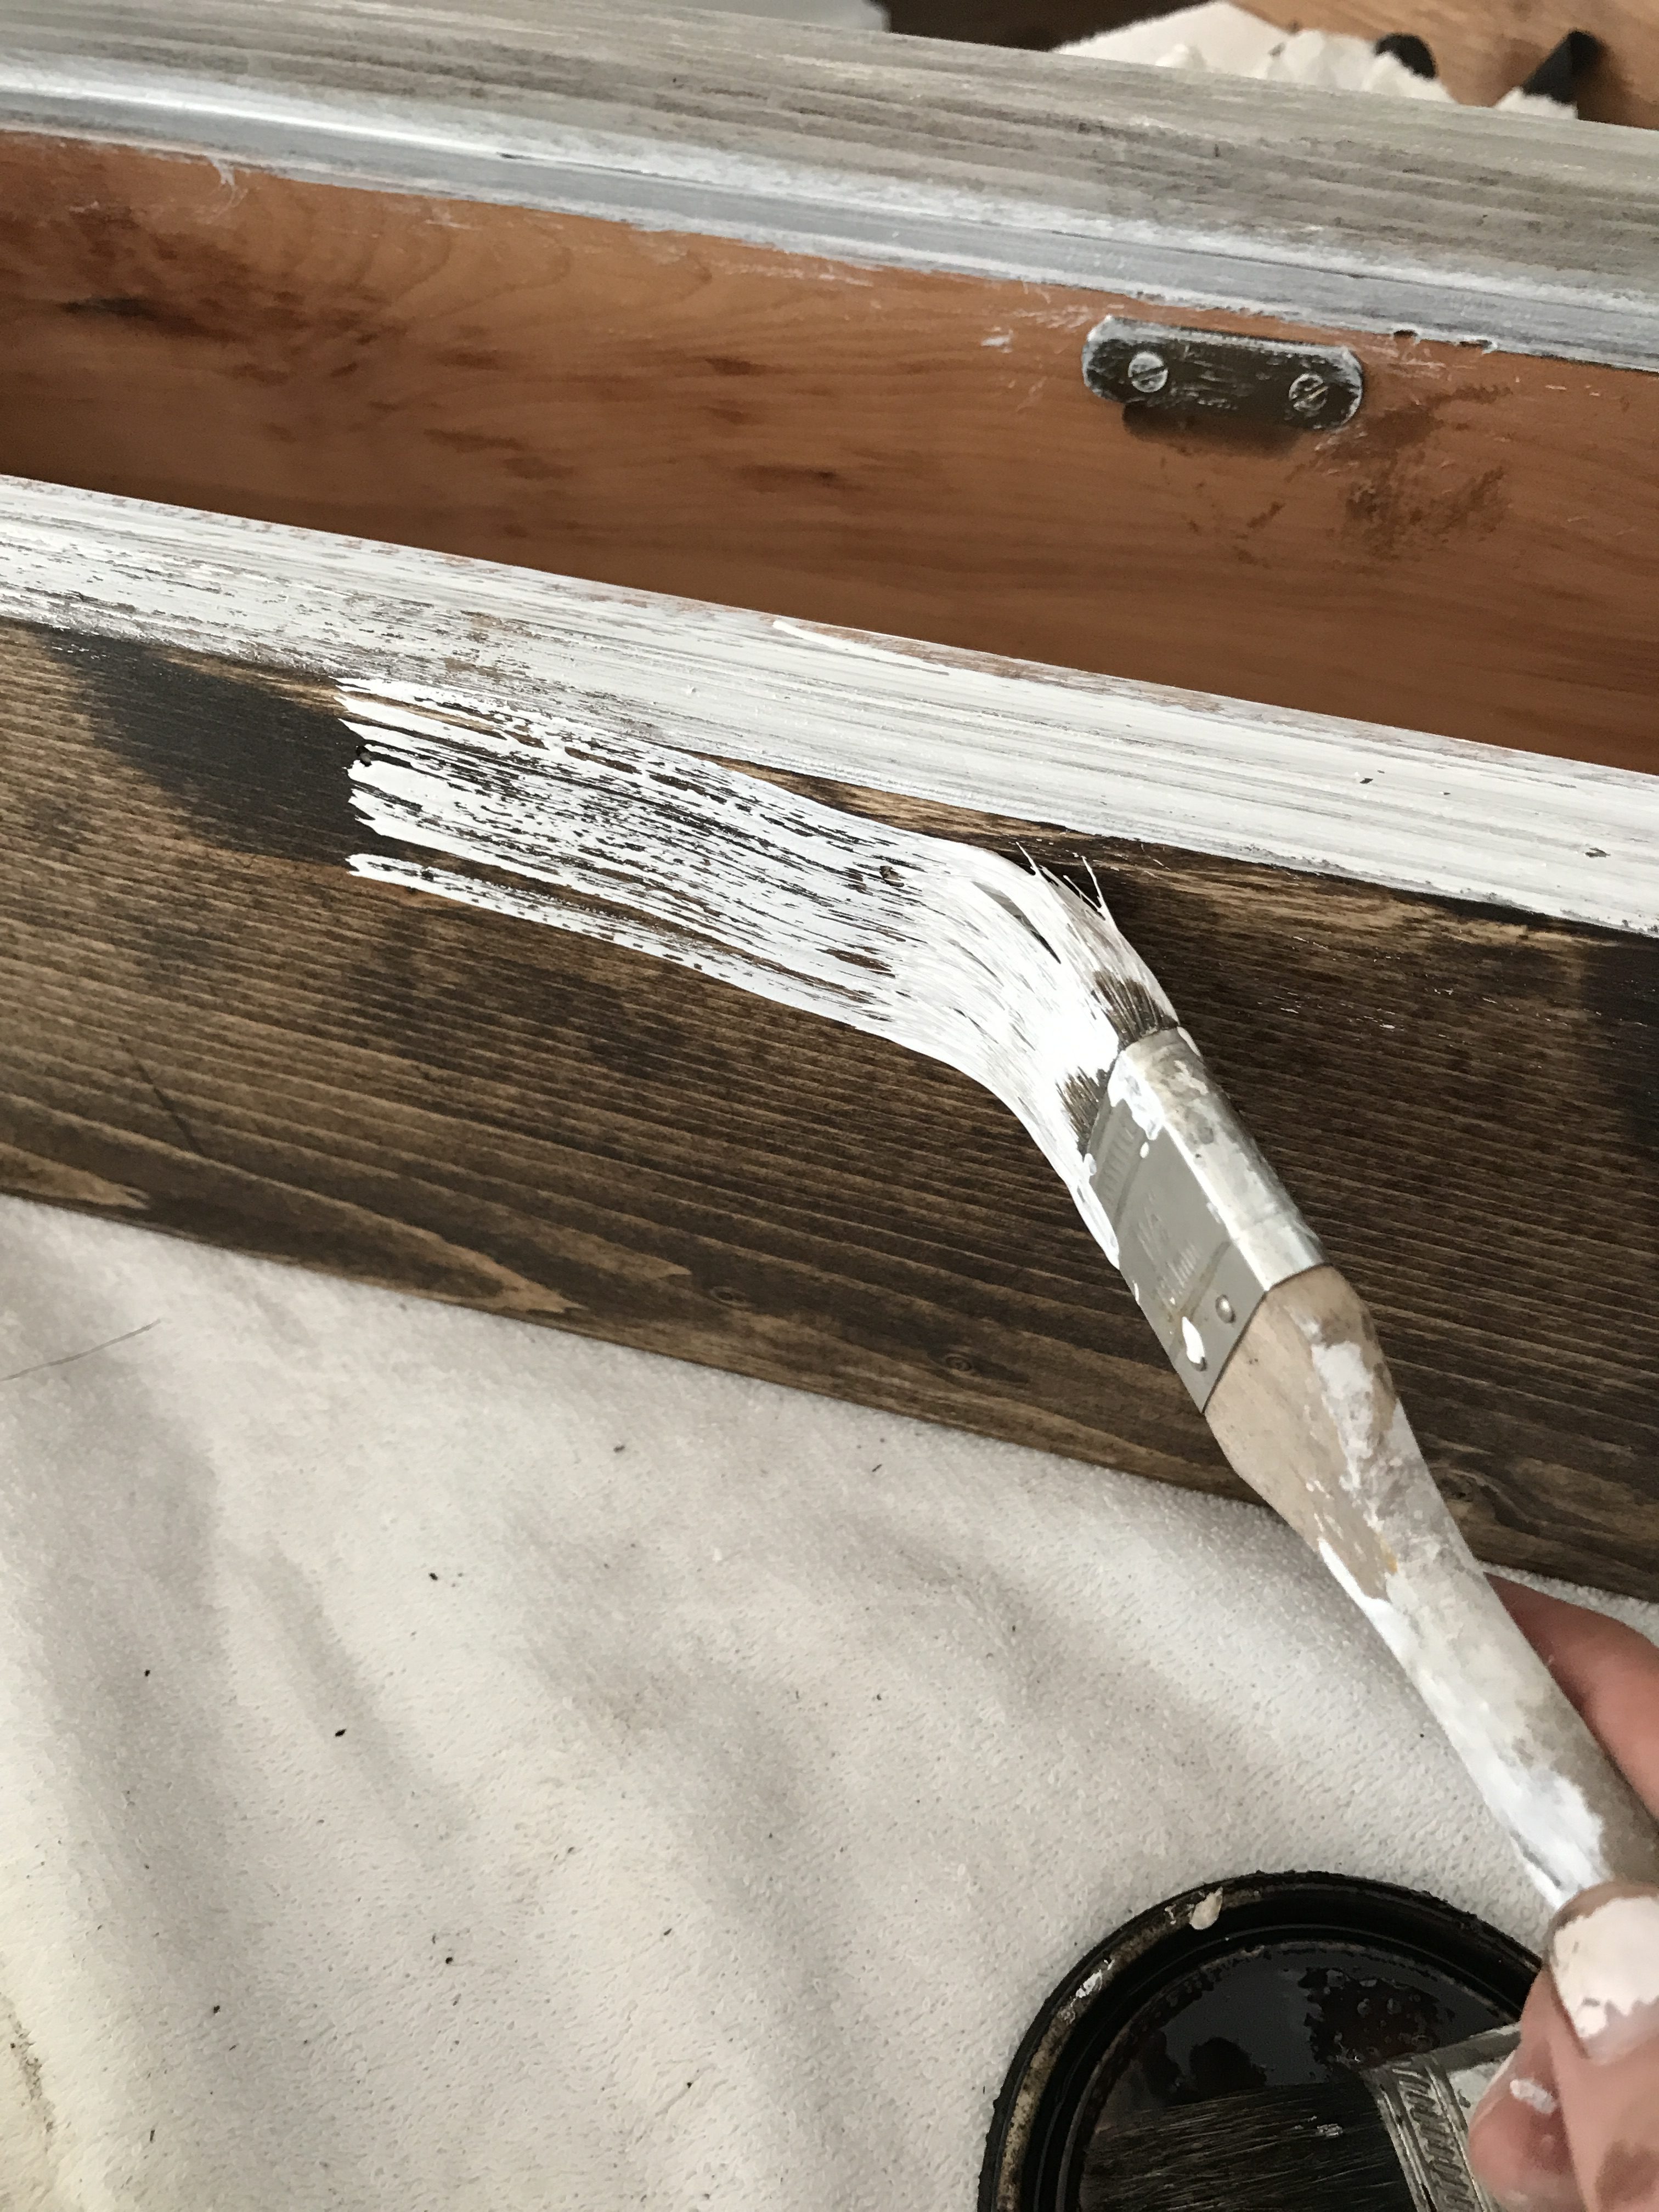
And when the paint is almost dry, I drag a little stain back through the entire project to make it look aged and wipe it off again with a paper towel. I do a lot of layering with both paint and stain. You can then sand the edges to let some of the stain show through the paint. I only sanded the drawer in this project.
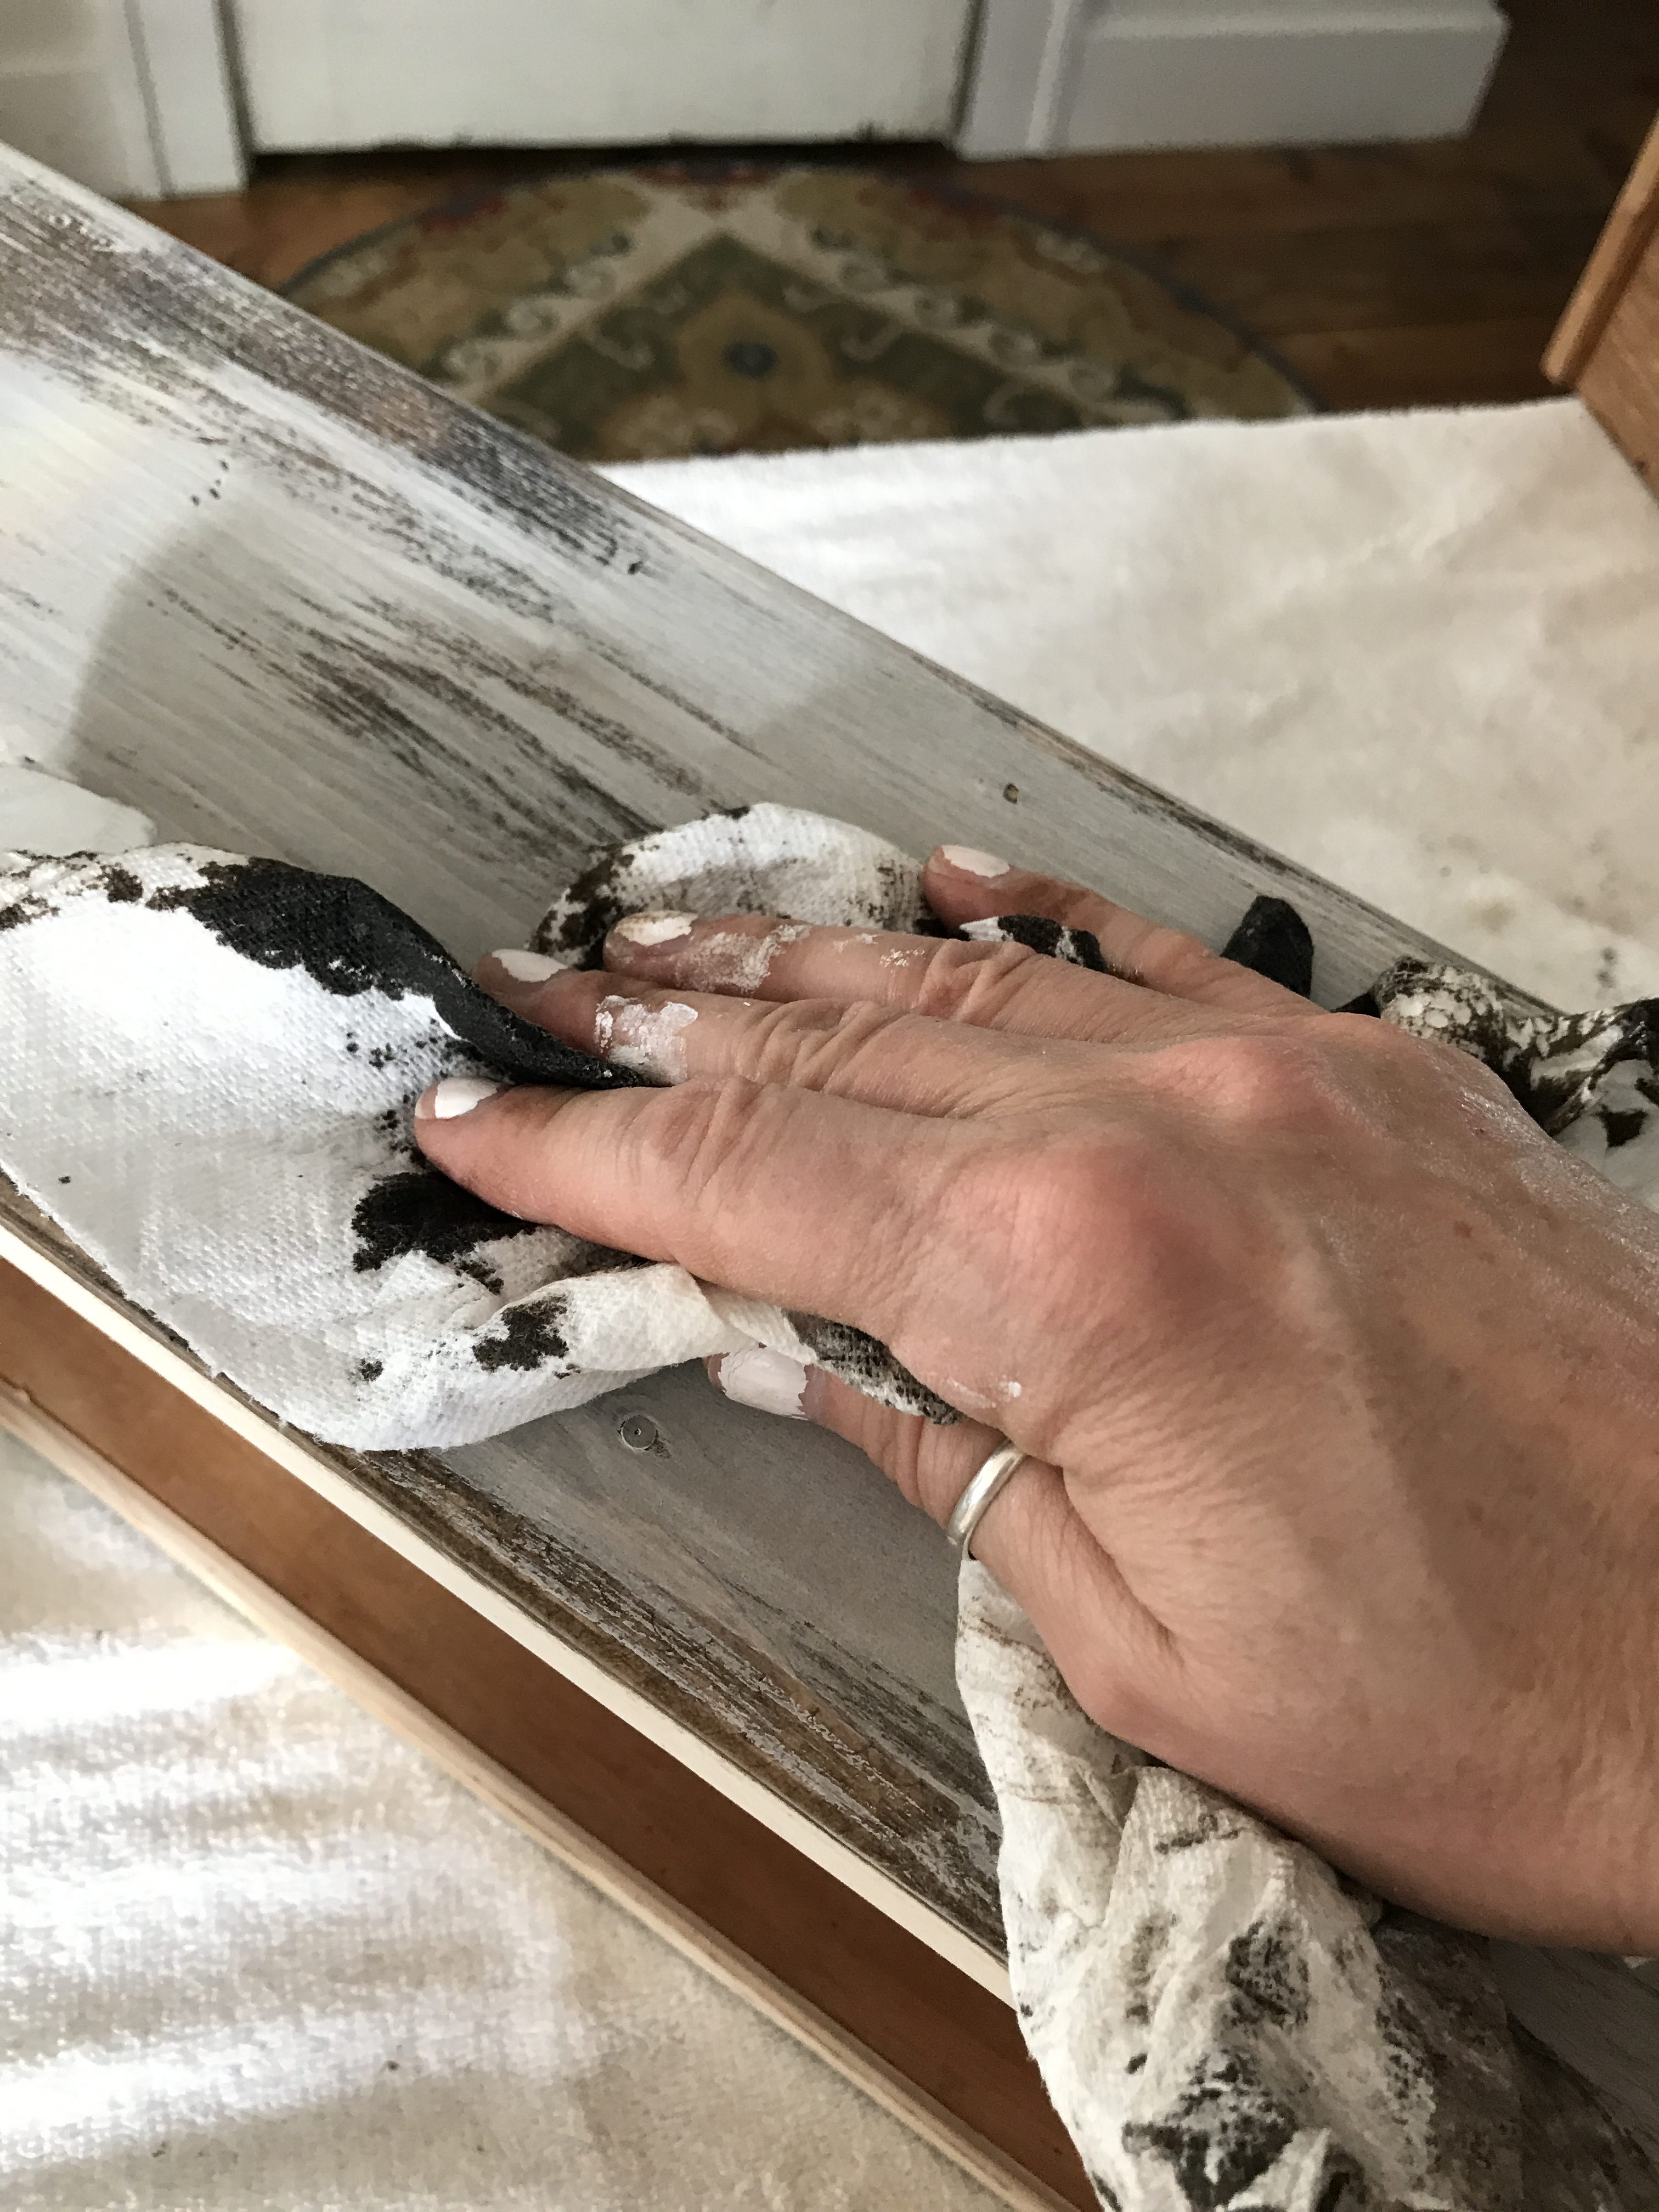
If you are using this technique on a table top, I would add another step and brush a coat of polyurethane on the top for protection when this is completely dry.
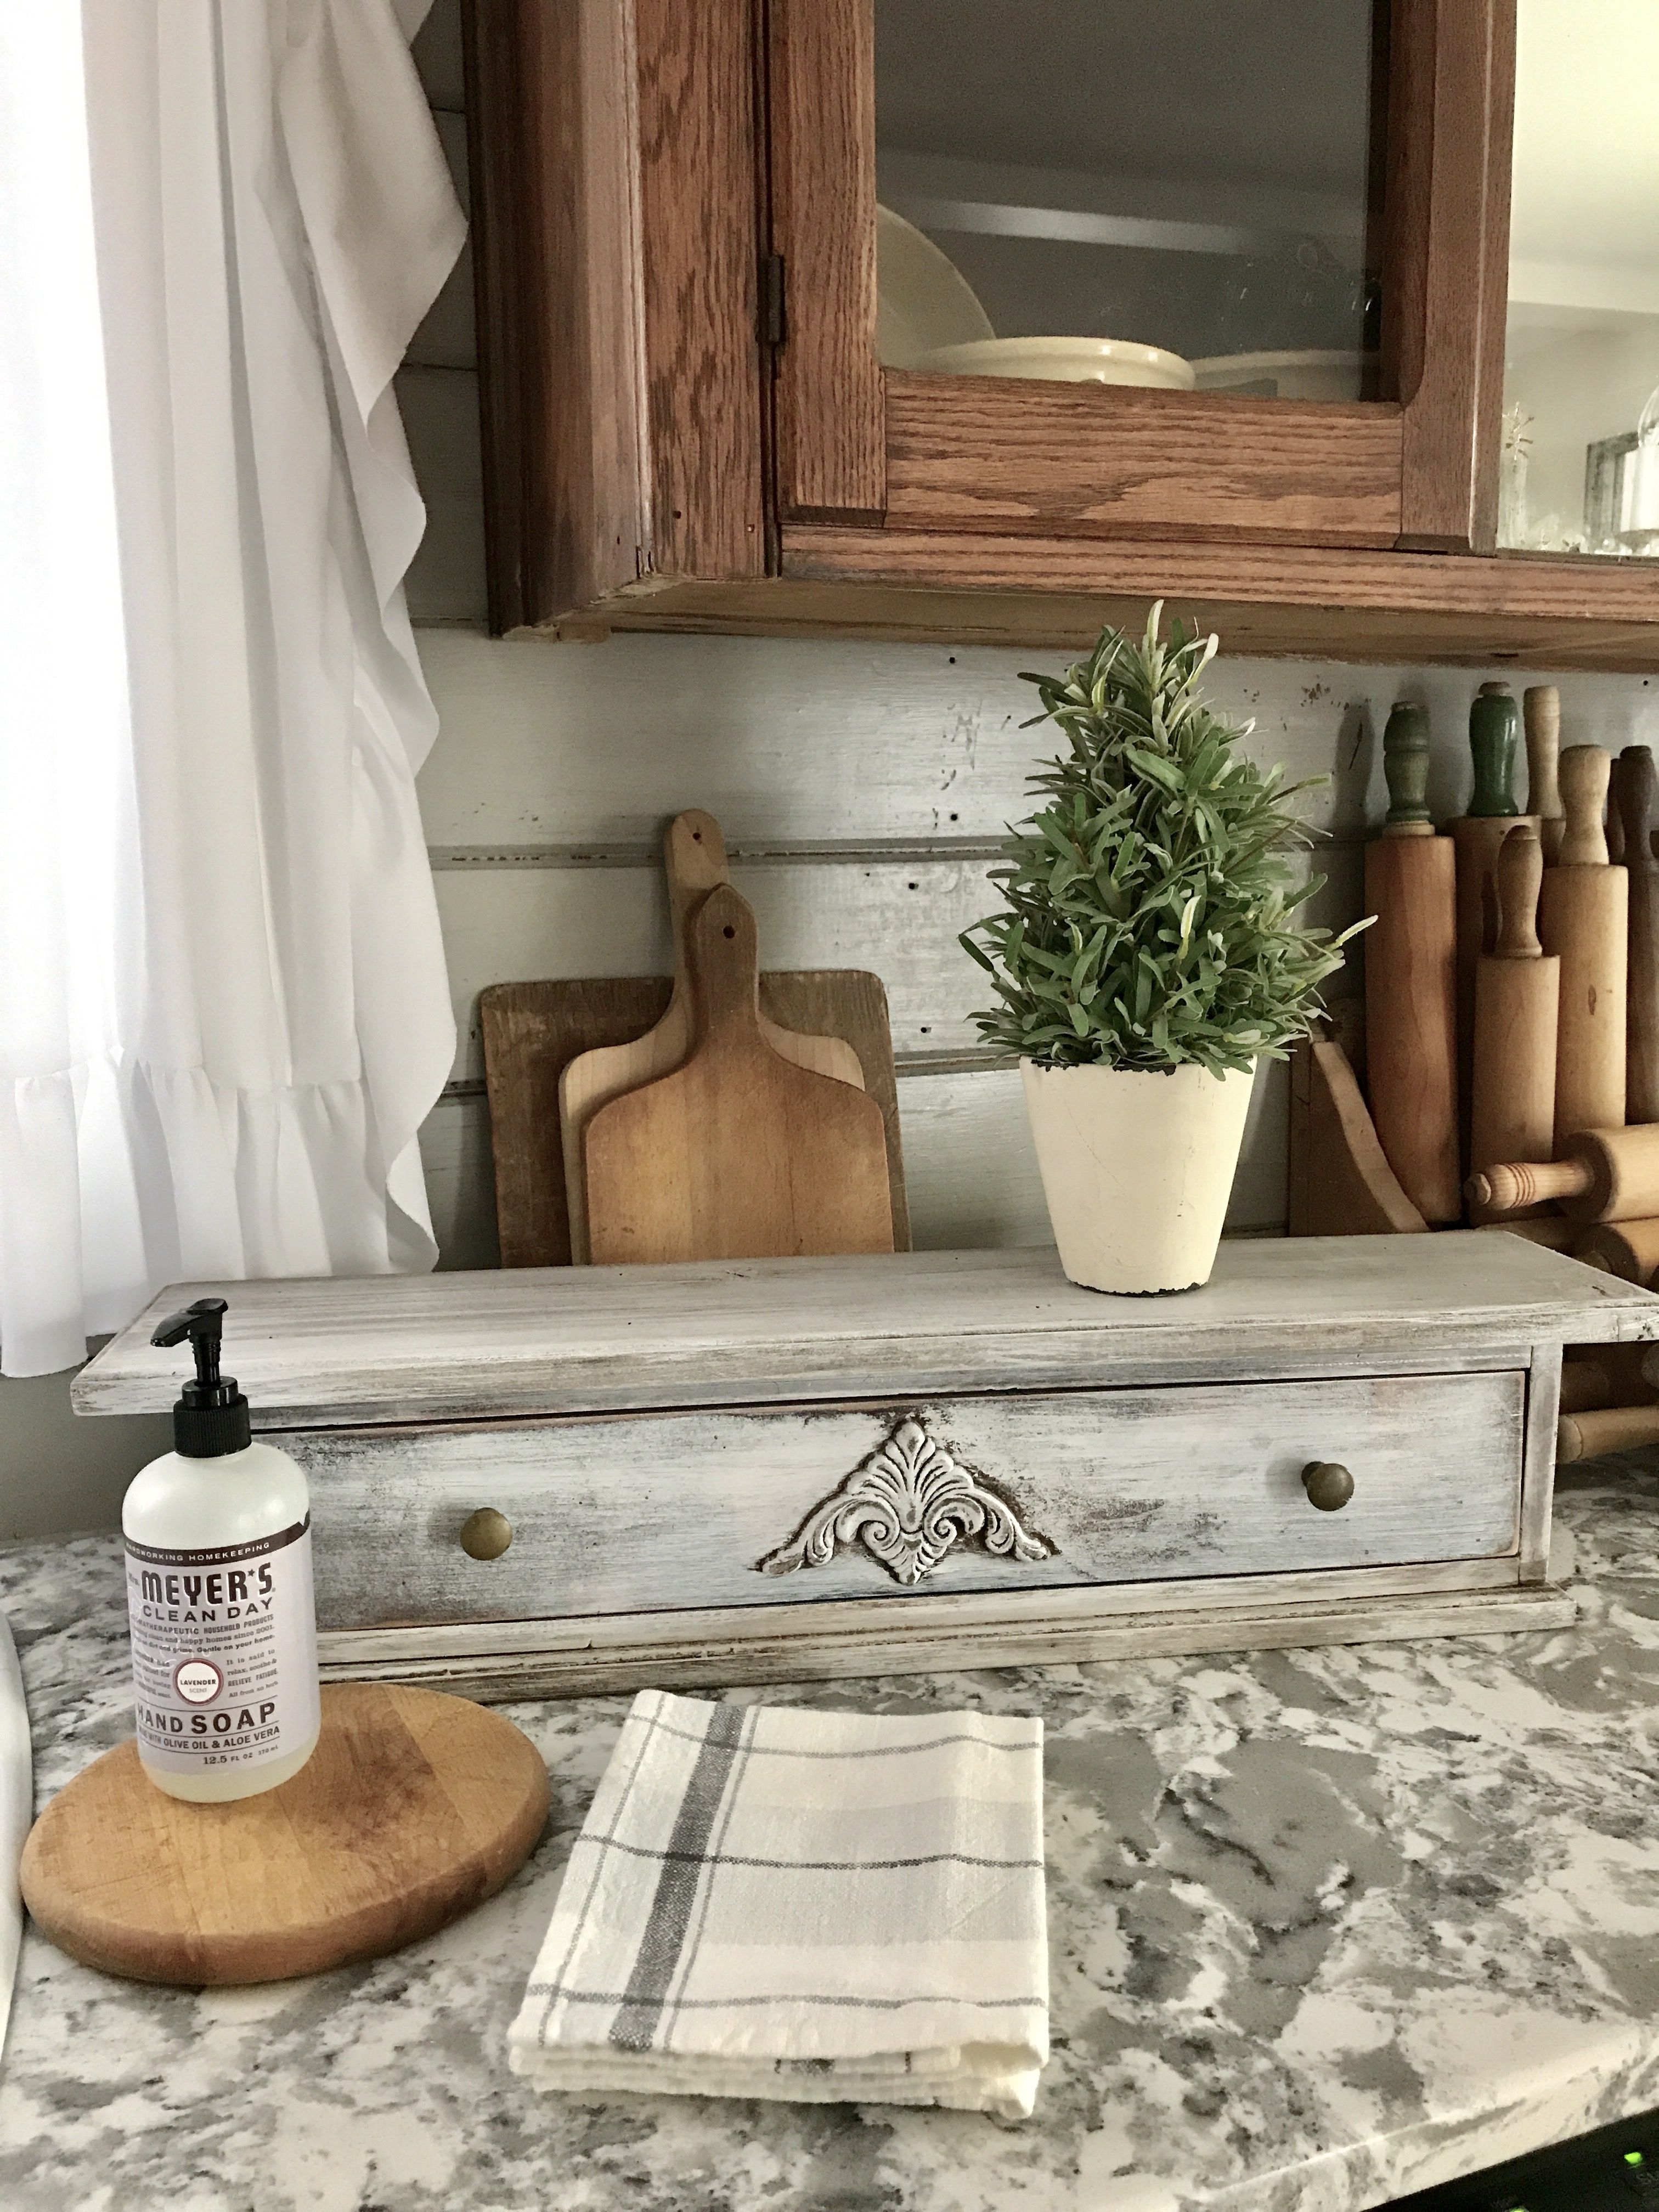
What do you think? I told you it was easy. ????????♀️
Let me know in the comment section or catch me over on Facebook and Instagram.
Thanks for stopping by. I pledge my love to you all!
Buh bye now!
Danelle
Leave a Reply Cancel reply
We may earn a small commission when you use one of our links to make a purchase.
You make everything look so easy You and Deb have made a beautiful home for you to enjoy, thanks for sharing with everyone
Thank you, Janie. ????
I love this cubby and the finish. I have just the place for it if you ever decide to part with it. I have to say I absolutely love your house. It is beautiful. What you and Deb have done with it is amazing. Love it and your stories. You crack me up. Thank you for sharing.
haha Thank you. I’m giving it away on Instagram. Have you entered? ????
You did a great job. It looks lovely. Thanks for sharing this post.
Okay, I have a stupid question. What do you mean by “semi dry”. Do you wet your brush with a little water and then dip in paint? I just want to make sure I understand! I want to try this on a small piece.
I love you guys!
[…] I use some of the same techniques but not quite like she does, and if you are interested, I wrote about it a few years ago. Here is how Deb makes new wood look […]
So cool! Love this technique for the finish and the cubby turned out awesome!!
Can’t wait to try this paint trick on one of my projects.
Thanks so much!!
[…] items. We age new wood with paint and stain. I wrote a few posts about that process here and here if you want to check it out. We used white paint for those pieces. However, I wanted the […]
I value the article post.Thanks Again. Keep writing. Sean Heading
[…] a piece look distressed. I have a few posts on that technique, if interested. They are here and here. It’s so […]
[…] techniques to paint items and make them look old. I have shared them a few times: How to Make New Wood Look Old and Quick Paint Technique. This is what she did on this little wooden cake stand. It is […]