Trashed Tuesday: Bowling Ball Flip
January 15, 2022

I am posting this kind of late. If you missed why everything is a little wonky here over the last couple of weeks, check out my first post of the new year! It explains everything. This Trashed Tuesday project was done several weeks ago and I am just getting the energy to post over here again. If you have missed any of the last Trashed Tuesday pieces, you can find them all here. We love these projects. And we will have more to come starting next week.
We post all of them on our new Instagram account so make sure you are following along there too. This will be Deb’s workshop account once she gets in the cottage, which will be fabulous. I’m so excited about that.
Let’s move on to this bowling ball flip!

Trashed Tuesday: Bowling Ball Flip
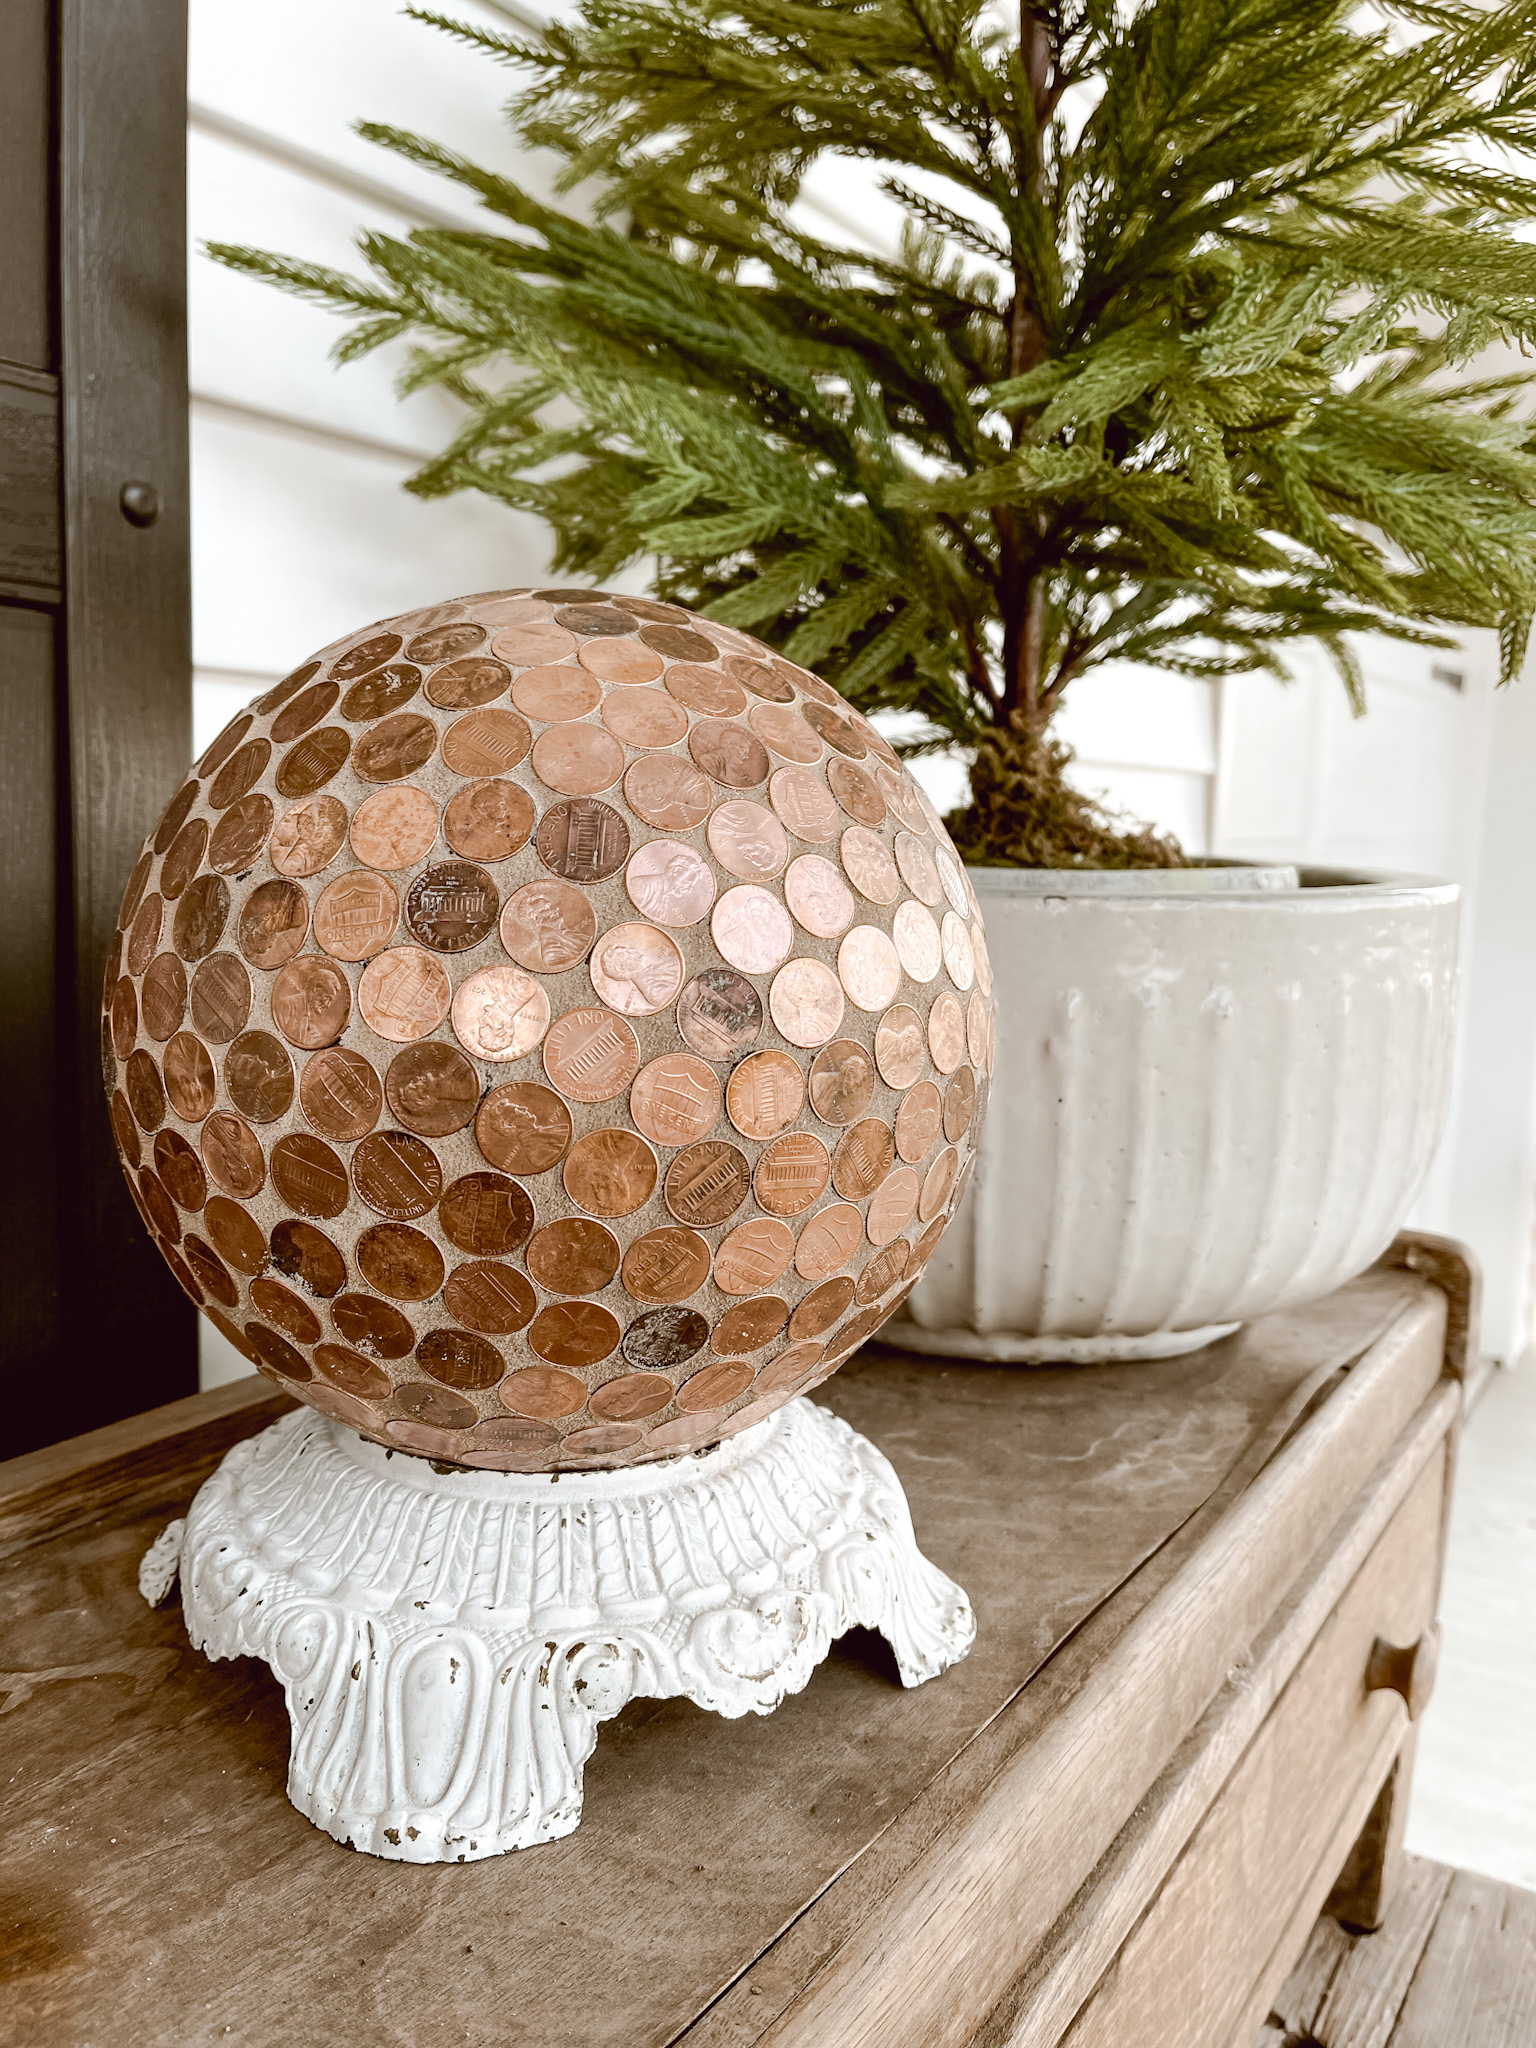
I made one of these penny balls for my garden YEARS ago. And when I saw a few bowling balls in a thrift store, I knew I wanted to do this again. It is such a fun project that makes a big statement and is so inexpensive to do.
You will need:
- Bowling Ball
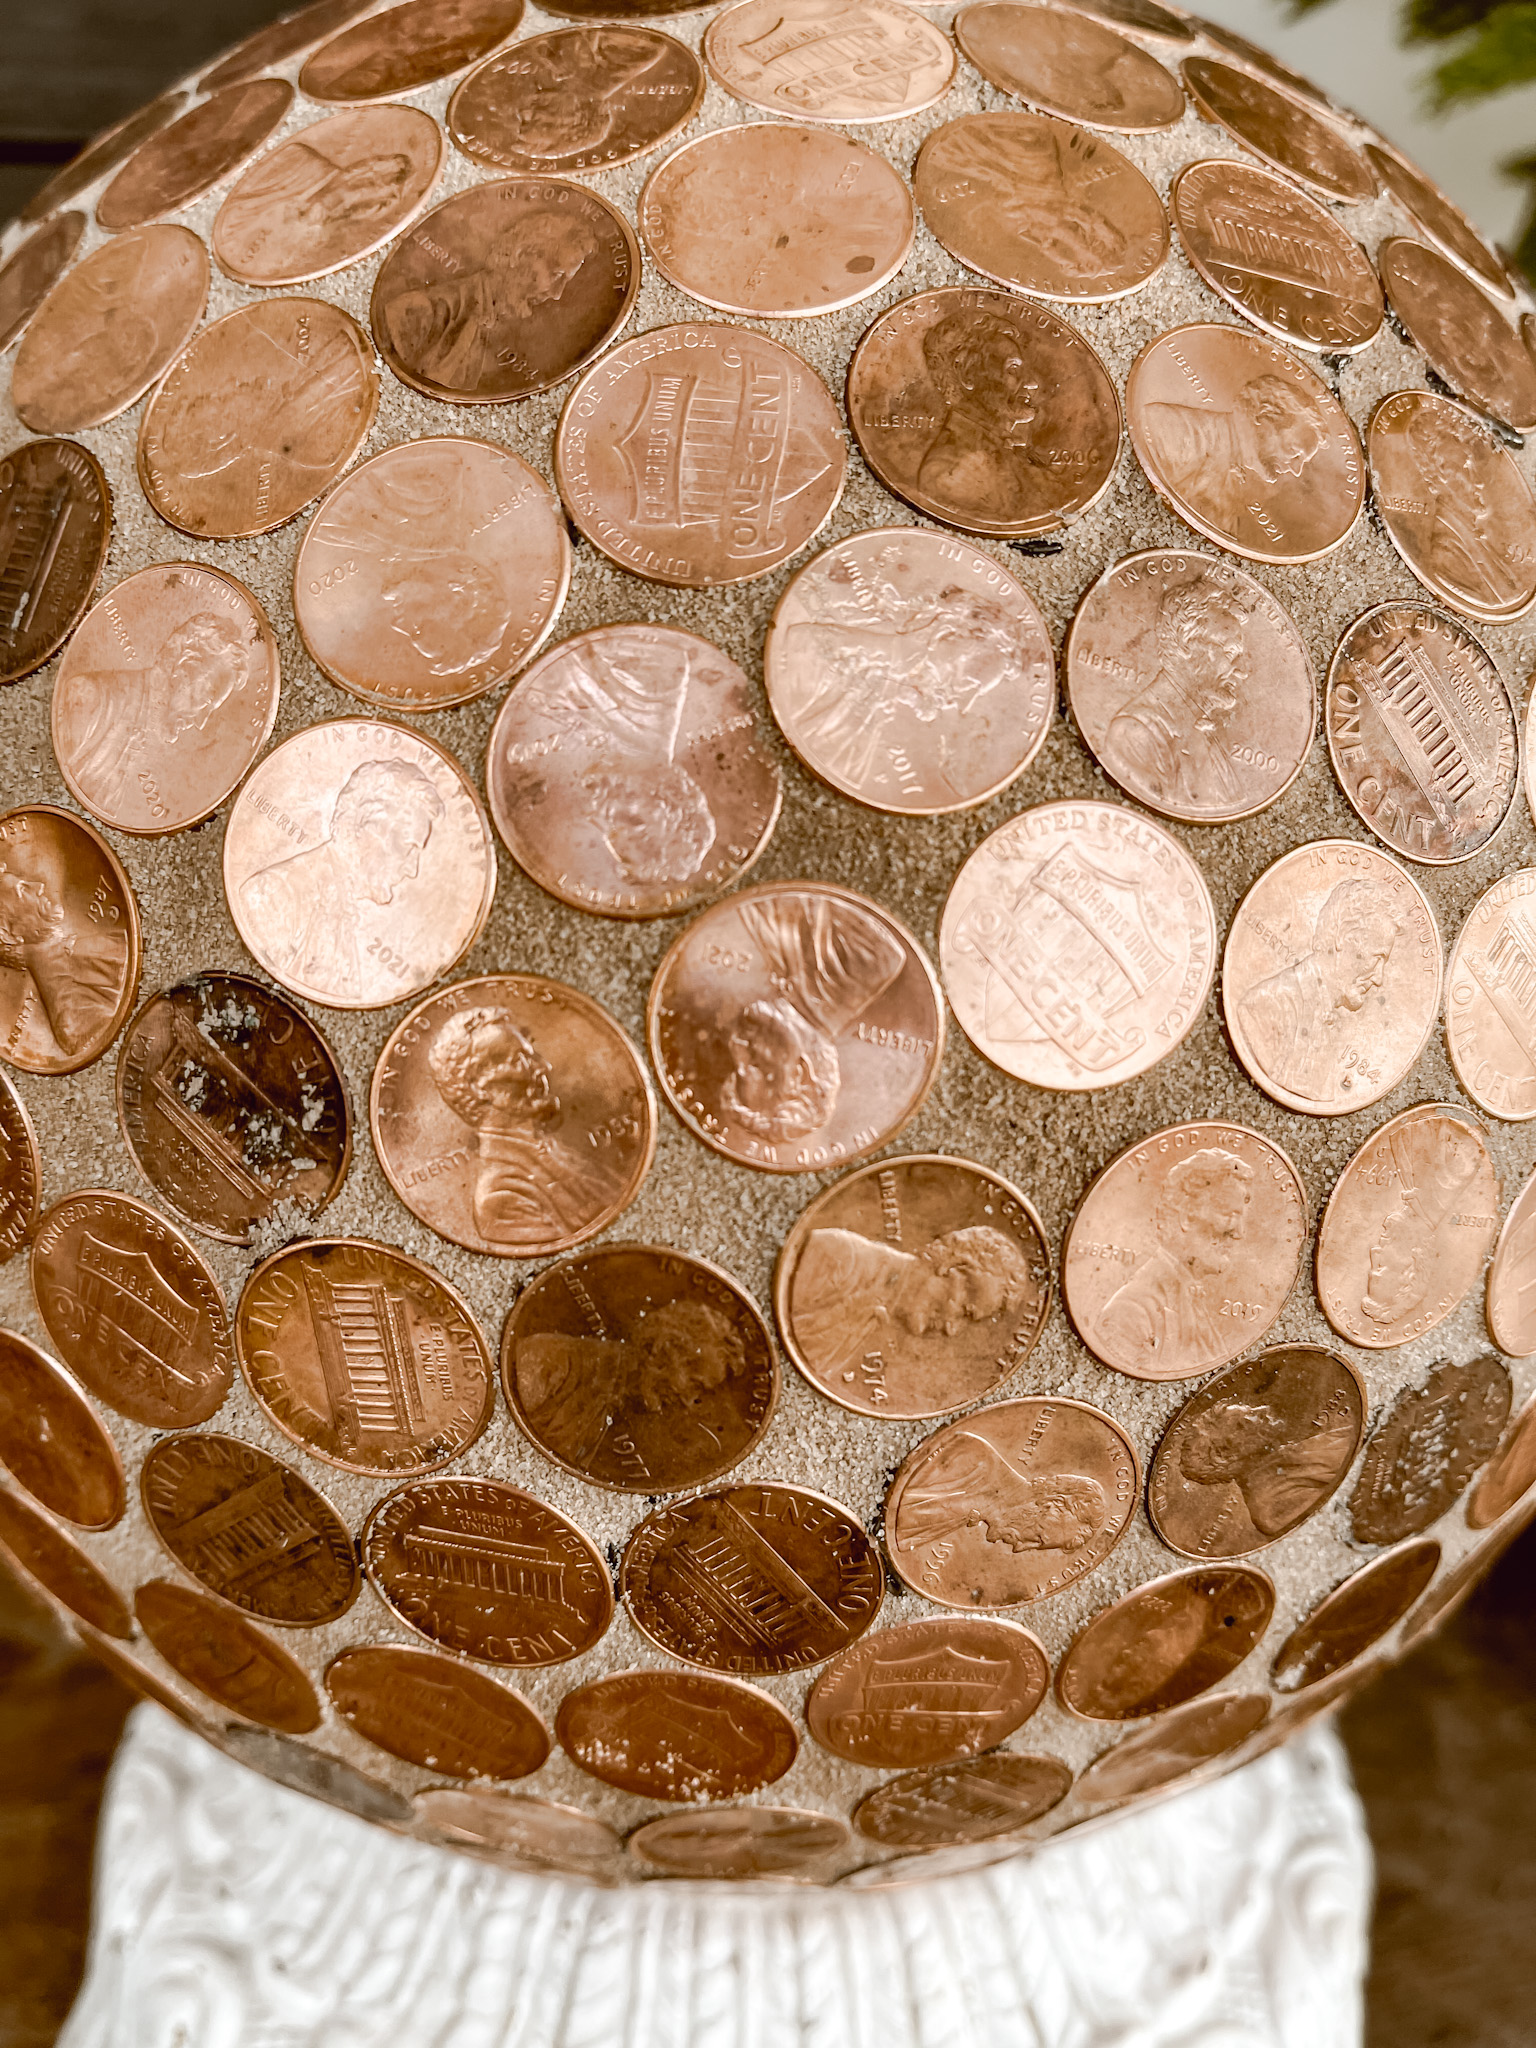
- Pennies – This bowling ball took $4.36 cents worth of pennies.
- DAP All Purpose Adhesive/Sealant 100% Silicone
- Sanded Grout in any color you want
- Sponge/cleaning supplies
NOTE: I soaked these pennies in white vinegar and salt just to clean them. When I made one of these previously, I did not soak the pennies. I don’t think it is necessary but a lot of nasty junk came off of them.
Also… I didn’t fill the holes but you totally could. I placed the pennies around them and will keep the holes facing down.

You start by adding the pennies to the bowling ball with the sealant. I did sections at a time since they need to dry before setting the bowling ball on the part you already did. So all in all, it took a few hours since I was taking breaks.
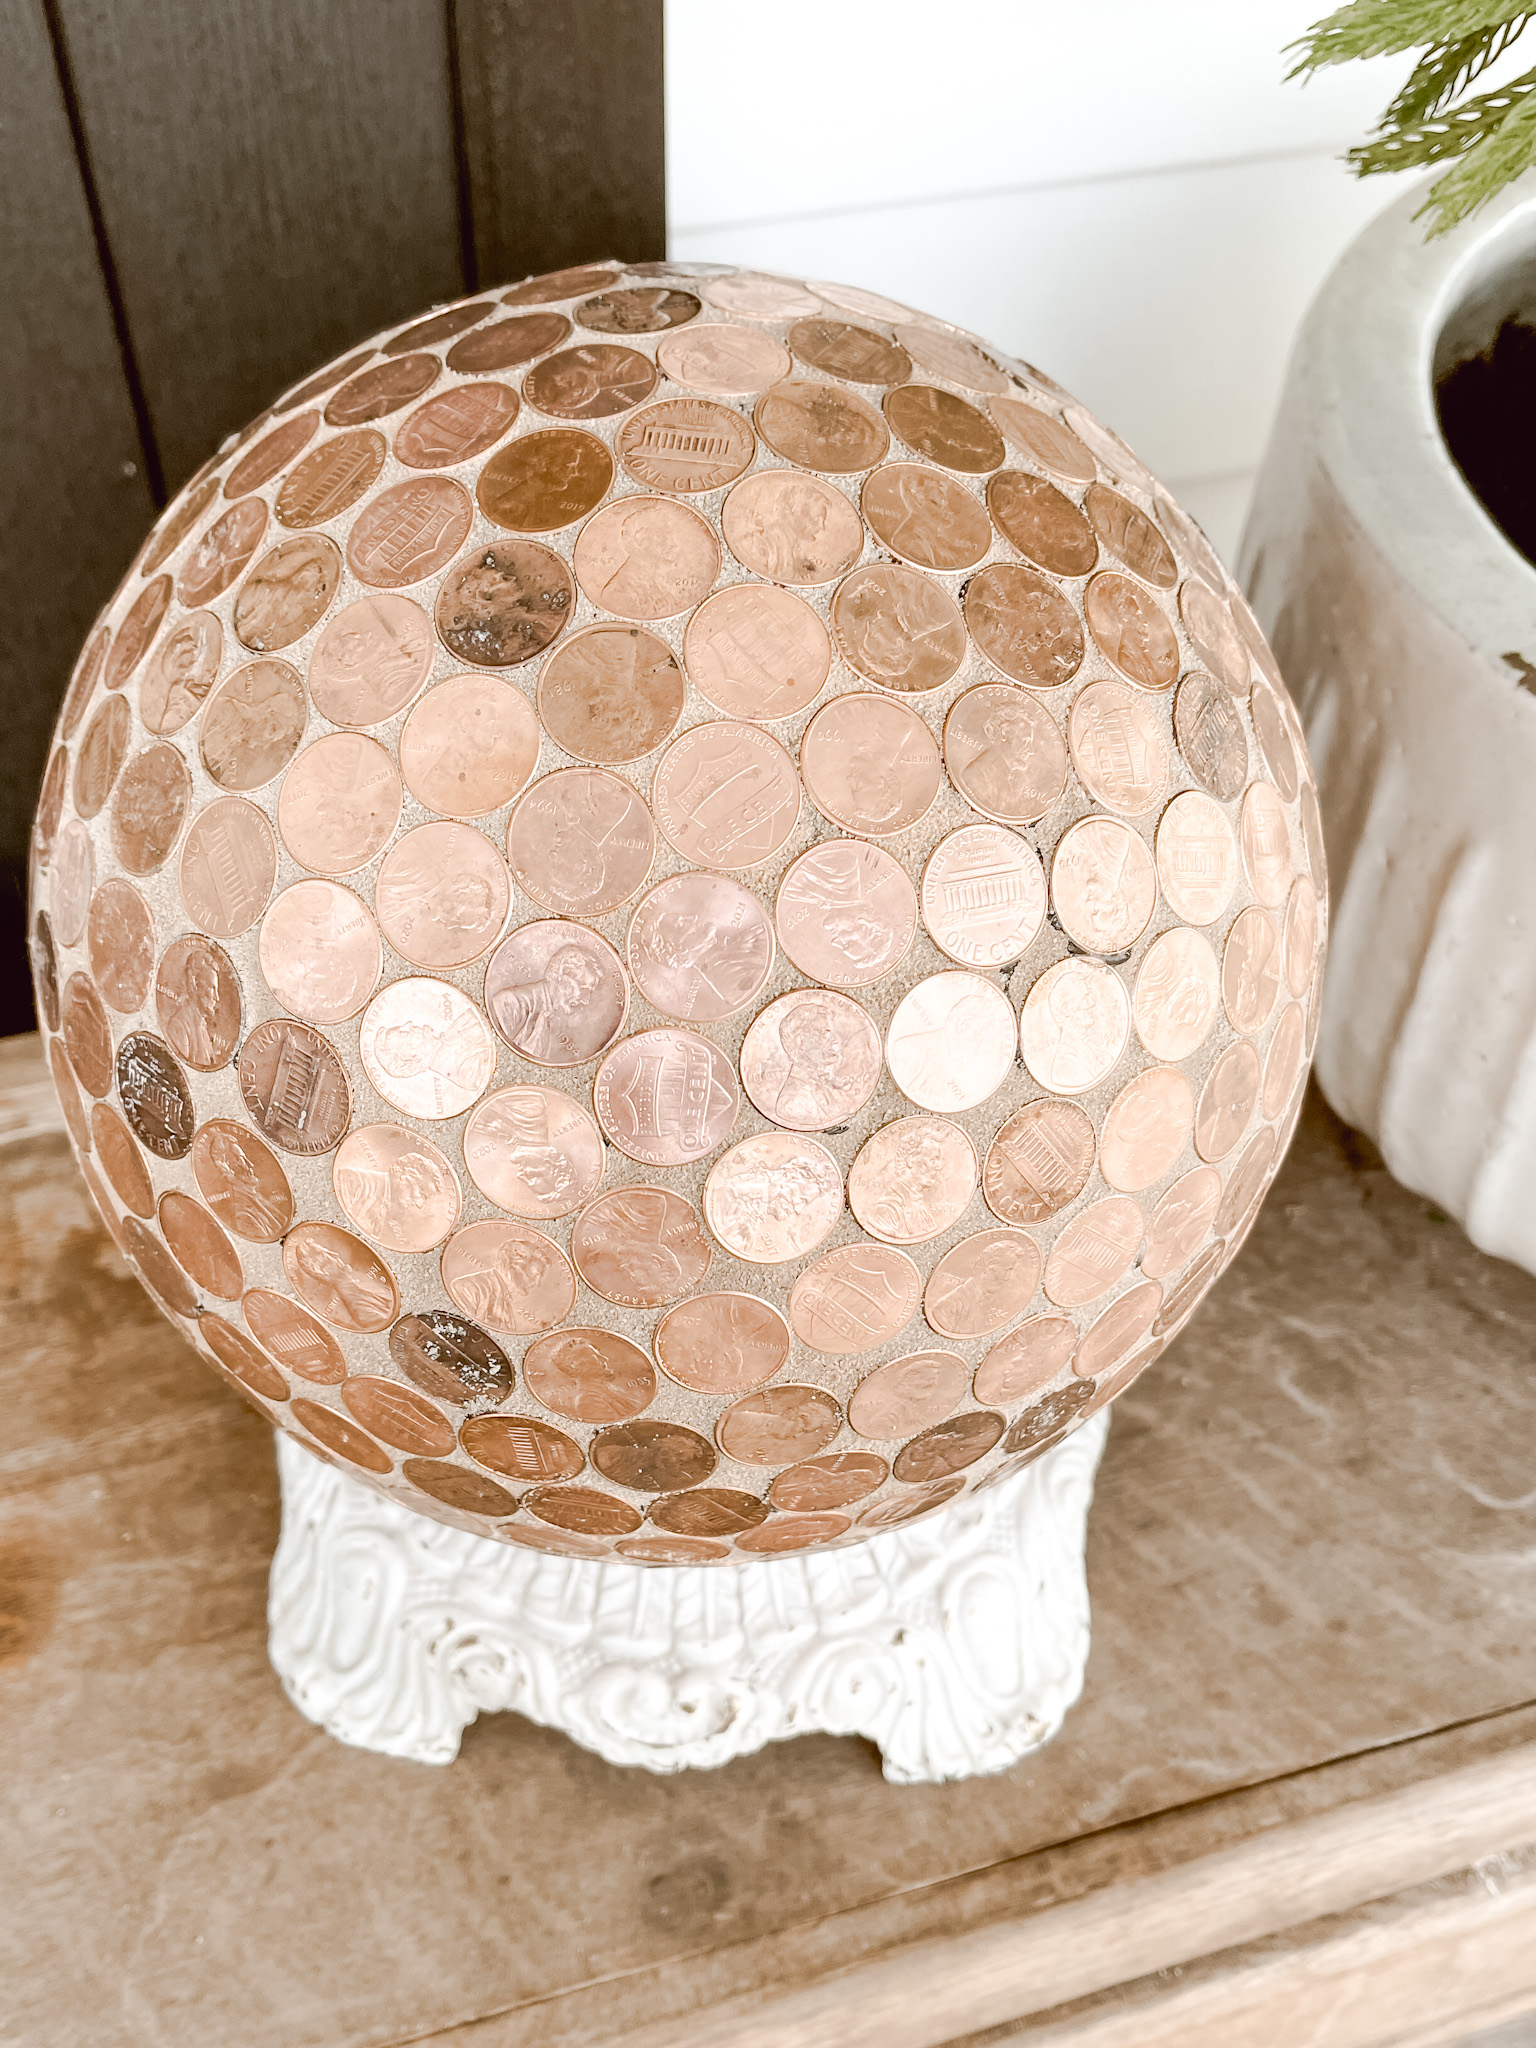
After the pennies were completely dry, I added the grout between them and then wiped all of the pennies off with a wet sponge.

I love how this project turned out. They look really pretty amongst flowers in your flower beds. Or just setting on the porch like I have it in these pictures. I used the bottom metal pieces of a lamp to as a holder, but you could use anything similar.
Leave a Reply Cancel reply
We may earn a small commission when you use one of our links to make a purchase.